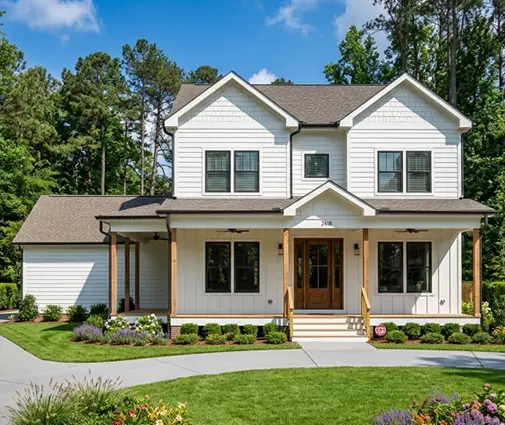
It is the first January in the new house. The furnace has been running for weeks, the attic is buried under 16 inches of blown cellulose, and one morning there is a crisp, straight crack where the living room ceiling meets the hallway wall. Sometimes the tape has even lifted into a little ridge. By late spring the crack has nearly closed. This is truss uplift, one of the most common first-winter complaints in one-story homes across the northern states, and it is almost always a cosmetic problem, not a structural one.
Here is what happens. In winter the top chords of a roof truss sit in cold attic air, where relative humidity is high. The wood picks up moisture and gets slightly longer. The bottom chord sits under a thick blanket of insulation, close to the warm, dry living space, so it dries out and gets slightly shorter. A truss is a rigid triangle, so the only way it can accommodate a longer top and a shorter bottom is to bow upward in the middle. The bottom chord lifts, typically somewhere around 1/4 to 3/4 inch, and it drags the ceiling drywall up with it. Exterior walls carry the truss ends and do not move, but interior partitions near mid-span are left behind, and the corner cracks open.
Long clear spans, low roof pitches, deep attic insulation and cold, long winters all make it more likely. That describes a lot of popular ranch-style homes in Minnesota, Wisconsin, Michigan or the Dakotas. You cannot stop the truss from moving. You can only decide how the finish handles the movement. Below, the four common approaches go head to head.
| Criterion | Truss-to-partition clips | Floating ceiling corners | Crown molding fixed to ceiling only | Re-tape and caulk each year |
|---|---|---|---|---|
| How well it hides the gap | Good, if combined with floating corners | Very good | Very good, gap hidden behind trim | Poor, crack returns |
| Rough cost, typical 1,800 sq ft house (2025) | About $100 to $400 in hardware and labor | Little to nothing extra; some drywall clips | Roughly $4 to $12 per linear foot installed | About $200 to $600 per repair visit |
| When it must be decided | Framing stage | Before drywall hangs | Any time, including after move-in | After the damage appears |
| Look | Invisible | Invisible, clean square corner | Traditional; may not suit a modern interior | Visible patching over time |
| Can be added later | Rarely practical | Only by tearing out ceiling edges | Yes | Yes |
How well each method hides the crack
Truss clips are slotted metal connectors that tie the top plate of a partition to the bottom chord. The nail sits in a slot, so the wall is held sideways but the truss can slide up and down. On their own they do not save the drywall: if the ceiling board is screwed tight to the chord right at the corner, it still lifts away from the wall. Clips mostly prevent the opposite problem, where a nailed truss lifts the partition itself and cracks doorway corners below.
Floating the corners is what actually protects the finish. The ceiling drywall is not fastened to the trusses within roughly 16 to 24 inches of the partition. Instead, its edge rests on drywall clips or blocking attached to the wall's top plate, and the wall board is pushed up tight beneath it. When the truss rises, the ceiling sheet flexes gently over that unfastened strip instead of tearing at the corner.
Ceiling-only crown molding takes a different route. The trim is nailed to the ceiling, never to the wall, so it rides up and down with the ceiling and slides over the wall surface. A small gap may show at the bottom edge of the molding in winter, but it reads as a shadow line, not a crack.
Verdict: clips plus floating corners is the most complete fix; crown molding is the best cover-up.
Cost
None of these methods is expensive in the context of a new build. Clips cost a few dollars each and a framer can install them in an afternoon. Floating corners mostly cost attention, since the drywall crew simply skips fasteners in certain zones. Crown molding is the costliest per room, but it also adds a finished look many buyers want. Annual re-taping looks cheap until you add up three or four winters and the repainting that comes with it.
Verdict: floating corners give the most protection per dollar.


Timing: when you have to decide
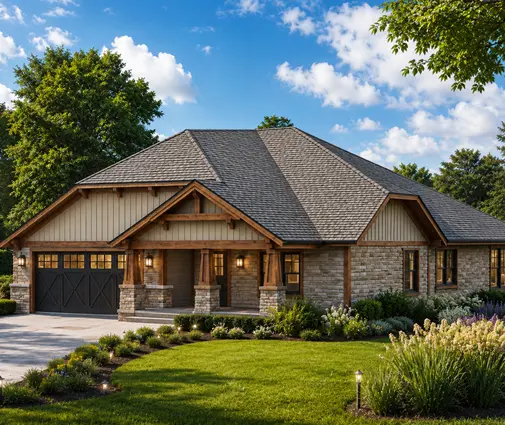
This is the criterion that matters most if you are still choosing a plan. Clips belong on the framing schedule, and floating corners must be in the drywall contractor's scope before the first sheet goes up. Ask for both in writing. A compact plan like this 3-bedroom, 1,292 sq ft ranch with a single-car garage has relatively short spans, but even here the hallway walls sit close to mid-span. A wider layout such as this 2,951 sq ft Modern Craftsman ranch with a 3-car garage has long trusses over a big open living area and many partitions to detail, so planning ahead pays off there.
Verdict: decide before framing; afterwards only crown molding and patching remain.
Appearance
Clips and floating corners leave nothing to see, which matters for clean modern interiors. A Mid Century Modern home of 1,862 sq ft with three bedrooms or a minimalist farmhouse would look odd with heavy crown in every room. Crown molding fits naturally in Craftsman and Traditional interiors, like this 2,007 sq ft Craftsman with a 2-car garage. If you want a crisp drywall corner, floating it is the only way to keep it.
Verdict: floating corners for modern interiors, crown molding for traditional ones.
Fixing it after move-in
If you already live with the crack, crown molding attached only to the ceiling is the realistic retrofit. Prying a ceiling loose to float the corners means re-finishing a large area. Some homeowners remove the screws closest to the partition and re-tape with a flexible bead, which can help, but results vary. Caulking the gap with paintable acrylic works for a season or two; plain joint compound will crack again almost immediately.
Verdict: trim is the retrofit; patching is a stopgap.


Telling uplift from a structural problem
Seasonal truss uplift has a recognizable signature. The gap is at the ceiling line, along interior partitions, and widest near the middle of the house. It opens in the heating season and narrows or closes in summer. Exterior walls show nothing. The ceiling moves up, not down.
Call a structural engineer or the truss manufacturer if you see:
- A ceiling that sags downward or a visible dip in the roof ridge
- Diagonal cracks running from the corners of doors and windows
- Cracks on exterior walls, in the foundation or in a slab
- Doors that bind all year, not just in winter
- Gaps that keep growing year after year instead of cycling
- Any truss member that has been cut, notched or altered in the attic
Homes with a basement add one more variable: if the floor below a partition settles, cracks can appear at the ceiling for a different reason. In a plan like this 1,764 sq ft Craftsman with a basement, check whether the partition sits over a beam and whether the crack lines up with it. Also note that vaulted ceilings built with scissor trusses can move too, often more than flat ceilings.
Verdict: a crack that comes and goes with the seasons is almost always uplift; one that only grows deserves an engineer.
What builder warranties usually say
Many new-home warranties cover drywall cracks in the first year as a workmanship item, often as a one-time repair after the first heating season. Some name truss uplift explicitly as a normal condition and exclude it, or limit the remedy to re-taping once. Structural coverage, commonly offered for a longer period, generally applies to load-bearing elements failing, which seasonal uplift does not count as. Read the actual document, since terms differ by builder and by state, and report the crack in writing as soon as you see it. Before signing a contract, ask the builder directly whether clips and floating corners are part of their standard practice.
Verdict: expect one cosmetic repair at most; prevention is on you and your builder at the start.
Who should choose what
- Building a one-story home in a cold northern climate: specify clips on every non-bearing partition near mid-span plus floating ceiling corners. A plan like this 1,993 sq ft Modern Farmhouse ranch with three bedrooms is a typical candidate.
- Choosing a Craftsman or Traditional interior: add ceiling-only crown molding as a second line of defense; it looks right and hides any residual movement.
- Going for a clean modern look: rely on floating corners and confirm in writing that the drywall crew knows the fastening pattern.
- Already living with the crack: confirm the seasonal pattern, then install crown molding fastened to the ceiling only.
- Seeing cracks that do not close in summer: skip the cosmetic fixes and get an engineer to look before anything is covered up.
- Building in the South on a slab: uplift is less common in mild winters, but the details cost so little that they are still worth including on long-span ranch plans.
Rules on truss connections and drywall fastening vary with local amendments to the IRC and with the truss manufacturer's documents, so review the details with your local building department, your engineer or the drafter adapting your plan.