The letter from the HOA architectural committee arrived three weeks after they had bought the plan. The couple, two kids and a dog, renting outside a fast-growing Southern metro, had closed on a 70-foot-wide lot in a new subdivision and picked a Modern Farmhouse drawn with board-and-batten and lap siding. The committee approved the style. It did not approve the cladding: the front elevation needed masonry, and so did the sides at least up to the window sills. What looked like a paint-and-trim question turned into a lesson in concrete, steel and water. This is how it went, and what they would tell anyone in the same spot.
Chapter 1: A plan drawn for siding meets a lot with rules
Their shortlist had come from the farmhouse plans they had been browsing for months. The favorite was a four-bedroom Modern Farmhouse of 2551 sq ft with a bonus room over the garage, sized right for the budget. A runner-up was a larger two-story farmhouse with four bedrooms, 3507 sq ft and a 3-car garage, and they also looked at a 3170 sq ft farmhouse with four bedrooms and a 3-car garage. All three were drawn with siding, which is normal for stock plans: siding is the default because it works on any foundation.
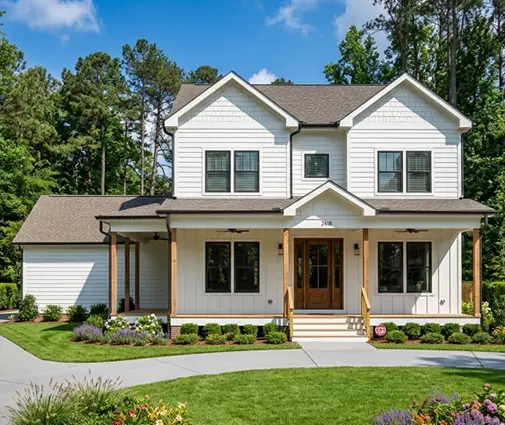
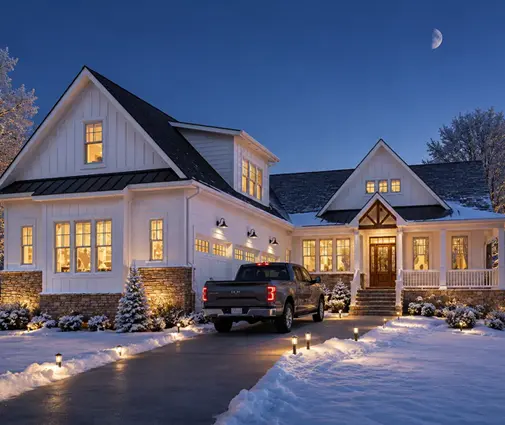
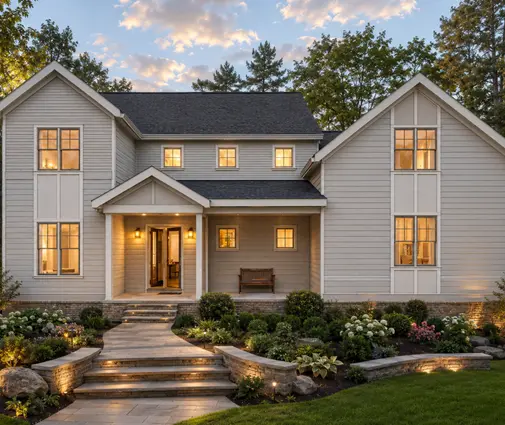
The builder they interviewed had built plenty of brick homes in the area and said the same thing twice: brick is fine, but it is not a finish you choose later. It sits on the foundation, it changes the outside dimensions of the house and it needs its own details at every window and door. If the decision waits until framing, the cheap fixes are gone.
Lesson: read the HOA design guidelines before you buy the plan, not after. Many subdivisions require a share of masonry on the front or on all sides, and that requirement changes the foundation, the wall sections and the budget.
Chapter 2: The brick starts in the concrete
Brick veneer on a wood-frame house is not glued to the wall. It is a separate, self-supporting skin of standard brick, about 3 5/8 inches thick, standing on its own ledge with a gap behind it. That ledge is cast into the foundation: on their slab-on-grade lot, the perimeter of the slab had to step out and down to form a brick ledge roughly 5 inches wide, enough for the brick plus a 1-inch air space. The ledge is usually set a little below the finished floor so the first course of brick starts below the sill plate and water has a place to drain out.
Five inches sounds small. On every brick wall it pushes the outside face of the house out by those 5 inches, so a house bricked on all four sides grows by about 10 inches in each direction. Their lot had 5-foot side setbacks and the farmhouse plan already used most of the buildable width with the garage. The drafter ran the numbers on the site plan: with brick on both sides, the house cleared the setbacks by just a few inches, and the roof overhangs, which some jurisdictions also measure, needed a second look. On a narrow lot that margin can disappear entirely.
The ledge also has to be where the brick is and nowhere else. Where brick wraps a corner and stops, where it changes to siding at a porch, and at the garage door jambs, the formwork crew needs a clear plan. A ledge forgotten at one corner means cutting concrete or bolting on a steel angle later, both more expensive than a correct form board.
Lesson: mark every brick wall on the foundation plan before the forms go in. Check the setbacks with the brick included, and if the lot is tight, decide whether the sides get full brick, a brick wainscot or siding.
Chapter 3: How the wall is actually built
The plan called for 2x6 studs at 16 inches on center with structural sheathing, which is the common wall in most of the country now. For brick, the builder walked them through the layers from the inside out: the frame, the sheathing, a water-resistive barrier (house wrap or a coated sheathing with taped seams), then the 1-inch air space, then the brick. The air space is not wasted room. Brick is porous and gets wet in every hard rain; the gap lets that water run down the back of the brick and out at the bottom instead of soaking into the sheathing.
The brick is held to the frame with corrugated metal wall ties, nailed or screwed through the sheathing into the studs and laid into the mortar joints as the brick goes up. The IRC section on anchored masonry veneer limits how much wall each tie may carry and how far apart they may be; in most areas the familiar rule is no more than 32 inches horizontally and 24 inches vertically, with extra ties around openings. High-wind and seismic areas tighten this, and local amendments vary, so the builder had the engineer confirm the spacing for their county.
At the base of the wall, flashing runs from behind the water-resistive barrier, down across the air space and out past the face of the brick. Just above it, weep holes or weep vents are left in the first course, typically no more than 33 inches apart, so the water caught by the flashing can leave. The same thing happens above every window and door: a steel angle lintel carries the brick over the opening, with flashing on top of it, end dams at each side and weeps just above. Windows also needed jamb extensions, because a brick wall is thicker than a sided one and the trim has to reach the brick face.
Cost was the last part of the conversation. In 2025 and 2026, installed brick veneer in their market ran very roughly two to three times the price of fiber cement per square foot of wall, before the ledge and lintels. That is why many families choose a brick wainscot to sill height on the sides and full brick on the front, which satisfied their HOA.
Lesson: brick veneer is a drainage system, not just a facing. Air space, ties, flashing, weeps and lintels each have a job, and the cost estimate should include all of them, not only the brick and mortar.
Chapter 4: The sheets the drafter had to change
A stock plan is a starting point; a local drafter or engineer adapts it for the lot, the code edition the county has adopted and changes like this one. For their brick conversion, the revision list looked like this:
- Foundation plan: brick ledge locations, widths and drops, new overall dimensions, and where the ledge stops.
- Site plan: the new footprint with brick, and setback distances measured to the brick face and to the eaves.
- Exterior elevations: which walls are brick, where the wainscot ends, the transition to siding and trim.
- Wall sections and details: the veneer build-up, base flashing, weeps, and the connection at the roof line, where the brick must stop below the soffit with a frieze board or flashing.
- Window and door schedule and header details: steel lintel sizes and bearing length (at least 4 inches on each side in common practice), plus jamb extensions.
- Structural notes: tie type and spacing, and any seismic or wind requirements the county adds.
They noticed that the plans that looked best in brick had been drawn with it in mind. A French Country and Modern Tudor plan with five bedrooms and 4133 sq ft already had masonry, steep gables and window placements spaced for lintels, while a simple one-story Modern Ranch of 2112 sq ft with four bedrooms showed how straightforward the details can be on a single-story wall with no gable brick.
Lesson: ask the drafter for a written list of revised sheets and make sure the permit set, not an older version, is the one on site. Brick changes more pages than people expect.
Chapter 5: What they watched for on site
The county inspected the framing and sheathing before the brick went up, but no inspector watches every course. The builder suggested they walk the house at a few key moments, and they kept a short list of the defects that cause most brick-veneer leaks:
- Mortar in the air space. Droppings piling up at the base bridge the gap and block the weeps. Masons often use a mesh drainage mat or keep the cavity clean as they go.
- Missing or blocked weeps. Weeps covered by mortar, by sealant, or later by mulch and soil. Grade must stay below them.
- Flashing that stops short. Base and lintel flashing should extend past the face of the brick, lap under the house wrap, and have end dams at openings.
- Ties in the wrong place. Ties nailed only into sheathing instead of studs, bent at odd angles, or not embedded in a mortar joint.
- Lintels without bearing or flashing. Short angles, or lintels with no flashing above them.
- Brick tight to the soffit. The roof framing needs a small gap so the frame can shrink and move without crushing the top course.
On their house, the first walk found two windows on the side elevation with no end dams and a corner where the mason had packed mortar behind the first course. Both were fixed in an afternoon, because the brick was only four feet high.
Lesson: visit when the first courses are laid and again when the brick reaches the window heads. Problems behind the brick are cheap to fix at that stage and very expensive once the wall is finished.
Chapter 6: Moving in, and what they would do again
They moved in eleven months after closing on the lot. The house has full brick on the front, a brick wainscot on the sides, siding above, and a ledge that runs exactly where the brick does. The appraisal reflected the masonry, and the HOA signed off without a second review. Friends building nearby with a smaller four-bedroom Southern cottage of 1916 sq ft made the same call to brick the front only, after hearing the story.


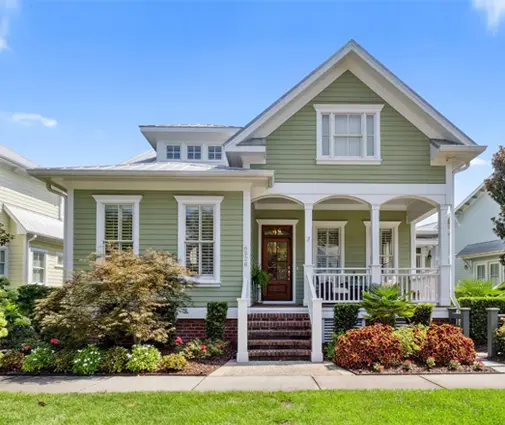
Looking back, the only real mistake was timing: they bought the plan before reading the HOA rules. Everything else, the ledge, the setback check, the revised sheets, the site walks, simply followed from treating brick as part of the structure rather than a color choice. For anyone starting now, the order is simple: lot rules, cladding decision, plan revisions, then concrete. Rules on ties, flashing and lintels differ by county and code edition, so confirm the details with your local building department or an engineer before the forms go in.
Lesson: decide on brick, where it goes and how high, before the foundation plan is final. After the slab is poured, every change costs more than doing it right on paper.



