A common mistake on rural land goes like this: the buyer calls the county, hears "we don't have a building code out here," and concludes they can build however they like. A year later the power company won't set the meter, the lender won't release the final draw, and the insurer wants proof the roof was nailed to a standard. A county that hasn't adopted the International Residential Code, or doesn't inspect single-family homes, still leaves most of the important rules in place. They come from other agencies, the electric utility, your lender and your insurance company.
The steps below put those requirements in a workable order. Costs are typical 2025 ranges for rural projects. Fees vary widely by state and county, so confirm current rules with each agency before you commit money.
Step 1: Find out exactly what "no code" means in your county
"No building code" can mean several things. Some counties have no adopted code at all. Others have a code on paper but no inspectors. Others exempt only certain houses, such as an owner-builder's home on a large parcel. A few states have a statewide residential or energy code that applies even where the county does nothing. Zoning, setbacks and minimum lot sizes may also apply without a building department.
Call the county planning or zoning office and your state's building codes office. Ask three questions: which code applies to my parcel, who enforces it, and which permits I still need. Get the answers in writing or by email so you have a record.
Time: 1 to 2 weeks. Cost: usually nothing.
Step 2: Get the septic system approved before anything else
On land without a sewer line, the septic permit is often the real gatekeeper. It is usually issued by the county health department or a state environmental agency, and it rarely depends on whether the county enforces a building code. A soil evaluation or perc test shows whether the ground can take a conventional drainfield or needs an engineered system such as a mound.
The septic design is sized by the number of bedrooms, not square footage. That ties it directly to your house plan. Settle on the bedroom count before the design is drawn. Adding a bedroom later can mean a larger drainfield, and some lots don't have room for one.
Time: 2 to 8 weeks, longer if soils must be tested in a wet season. Cost: roughly $500 to $2,000 for soil work and design. A conventional system costs about $5,000 to $15,000 installed, and an engineered system can run $15,000 to $30,000 or more.
Step 3: Permit and drill the well
In many states, wells are permitted by a state water resources or health agency, and drillers must be licensed. There are setback distances between the well, the drainfield, property lines and the house, so plan the septic and well locations together on one site sketch. Lenders often require a water quality test and sometimes a flow test before closing.
Time: 2 to 6 weeks, depending on driller availability. Cost: commonly $25 to $65 per foot of depth plus the pump and pressure tank. Total cost is often $8,000 to $25,000, depending on how deep the water is.
Step 4: Plan for the state electrical permit and the utility
Electrical work is where "no code" most often falls apart. Many states run their own electrical permit and inspection program for areas without local inspectors. Even where they don't, the electric cooperative or utility typically requires an inspection or a signed release before it connects permanent power. Some states also require a licensed electrician unless you qualify as an owner doing work on your own home.
Ask the utility early about the line extension. On a long rural driveway, the cost of bringing power to the house can surprise people.
Time: permits take days; utility line extensions can take 1 to 4 months. Cost: about $100 to $500 for the permit. Line extensions range from a few thousand dollars to well over $20,000 for long runs.
Step 5: Get the address, driveway and floodplain checks done
Three small permits are easy to forget:
- A 911 address. The county assigns it, and the utility, lender and insurer all need it.
- A driveway or access permit. It comes from the county road department, or from the state DOT if you connect to a state highway. A culvert is often required.
- A floodplain development permit if any part of the lot is in a mapped flood zone. Communities in the National Flood Insurance Program must regulate floodplain building whether or not they enforce a building code.
Time: 1 to 4 weeks. Cost: address assignment is usually free to about $100. Driveway permits are roughly $50 to $500, plus $1,000 to $3,000 for a typical culvert.
Step 6: Choose a plan drawn to the IRC and adapt it to the site
When nobody reviews your drawings, the plan itself is your quality control. A stock plan drawn to the IRC already has code-compliant stair dimensions, egress windows, header sizes, braced wall lines and smoke alarm locations. A hand sketch has none of that. A local engineer or drafter can then adapt the plan to your snow load, wind speed, seismic zone and soils, and choose the right foundation. In the North and Midwest that is often a basement. In the South it is usually slab on grade.
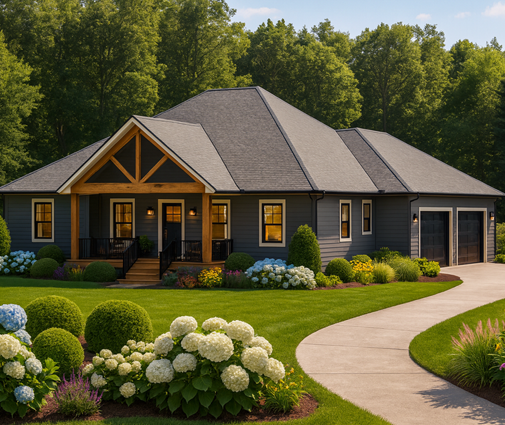
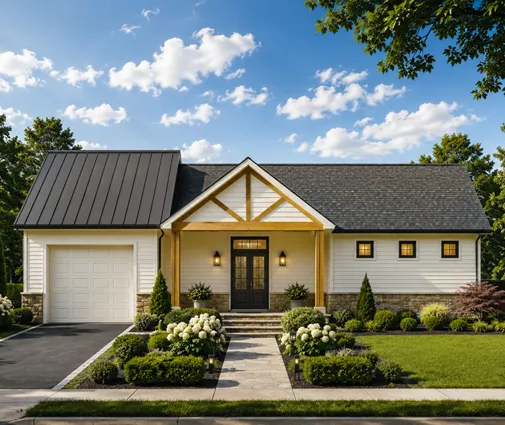
Simple single-story layouts are the easiest to adapt and build on rural land. One example is this 3-bedroom Craftsman ranch of 1,972 sq ft with a 2-car garage. For colder regions, a 1,777 sq ft farmhouse with 3 bedrooms and a full basement shows how a compact footprint works over a basement. Larger acreage suits plans like this 2,951 sq ft modern ranch with a 3-car garage. You can compare more layouts in the ranch house plans and plans with a basement.

Time: 2 to 6 weeks for modifications and engineering. Cost: about $1,000 to $5,000 for modifications. An engineer's review and stamp typically adds $500 to $2,500.
Step 7: Talk to the lender, appraiser and insurer before you break ground
Construction lenders want a full set of plans, a cost breakdown and a way to verify work before each draw. Where there are no county inspections, many lenders require third-party inspections, an engineer's letter or both. Government-backed loans have their own rules for new construction, so ask before you choose a loan type.
Appraisers compare your home with nearby sales and note anything that looks substandard. Insurers may ask about the roof covering, the attachment of the roof to the walls, the electrical service and the heating system. In hurricane-prone areas, documented wind-resistant construction can lower premiums. Bring your plans to all three conversations.
Time: 2 to 4 weeks, overlapping with Step 6. Cost: appraisal fees often run $500 to $1,000, usually paid at loan closing.
Step 8: Hire private inspections during construction
Without a county inspector, hire your own. A third-party inspector checks the work against the IRC at the stages a building department would. The usual stages are:
- Footings or foundation before the pour
- Framing, after the roof is on and before insulation
- Insulation before drywall
- Final inspection
Ask for written reports with photos at each stage. These reports satisfy most lenders and become valuable later.
Time: each visit is 1 to 3 hours and should be scheduled into the build. Cost: roughly $300 to $600 per visit, or $1,500 to $4,000 for a full series.
Step 9: Build a paper trail for resale
Your eventual buyer's lender and inspector will ask the same questions yours did. Keep everything in one binder or folder:
- The plan set and engineering
- The septic, well and electrical approvals
- Inspection reports and the well water test
- Product warranties
A house built from a recognized, code-compliant plan with documented inspections appraises and sells like any other home. A house with no drawings and no records invites low offers and lender refusals.
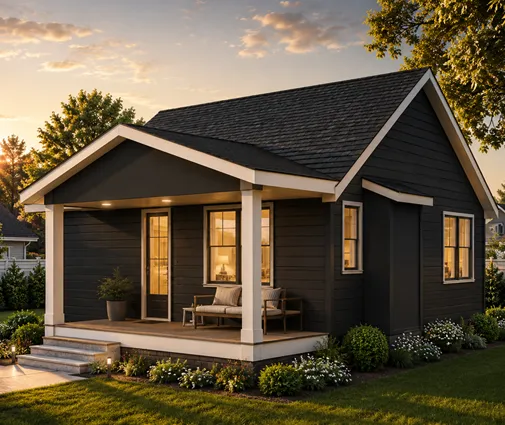
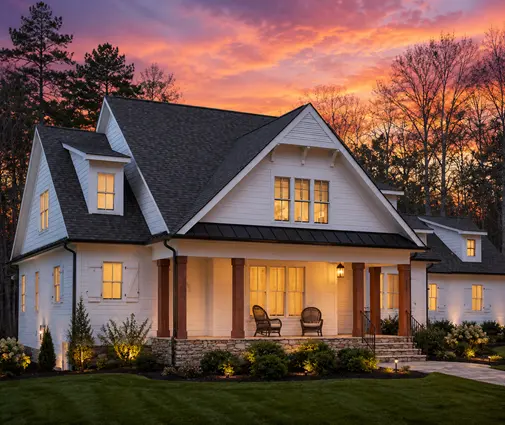
This matters for small homes too. A 750 sq ft, 2-bedroom cabin or a 1,616 sq ft two-story Craftsman with 3 bedrooms will be judged on paperwork the same way a large farmhouse is. Owners planning a bigger home can look at a 4-bedroom modern farmhouse of 2,488 sq ft or browse the farmhouse plans.

Time: ongoing. Cost: minimal, as long as you collect documents as you go.
Timeline at a glance
| Step | Typical duration | Typical cost (2025) |
|---|---|---|
| 1. Confirm local rules | 1–2 weeks | $0 |
| 2. Septic evaluation, design, permit | 2–8 weeks | $500–$2,000 (system $5,000–$30,000+) |
| 3. Well permit and drilling | 2–6 weeks | $8,000–$25,000 |
| 4. Electrical permit and utility | Days to 4 months | $100–$500 permit, plus line extension |
| 5. Address, driveway, floodplain | 1–4 weeks | $50–$3,500 |
| 6. Plan and engineering | 2–6 weeks | $1,500–$7,500 |
| 7. Lender, appraiser, insurer | 2–4 weeks (overlaps) | $500–$1,000 appraisal |
| 8. Private inspections | Throughout the build | $1,500–$4,000 |
| 9. Paper trail | Ongoing | Minimal |
Most owners should allow 3 to 6 months of preparation before the foundation is poured. Start the septic and utility steps first, because they are the slowest and the hardest to change once the house is designed.