Two inches. That is the whole difference between a 2x4 and a 2x6 exterior wall, and it reaches further than most people expect. It changes how much insulation fits in the wall, which windows and doors you order, what the framer bids, and on a tight lot, whether the house still fits inside the setbacks. Many stock house plans sold in the US now show 2x6 exterior walls by default, but that does not mean the choice is already made for you. Here is how to check it, stage by stage, before the plan goes to permit.
Stage 1: Read what the plan actually specifies
- Wall section: find the typical wall section in the construction drawings. It should state stud size, spacing (16 or 24 inches on center), sheathing, insulation and the interior finish.
- Dimensions: check whether the floor plan dimensions are taken to the outside of the sheathing or to the face of the studs. A 2x4 stud is actually 3-1/2 inches deep, a 2x6 is 5-1/2 inches, and that gap shows up in every room along an outside wall.
- Window and door schedule: look for the jamb depth. A typical 2x4 wall with 1/2-inch sheathing and 1/2-inch drywall takes a 4-9/16-inch jamb; the same wall in 2x6 takes about 6-9/16 inches.
- Notes: check for a line such as "2x4 framing available" or "contact designer for alternate framing". Some plans are drawn for both.
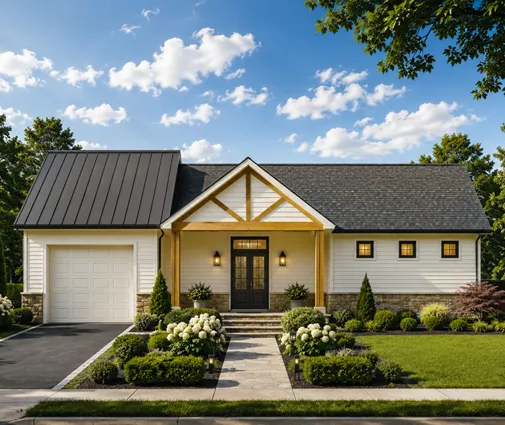
Advice: ask for the wall section before you buy, not after. A one-story plan like this 2-bedroom modern ranch of 2086 sq ft has long, simple exterior walls, so the framing choice affects almost every room facing out, while the structural impact stays modest.
Stage 2: Match the wall to your climate and energy code
- Climate zone: find your county's climate zone in the energy code your state or city has adopted. Local amendments matter, and not every jurisdiction is on the latest edition.
- Cavity R-value: a 2x4 cavity typically holds R-13 or R-15 batts; a 2x6 cavity holds R-19 to R-21. Dense-pack cellulose or spray foam changes those numbers.
- Continuous insulation: in colder zones the code often asks for either a deeper cavity or a 2x4 wall plus rigid foam on the outside. Compare both paths, because foam sheathing affects window flashing and siding attachment.
- Southern climates: in the warmest zones, codes have generally still accepted R-13 in a 2x4 wall. There, air sealing, roof insulation and window solar heat gain often matter more than wall depth.
- Northern and Midwest climates: heating loads are higher, and 2x6 is the common default because it reaches code minimums without extra layers.
Advice: the honest answer to "is 2x6 worth it in the South?" is "sometimes". On a slab-on-grade ranch in a hot, humid climate, the money may do more in the attic, the ductwork or better windows. In Minnesota or upstate New York, 2x6 walls are close to the baseline. Confirm the requirement with your building department or energy rater, since thresholds differ by code edition.

Stage 3: Price the real difference, not just the lumber
- Lumber: a 2x6 holds about 57 percent more wood than a 2x4 of the same length. Lumber prices have swung widely in recent years, so get a current quote from your supplier rather than relying on an old estimate.
- Stud count: 2x6 walls framed at 24 inches on center use roughly a third fewer studs than 2x4 walls at 16 inches, which narrows the material gap considerably.
- Windows and doors: deeper jambs or extension jambs add cost per opening. On a house with many large windows, this line can surprise you.
- Insulation: thicker batts or more blown-in material cost more, but usually less than adding exterior rigid foam to a 2x4 wall.
- Floor area: on a footprint with 180 feet of exterior wall, two extra inches of depth take about 30 sq ft of interior space if the outside dimensions stay the same.
- Appraisal: energy features rarely appraise dollar for dollar. Ask your lender or appraiser how they treat them in your market.
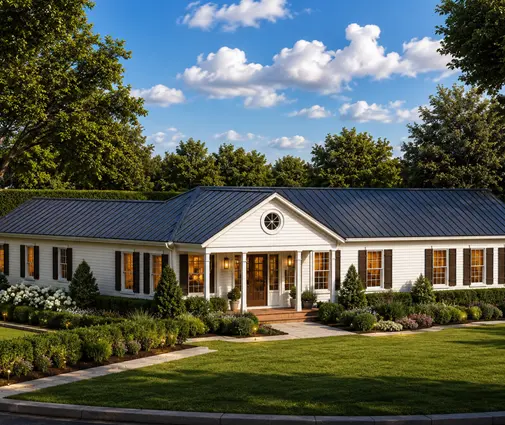
Advice: as of 2025 and 2026, builders often describe the upgrade from 2x4 to 2x6 exterior walls as adding a few thousand dollars on a typical 2,000 to 2,500 sq ft home, but the range is wide and depends on lumber prices, window count and local labor. Ask your framer to bid both options from the same plan. A wider single-story house such as this 3-bedroom traditional ranch of 2565 sq ft has a lot of exterior wall per square foot, so the difference shows up more there than on a compact two-story.
Stage 4: Decide on advanced framing
- 24-inch spacing: 2x6 studs at 24 inches on center are allowed by the IRC for many single-story and two-story walls, subject to wall height and loads. Check the plan's span and height tables.
- Two-stud corners: replacing a three- or four-stud corner with two studs and drywall clips leaves room for insulation where cold corners usually form.
- Insulated headers: a box or sandwich header with rigid foam between members, sized only as large as the load requires, reduces solid wood over windows.
- Stacked framing: aligning studs with floor joists and rafters can allow a single top plate. This needs to be designed in, not improvised on site.
- Ladder blocking: where interior walls meet exterior walls, ladder blocking replaces extra full-length studs.
- Drywall and siding: confirm with your installers that 24-inch spacing works with the drywall thickness and siding you plan to use.
Advice: advanced framing works best when the plan was designed on a 2-foot module, with windows and doors placed to line up with studs. A compact plan such as this 3-bedroom country farmhouse of 1777 sq ft with a basement is a good candidate. Tell your framer early; crews used to 16-inch spacing will default to it unless the drawings say otherwise.
Stage 5: Know when the plan must be converted
- Tight setbacks: if you keep the interior room sizes and push the walls out, the footprint grows by a few inches on each side. On a narrow lot or near an HOA building line, a drafter should check the site plan.
- Stairs and hallways: converting 2x6 to 2x4 while keeping the outside dimensions can shift interior walls and stair widths. Someone has to recheck code minimums.
- Structural design: in hurricane or seismic zones, shear walls, hold-downs and nailing schedules are engineered for a specific wall. Changing stud size or spacing usually means the local engineer reviews it again.
- Tall walls: two-story foyers and great rooms with vaulted ceilings often need 2x6 or engineered studs regardless of the energy choice.
- Energy compliance: if you switch to 2x4 in a colder zone, the energy calculations or prescriptive path must be redone.
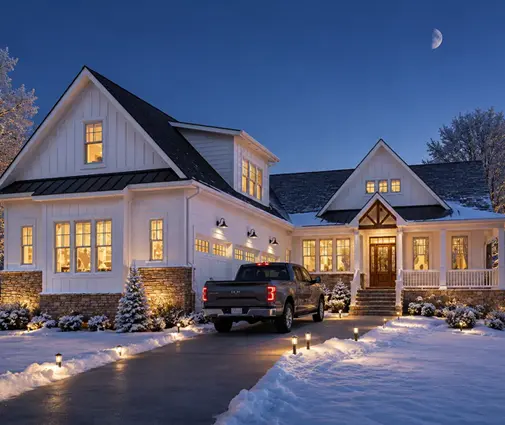
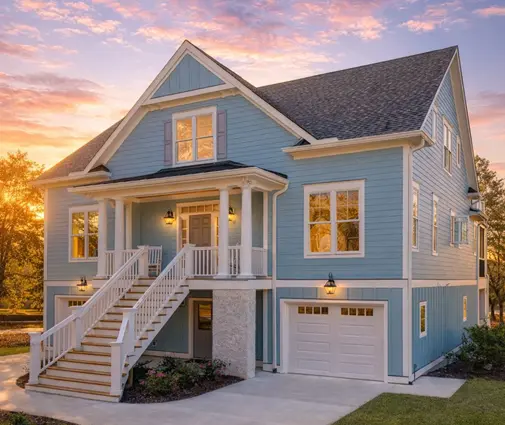
Advice: a stock plan is meant to be adapted, and changing wall thickness is a routine request for a local drafter. Do it before permit drawings, not during framing. For a raised coastal home like this 4-bedroom, four-level beach house of 3291 sq ft, or a 3-bedroom Low Country farmhouse of 1980 sq ft, wind design usually drives the wall details more than insulation does, so the engineer's notes take priority. A taller, more vertical home such as this 3-bedroom Colonial of 2261 sq ft also deserves a check on stud height limits.
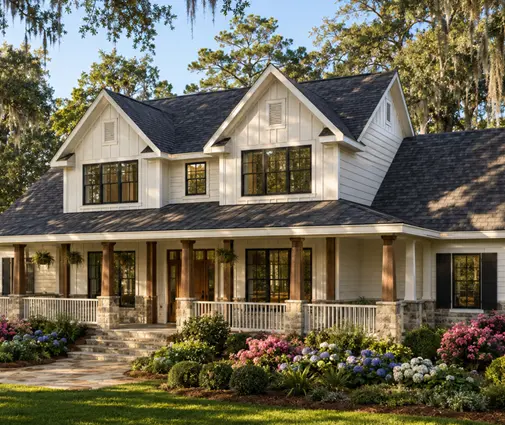
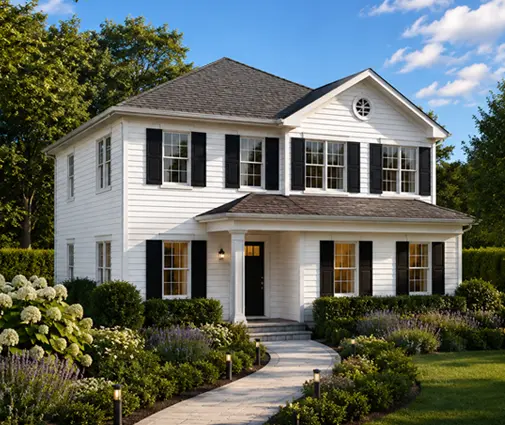
If you are still choosing a layout, the one-story plans and ranch-style plans make the cost trade-off easiest to see, while plans with basements are common in the North, where 2x6 walls are usually the starting point.
The most common mistakes
- Ordering windows early with the wrong jamb depth for the walls that were actually framed.
- Assuming 2x6 means energy-efficient while skipping air sealing, which often matters more than the extra R-value.
- Converting the plan on site instead of in the drawings, and losing space in hallways or stairs.
- Ignoring the lot: thicker walls pushed outward that cross a setback line.
- Framing 2x6 at 16 inches on center out of habit, paying for more wood and getting more thermal bridging.
- Not checking the local code edition and finding out at plan review that the wall does not comply.