Count the studs in a typical 2x6 exterior wall on a new house and you will often find that wood takes up a quarter of the wall area or more. That wood is a weak spot for insulation. Each stud, cripple and header is a path for heat to leak through. Advanced framing, also called optimum value engineering (OVE), moves that wood back to where it actually carries load. Most framing crews still lay out 16 inches on center because that is how they learned. Switching is not hard, but it has to be planned before the first plate is snapped, not argued about on the slab. Here is how to do it in order.
Step 1: Decide before the plans are finished
Advanced framing works best when the house is designed around it. Wall lengths in 2-foot increments, window openings that land on the 24-inch grid, and stacked bearing walls between floors make it easy. Retrofitting the idea onto a finished plan set gives you fewer savings and more awkward details.
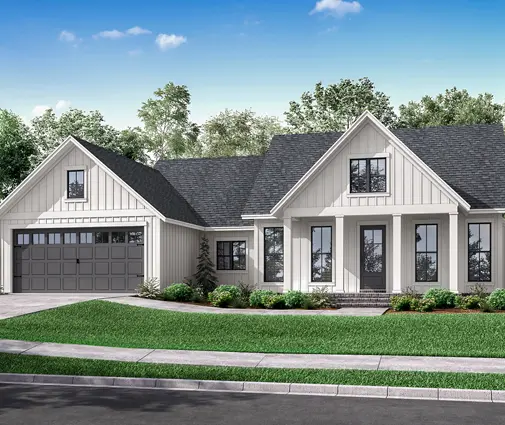
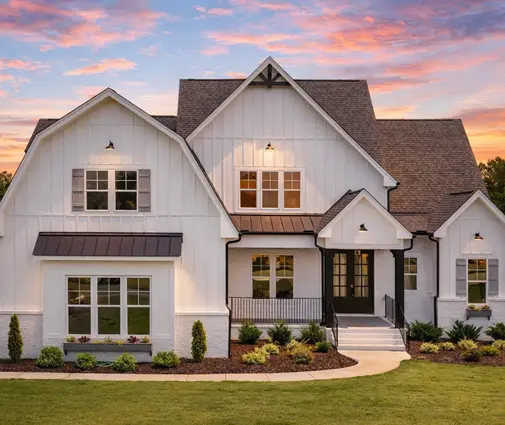
If you are buying a stock plan, tell the drafter or engineer who adapts it for your lot that you want OVE details in the framing sheets: stud spacing, corner and intersection details, header schedule and top plate notes. Simple rectangular footprints suit it well. A 4-bedroom, 3,390 sq ft Modern Farmhouse on two stories with mostly straight exterior walls is a good candidate. A plan with many jogs and bump-outs saves less, because every corner adds wood.
Time: 1 to 3 weeks of plan revisions. Cost: often included in the plan adaptation fee; separate framing detail sheets typically ran a few hundred to about $1,500 in 2025, depending on the drafter.
Step 2: Check what the IRC and your jurisdiction allow
The International Residential Code permits 2x6 studs at 24 inches on center in bearing walls in many common cases. The stud spacing table in section R602.3 generally allows 24-inch spacing for 2x6 walls carrying a roof, a ceiling and one floor above. That covers the first-floor walls of most two-story homes. It also covers wall height limits that fit 8 and 9 foot walls. The IRC also includes provisions for single top plates with in-line framing, header omission in non-bearing walls, and two-stud corners.
Your city or county adopts the code with its own amendments, though. In high-wind coastal counties and seismic zones, the wall bracing or engineered shear walls may require closer spacing, more hold-downs or specific nailing. Call the building department or ask your engineer before you commit. Some inspectors are unfamiliar with OVE, and a short note on the plans citing the code sections saves a stop-work conversation later.
Time: a phone call or a pre-application meeting. Cost: usually nothing.
Step 3: Lay out on a 24-inch grid and stack the framing
In-line framing, or stacked framing, means every load path lines up: roof truss over stud, stud over floor joist, joist over the stud below. When loads travel straight down, the code can allow a single top plate instead of a doubled one, as long as the members land within about an inch of the stud and the plate splices are tied with metal straps. With a single top plate you also do not need to double the studs under every truss that misses.
- Order trusses and floor joists at 24 inches on center, with the layout starting from the same end as the walls.
- Mark the truss and joist layout on the plates before the walls are stood.
- Keep bearing walls on the second floor directly over bearing walls on the first floor wherever the plan allows.
Plans with simple two-story massing stack easily. Deep cantilevers and offset upper floors need more engineering.
Time: no extra on site once the crew is used to it. Cost: floor trusses or I-joists at 24 inches may need a deeper or stiffer member, which can eat part of the savings. Price both options.
Step 4: Build two-stud corners and ladder blocking
A conventional exterior corner uses three or four studs, and the pocket between them is nearly impossible to insulate. A two-stud corner, often called a California corner, uses one stud at the end of each wall. The interior drywall is caught with metal or plastic drywall clips or a single piece of backing. The whole corner can then be filled with insulation.
Where an interior partition meets an exterior wall, skip the usual stud pack. Instead, nail flat 2x4 or 2x6 blocks between two regular studs, about 24 inches apart vertically. This is ladder blocking. It gives the partition something to fasten to and leaves the cavity behind it open for insulation.
Time: about the same as conventional framing. Cost: drywall clips cost little, roughly $0.30 to $1 each in 2025, and a house uses a few hundred at most.
Step 5: Size headers to the load, not to habit
Many crews put a doubled 2x12 over every opening, including non-bearing gable walls and interior partitions that carry nothing. Under the IRC, non-bearing walls generally need no structural header at all. A flat 2x plate is enough. In bearing walls, size each header from the code header tables or the engineer's schedule.
- Use a single header with rigid foam behind it, or a box header, where the table allows it.
- Where the engineer or code allows it, use header hangers in place of jack studs.
- Line up rough openings with the 24-inch layout so one side of the window uses a regular stud as the king.
- Drop cripples under windows that fall between layout studs, or keep them on layout.
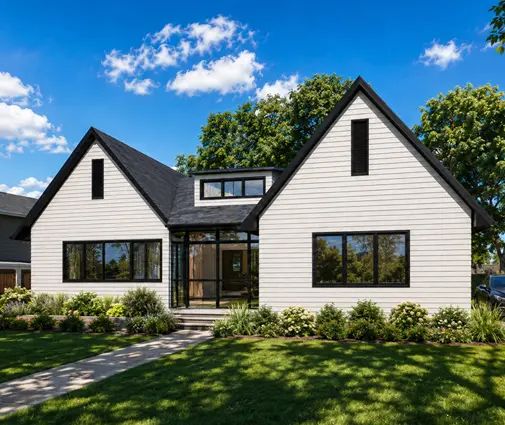
This matters most on homes with lots of glass. A two-story Modern Craftsman with 4 bedrooms in 3,251 sq ft has wide window groupings, and every oversized header there is a cold spot.
Time: part of the plan revision in Step 1. Cost: saves lumber; LVL headers, where needed, run higher per foot but are sized to load.
Step 6: Coordinate sheathing and shear walls with the engineer
This is the step that cannot be skipped. Wall bracing and shear walls depend on sheathing, nailing and hold-downs, not just on stud count. A 4x8 sheet of OSB or plywood still breaks on studs at 24 inches on center. Panel edges must land on framing or blocking, and edge nailing schedules stay the same or get tighter.
In hurricane regions along the Gulf and the Atlantic coast, and in seismic areas in the West, the engineer may keep 16-inch spacing in specific shear wall segments. They may also call for thicker sheathing or more hold-downs at the corners. That is fine. Advanced framing does not have to be all or nothing; many houses use 24-inch spacing on most walls and closer spacing where the shear design demands it. A 4-bedroom Modern Farmhouse with a basement, two stories and 3,590 sq ft in the Midwest will face different bracing rules than the same home on the coast. For basement homes, confirm how the sill and rim tie into the foundation as well; many plans in the basement collection carry heavier first-floor loads that the engineer should review.
Time: 1 to 2 weeks for the engineer's review. Cost: a residential structural review or stamp often ran $500 to $2,500 in 2025, depending on region and complexity.
Step 7: Plan drywall, siding and finish backing
Wider spacing changes a few things for the trades that follow:
- Drywall: 1/2-inch board works on walls at 24 inches. On ceilings at 24 inches, use sag-resistant 1/2-inch ceiling board or 5/8-inch, especially under heavy blown insulation.
- Siding: fiber cement, lap siding and some vinyl products have their own fastening rules, and some require nailing into studs at set spacing. Read the manufacturer's installation guide before you pick the siding, or the warranty may not apply.
- Backing: plan blocking for upper cabinets, towel bars, grab bars, TV mounts and the mudroom bench. With fewer studs, you will not hit wood by luck.
A home like the 4-bedroom Southern Low Country plan with 3,215 sq ft, with long runs of lap siding and porch trim, needs this checked early.
Time: a meeting with the drywall and siding subs. Cost: ceiling board adds a little per sheet; extra blocking is minor.
Step 8: Bid it, inspect it and measure the savings
Put the OVE details in the framing contract, not just on the plans. Ask the framer to price it both ways, and walk the first wall before it is stood. Crews new to the method sometimes add studs out of habit, which erases the savings.
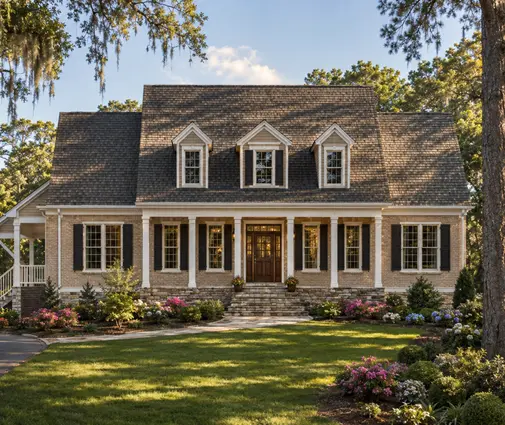
What can you expect? On a typical two-story home of about 2,500 to 3,500 sq ft, 24-inch spacing, two-stud corners, ladder blocking and right-sized headers often remove somewhere around 150 to 300 pieces of framing lumber. At 2025 prices, that is roughly $1,500 to $4,000 in materials. Labor savings vary; some framers pass them on, others do not at first. The longer-term value is thermal. The wood share of an exterior wall can drop from roughly 25 percent toward 15 to 18 percent, so more of the wall is insulated. This also helps if your area follows a newer energy code. Treat these as estimates and check them against your own lumber takeoff. A smaller home like the 3-bedroom French Country cottage with 1,890 sq ft on two stories saves proportionally less in dollars, but the insulation gain is the same.
Time: framing usually takes 3 to 6 weeks on a two-story home, about the same as conventional framing. Cost: savings, not extra cost, once the plans are right.
Timeline at a glance
| Step | When | Typical duration | Typical cost (2025) |
|---|---|---|---|
| 1. Plan revisions for OVE | Design | 1 to 3 weeks | $0 to $1,500 |
| 2. Code and amendment check | Before permit | 1 to 3 days | Usually $0 |
| 3. 24-inch layout and stacking | Truss and joist order | Part of ordering | Varies by floor system |
| 4. Corners and ladder blocking | Framing | No extra time | Small, for clips |
| 5. Header sizing | Design and framing | Part of Step 1 | Saves lumber |
| 6. Shear wall and engineer review | Before permit | 1 to 2 weeks | $500 to $2,500 |
| 7. Drywall, siding and backing | Before framing | One meeting | Minor |
| 8. Bid, inspect, measure | Framing | 3 to 6 weeks of framing | Saves about $1,500 to $4,000 |