Can someone who has never swung a framing hammer run the construction of a house? Yes, and plenty of families do. Here is the short answer on how to be your own general contractor: choose a plan that is simple to build, have it adapted to your lot and code, pull the permit as an owner-builder, insure the site, hire each trade on a written scope, schedule them in the right order, book every inspection, and pay only against a lien waiver. A builder's fee often runs 10 to 20 percent of the construction cost, so on a $400,000 house in 2025 you are looking at $40,000 to $80,000 kept in your pocket. In exchange, you take on the phone calls, the mistakes and the risk. The seven steps below show where beginners lose the most, with a plan for each.
1. Pick a house a beginner can actually manage
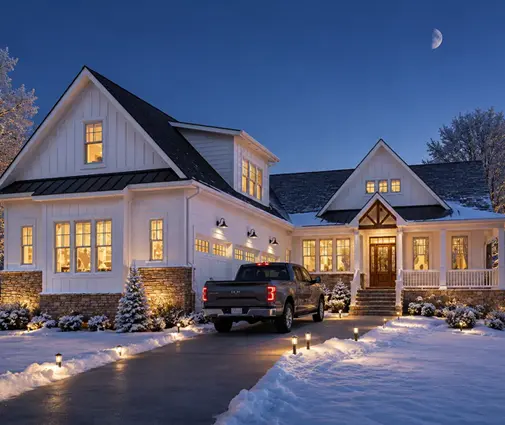
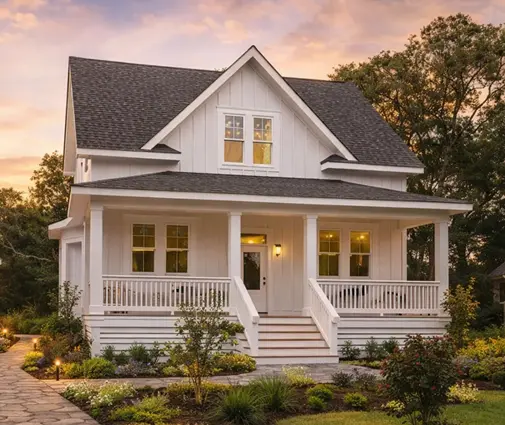
Your first decision does more for the budget than any negotiation later. Every hip, valley, cantilever and change in floor height adds labor and adds chances for trades to blame each other. A compact box with one main roof line is the friendliest project for a first-timer. The four-bedroom country cottage is a good example: two floors stacked over a tidy footprint and no attached garage, which means one less slab, one less fire separation wall and one less overhead door installer to coordinate. The Acadian-style home with a single garage bay keeps things similarly modest while still giving you a proper front porch.
When you browse single-family house plans, read the roof plan and the foundation sheet before falling for the kitchen. Those two pages tell you how hard the job will be.

2. Adapt the plan before you ask anyone for a price
A purchased plan is a starting point, not a permit set. Your county will want a site plan showing setbacks, and in many places a local engineer has to check the foundation and the lateral bracing for your soil, wind and seismic conditions. Energy code paperwork may be needed too. Do all of this first. If you collect bids on drawings that later change, you will collect them twice.
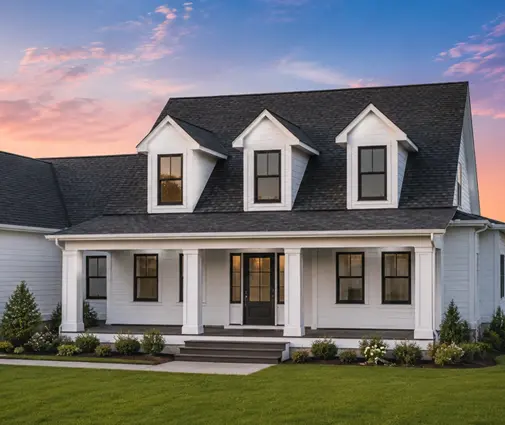
Detail-rich designs need extra attention here. The shingle-clad Craftsman with deep trim and layered gables looks wonderful, but the finish carpentry schedule should be spelled out on the drawings, otherwise every carpenter will price a different house.
3. Get the permit in your own name
Most cities and counties let a homeowner pull a building permit for a residence they will live in, usually after signing an owner-builder affidavit. Some jurisdictions add conditions, such as limits on selling the house soon after completion or rules about which trades must still be licensed; electrical and plumbing work is often one of them. These rules vary a lot, so call the building department before you buy the lot, not after.
Check zoning and any HOA design review at the same time. A tall, slender design such as the four-level modern townhouse-style home can fit a tight city parcel beautifully, yet height limits or architectural guidelines may force changes. Browsing narrow lot designs helps you compare options that already respect a slim footprint.
4. Insure the job before the first truck arrives
Two policies matter from day one. Builder's risk covers the structure and stored materials against fire, storms, vandalism and theft while the house is going up. General liability protects you if someone gets hurt on your property. Ask several agents for quotes, since premiums depend on value, location and duration.
Then require a certificate of insurance from every sub, showing their own liability and workers' compensation coverage. An uninsured crew member who falls from a ladder can become your claim. Location raises the stakes: an elevated coastal home like the raised beach cottage with living space above parking sits in wind and flood country, where coverage costs more and inspectors look closely at piling and strap details.
5. How to be your own general contractor when the bids come in
Ask for at least three bids per trade, and give everyone the same written scope: what is included, who supplies materials, who hauls debris, who installs blocking for cabinets and grab bars, and what happens if an inspection fails. Gaps between trades are where first-timers bleed money. The framer assumes the plumber cuts the holes, the plumber assumes the framer leaves room, and you pay for the fix.
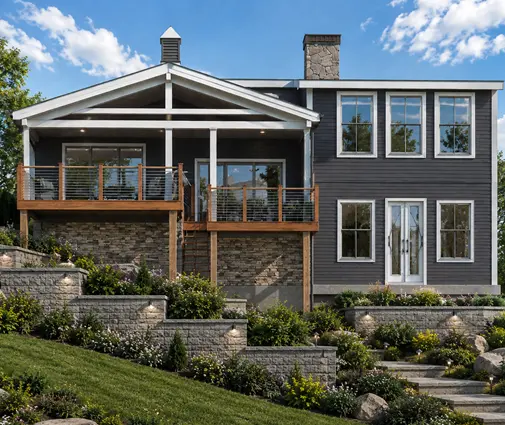
Be wary of the lowest number if the bid is one line long. A home with large glass walls, like the modern farmhouse with tall windows across the back, can produce bids that differ by thousands simply because one installer included flashing and trim and another did not. Your lender will also want this paperwork; many banks are cautious about owner-builders, so line up a construction loan that allows it early.
6. Line up the trades and the inspections in order
The typical sequence runs like this: survey and excavation, footings and foundation, framing, roofing and windows, rough plumbing, electrical and HVAC, insulation, drywall, interior trim and cabinets, finishes, then final grading and landscaping. Inspections sit between those stages, usually at footings, foundation, framing and rough-ins, insulation and final. Covering work before it is approved is one of the most expensive beginner errors, because walls get opened again.
A below-grade level stretches the early weeks. The Southern Greek Revival home with a full basement needs excavation, waterproofing, drain tile and a backfill that should wait for inspection and the floor framing above. If you are weighing plans with a basement, build those extra weeks into your schedule.



7. Order early, store safely, pay against a lien waiver
Some items cannot be bought the week you need them. Windows, exterior doors, roof trusses and custom cabinets can take weeks or months. A design with many window shapes and a complex roof, like the French Country farmhouse with steep gables, makes this especially true. Place those orders as soon as the framing schedule is firm, and plan where deliveries will live on site so they do not sit in rain or disappear overnight.
Every payment should come with a lien waiver from the sub, and for big material orders, from the supplier too. A conditional waiver goes with the check; an unconditional waiver follows once the money clears. Without them, a supplier your sub never paid can file a lien on your home. Never pay far ahead of completed work, and keep a folder with every bid, invoice, waiver and inspection card.
Before you hire the first sub, know three things: your budget includes a 10 to 15 percent contingency, your lender and county accept you as the builder, and you have time to be on site or on the phone most days. With those in place, the right drawings make the rest far easier, so start by comparing single-family homes that suit your lot and choose the one you can build with confidence.