A drywall delivery shows up on a Monday morning, but the insulation inspection is not booked until Thursday. That one gap can cost an owner-builder a week and a restocking fee. Being your own general contractor works when you keep a checklist with three columns for each phase: who you hire, which inspection signs off the work, and which papers you file before you move on. The questions below follow that order from the first permit to the certificate of occupancy. The cost ranges come from 2025 and early 2026 bids for a home of about 1,500 to 2,000 square feet. Copy the structure into a spreadsheet and you have a template you can price yourself.
What goes on a checklist for being your own general contractor?
A useful checklist splits the job into seven phases: pre-construction, site and foundation, framing and dry-in, rough-ins, insulation and drywall, finishes, and final occupancy. Each phase needs the same four lines: the trades to hire, the inspection that closes the phase, the documents to collect, and the money that leaves your account.
Keep it at the level of milestones, not daily tasks. A ten-page to-do list gets abandoned by week three. A one-page sheet per phase, taped inside the job trailer or saved on your phone, actually gets used. Add a column for the date each item is done, so your lender and inspector can see the history at a glance.
What has to be settled before anyone breaks ground?
Settle the financing, the permit, the insurance and a buildable plan before the first excavator arrives. Construction lenders often want proof that you can manage a build. Some will not fund an owner-builder at all, so shop loans early and ask each bank for its requirements in writing.
The paperwork pile at this stage usually includes a boundary survey, a site plan showing setbacks, stamped or engineered drawings if your county requires them, energy compliance forms, HOA architectural approval where it applies, and a builder's risk policy. Many cities and counties issue owner-builder permits, but some make you sign an affidavit or forbid selling the home for a set period. Confirm the current rules with your building department. Choosing a size range from a curated set such as house plans between 1,500 and 2,000 square feet keeps the drawings, the loan amount and the trade bids on the same scale from day one.
Who handles site work and the foundation, and what gets inspected?
You will hire an excavation contractor, a concrete or foundation sub, and often a surveyor to stake the corners. Rural lots may also need a well driller and a septic installer. Inspections at this stage typically cover the footing before the pour, the foundation walls or slab prep, under-slab plumbing, and sometimes a separate inspection for waterproofing and drainage.
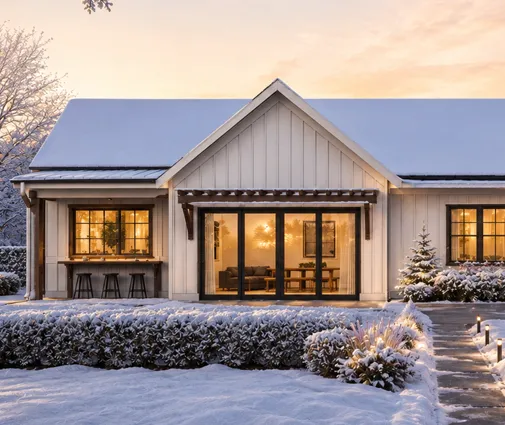
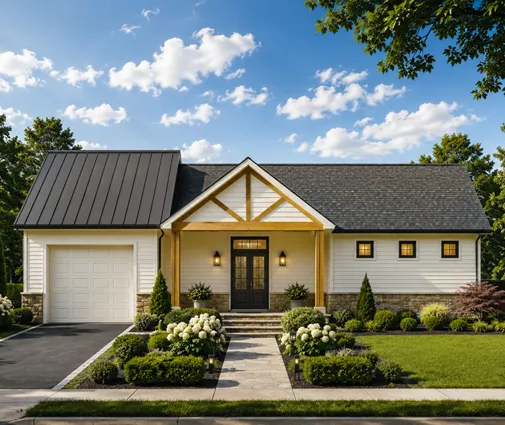
Basements change the budget more than anything else in this phase. A one-level design like this contemporary ranch with a full lower level needs deeper excavation, poured or block walls and backfill compaction, so its foundation line can be double that of a slab. Keep the concrete delivery tickets and the inspector's sign-off together. A lender's draw inspector will ask for both.

What happens during framing and dry-in?
Framing and dry-in means the framing crew stands the structure, the roofer covers it, and windows and exterior doors close it to the weather. This is the longest single contract you will sign, so get a written scope covering sheathing, stairs, blocking for cabinets, and who supplies hardware such as hold-downs and hurricane straps where your code calls for them.
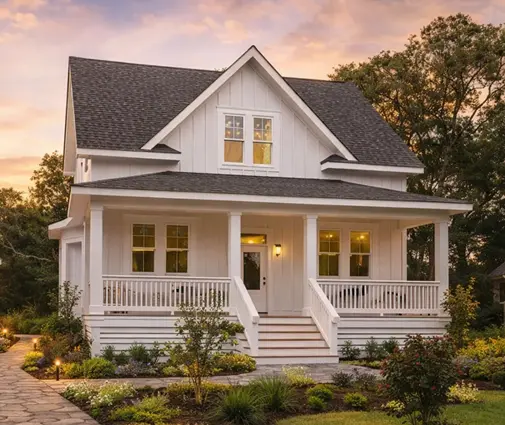
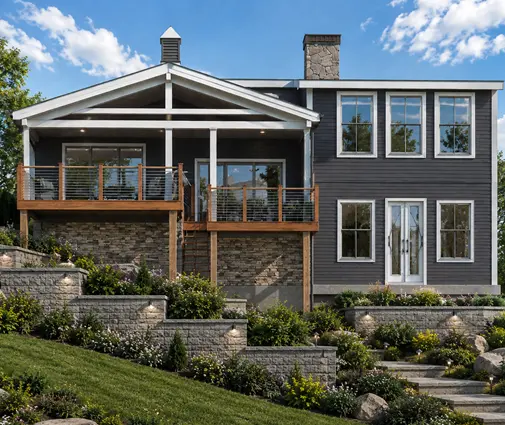
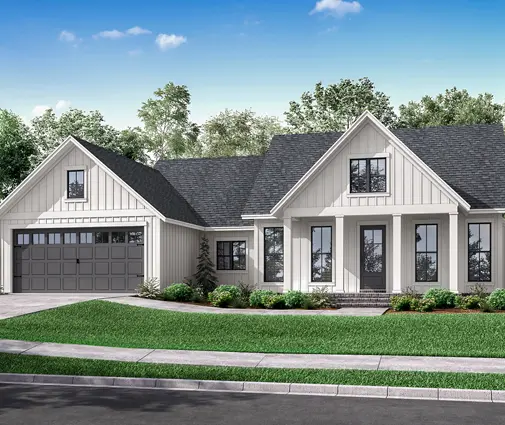
Simple rooflines save money here. A plan with one main gable and a straight wall line, like this compact farmhouse ranch, frames faster than one with dormers, valleys and bump-outs. A design spread over three levels, such as this Low Country home with stacked living floors, adds stair framing, more scaffolding and longer crane time. Expect a framing inspection, a sheathing nail inspection in some areas, and truss paperwork from the supplier.
How do you schedule rough-ins without trades getting in each other's way?
Schedule the rough-ins in a fixed order: plumbing first, then HVAC ductwork, then electrical, then low-voltage. Plumbing drains and vent stacks are the least flexible, ducts need the next-biggest openings, and wire can bend around both.
Walk the house with each trade before they start and mark fixture, register and outlet locations on the studs with spray paint. Each trade gets its own rough-in inspection, and many departments want all three passed before insulation. Note the permit card numbers and inspection results on your checklist the same day. A missed signature found after drywall means cutting holes.
What must pass before insulation and drywall close the walls?
Every rough-in and the framing must be approved before anything covers the studs, and many areas add an insulation or energy inspection before the board goes up. Book the insulation installer and drywall hanger only after you hold those approvals.
Ask the insulation crew for the certificate listing R-values and product types. Some jurisdictions also require a blower-door or duct-leakage test, done by a third-party rater, at rough or final stage. File the report; you will need it again for the occupancy permit and, sometimes, for an appraisal.
Which finish choices slow owner-builders down the most?
Cabinets, countertops and special-order tile cause the most delays, because they have lead times of four to twelve weeks and depend on accurate field measurements. Order cabinets as soon as drywall is hung, and template stone countertops only after the boxes are installed.
Finishes involve the largest number of small trades: painter, trim carpenter, flooring installer, tile setter, countertop fabricator, and the plumbing and electrical crews returning for fixtures. A straightforward single-level layout like this Craftsman with its living spaces on one floor has no stair treads or upper-level flooring transitions, which trims both labor and the list of decisions. If keeping everything on one level appeals to you, the one-story collection is a good place to compare layouts.
What paperwork do you need for the certificate of occupancy?
You need signed final inspections for building, plumbing, mechanical and electrical, plus any energy test reports, septic or well approvals, and a final survey if your county requires one. Some areas also want a grading or stormwater sign-off and a driveway permit closeout.
Collect lien waivers from every sub and supplier at each payment, not just at the end. Title companies and lenders often refuse to close the permanent loan without a complete set. Store warranties, appliance manuals and paint color codes in the same binder.
What does each trade cost on a 1,500 to 2,000 sq ft house?
For a home of about 1,800 square feet, total trade costs in 2025 commonly landed between roughly $250,000 and $450,000, not counting land. Labor rates, material prices and code requirements vary widely by state and even county. Treat these as rough starting figures for your own price sheet, not quotes.
| Trade or item | Typical 2025 range (USD) |
|---|---|
| Plans, engineering, site plan | $1,500 – $6,000 |
| Permits, impact and tap fees | $3,000 – $25,000+ |
| Clearing, excavation, rough grading | $5,000 – $20,000 |
| Foundation (slab / full basement) | $12,000 – $30,000 / $35,000 – $75,000 |
| Framing, labor and lumber | $40,000 – $80,000 |
| Roofing | $10,000 – $25,000 |
| Windows and exterior doors | $10,000 – $30,000 |
| Siding and exterior trim | $12,000 – $35,000 |
| Plumbing | $15,000 – $30,000 |
| HVAC | $12,000 – $25,000 |
| Electrical | $12,000 – $25,000 |
| Insulation | $4,000 – $10,000 |
| Drywall | $12,000 – $25,000 |
| Cabinets and countertops | $15,000 – $45,000 |
| Flooring and tile | $10,000 – $25,000 |
| Interior trim and doors | $8,000 – $18,000 |
| Painting | $8,000 – $16,000 |
| Driveway, final grading, landscaping | $8,000 – $25,000 |
| Well and septic (rural lots) | $15,000 – $40,000 |
Add a contingency line of 10 to 15 percent. Owner-builders who skip it almost always need it.
How do you turn this into your own pricing guide?
Build a spreadsheet with one row per trade and columns for the estimate, three bids, the signed contract amount, change orders and amount paid. That simple grid works as your checklist template, your price sheet and your lender draw schedule.
Get at least three bids per major trade, and make every bidder price the same drawings and the same scope sheet. Otherwise you are comparing apples to lawn chairs. Update the actual-cost column weekly. When one line runs over, you will see it early enough to trim a finish choice elsewhere rather than discovering the gap at closing.
Which kinds of plans suit a first owner-builder project?
Choose plans with a rectangular footprint, a simple roof, stacked or clustered plumbing, and few custom details. Each of those reduces the number of decisions you must coordinate and the number of things a sub can misread.
This modest two-story Craftsman keeps the footprint small by putting bedrooms upstairs, which shortens the foundation and the roof. A mid-century single-level design with no attached garage lets you add a detached one later as a separate, smaller job. An Acadian-style one-story with a split bedroom layout shows how a classic Southern form can stay easy to frame.

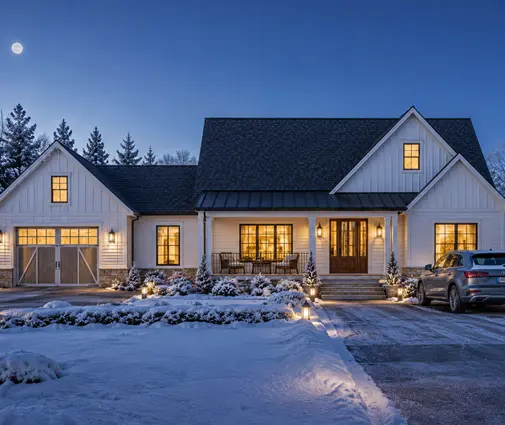
When your checklist and price sheet are ready to fill in with real numbers, browse the full range of homes from 1,500 to 2,000 square feet and choose one whose complexity matches your schedule, your budget and the time you can spend on site.