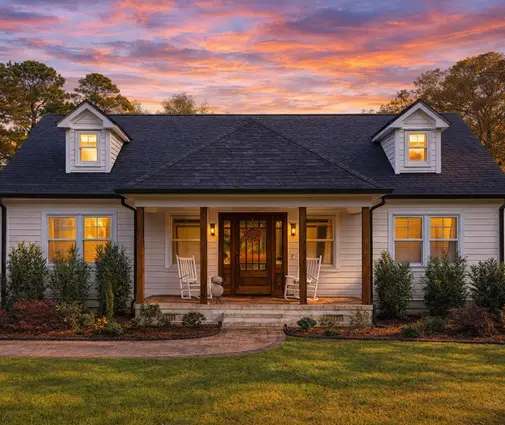
A common mistake goes like this. A family buys a plan they love, hands it to a builder, and only at plan review do they learn that the walls drawn as plain 2x6 with R-21 batts don't meet the energy code in their county. Now they have to add exterior foam, redo the window schedule and change the budget, weeks after they thought the design was finished. Most of this can be caught early if you know your climate zone and what it asks of the house. Use the checklist below before you buy a plan, and again before you submit for a permit.
Stage 1: Find your climate zone and the code your town actually uses
- Climate zone: the International Energy Conservation Code (IECC) maps every county into zones 0 to 8, from hot-humid South Florida to the coldest parts of Alaska. Most of the lower 48 falls in zones 2 to 6. Zones 3 to 7 also carry a moisture letter (A humid, B dry, C marine).
- Code edition: states and cities adopt the IECC (or the energy chapter of the IRC) on their own schedule. One county may enforce the 2021 edition while its neighbor is still on 2015 or 2018, often with local amendments.
- Compliance path: ask whether your building department accepts the prescriptive tables, a UA trade-off (for example with the free DOE tool REScheck), or a performance path such as an ERI/HERS score.
- Stretch codes and programs: some states and cities have stricter local codes, and some HOAs or lenders ask for an Energy Star or similar certification.
Call the building department or check its website before you shortlist plans. Ask three questions: which code edition, which amendments, and which compliance paths they accept. Get the answers in writing. They decide everything that follows, and a local engineer or drafter adapting a stock plan will need them anyway.
Stage 2: Walls, attic and slab insulation
- 2x6 wall cavities: a 2x6 wall holds R-19 to R-21 batts or dense-pack cellulose. In the 2021 IECC prescriptive tables that is enough in zones 0 to 2, but zone 3 calls for R-20, and zones 4 (except marine) through 8 call for R-20 plus R-5 continuous insulation, or R-13 plus R-10 continuous. Verify the values for your edition.
- Continuous insulation: in colder zones this usually means rigid foam or insulated sheathing over the studs. It changes window and door jamb depths and siding details, so it belongs on the drawings, not as an improvisation on site.
- Attic: the 2021 tables call for roughly R-30 in zones 0 to 1, R-49 in zones 2 and 3, and R-60 from zone 4 north. Check that the roof framing leaves room for that depth at the eaves; raised-heel trusses help.
- Slab edge and basement walls: slab-on-grade homes in zone 3 and colder usually need around R-10 at the slab edge, extending 2 to 4 feet depending on the zone. Basement walls in cold zones need their own R-value, inside or outside.
- Vaulted ceilings and bonus rooms: these are where insulation is most often too thin. Check the rafter depth or the specified foam.
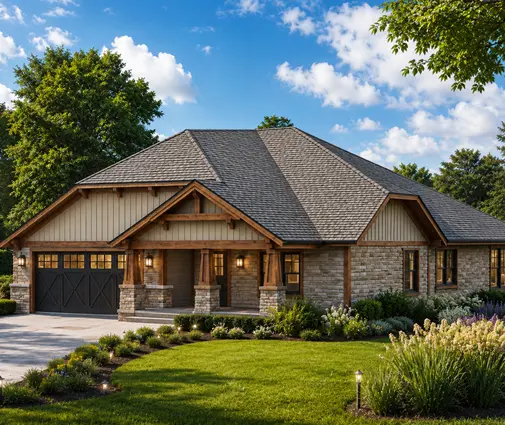
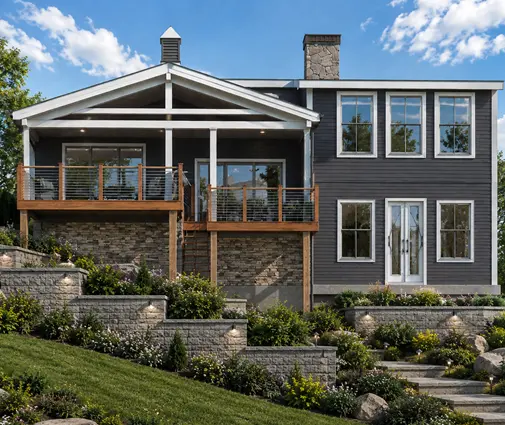
Footprint matters as much as R-values. A compact single-story plan like this 3-bedroom Craftsman of 2007 sq ft has simple walls and one attic plane, which is easy to insulate to code. In the North and Midwest, where a basement is common, a plan like the 1764 sq ft Craftsman with a basement and 2-car garage lets you plan the foundation insulation from day one. You can browse more house plans with a basement if you build in zones 5 to 7.

Stage 3: Windows and air sealing
- U-factor: in the 2021 IECC, windows need roughly U-0.50 or lower in zones 0 to 1, U-0.40 in zone 2 and U-0.30 from zone 3 north. Read the NFRC label, not the brochure.
- SHGC: in hot zones (0 to 3) the solar heat gain coefficient is capped, typically at 0.25. Big west-facing glass in Texas or Arizona costs real money in cooling.
- Glass area: plans with walls of windows may need a trade-off calculation to pass. Ask the drafter to check it early.
- Air barrier: the plan or spec should say what the air barrier is (taped sheathing, membrane, sealed drywall) and how it continues around rim joists, attic hatches and garage walls.
- Blower door test: the 2021 IECC requires a test, with limits of about 5 air changes per hour at 50 pascals in zones 0 to 2 and 3 ACH50 in zones 3 to 8. In 2026 a test typically costs a few hundred dollars.
- Ventilation: a tight house needs mechanical ventilation, such as exhaust fans on a timer, an ERV or an HRV.
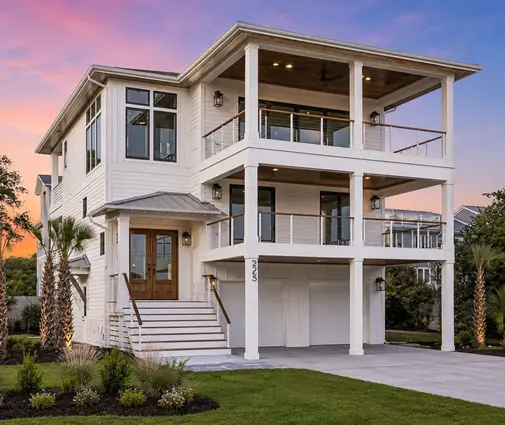
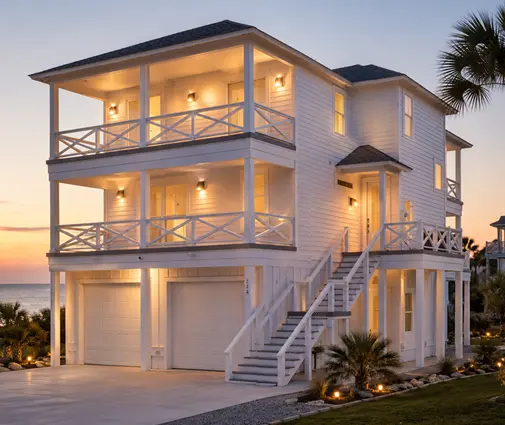
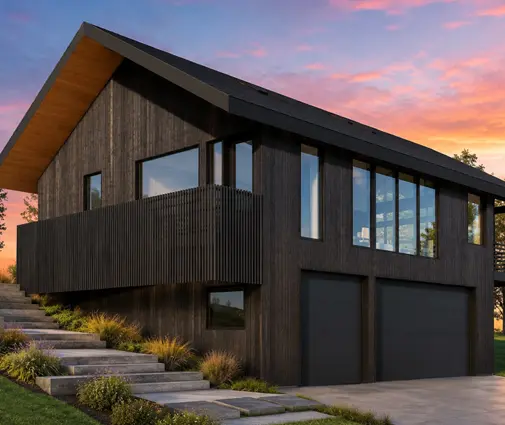
Book the blower door test twice if you can: a pre-drywall test, when leaks are still easy to find and fix, and the final test for the inspector. Failing at the end means tearing into finished walls. On the Gulf and Atlantic coasts, also confirm that the windows carry the impact or design pressure rating your wind zone requires. Tall coastal homes like this 4-story, 5-bedroom coastal plan of 3231 sq ft or the 4-bedroom beach house of 2342 sq ft have a lot of glass, so both energy and wind rules apply.
Stage 4: Heat pump or gas furnace
- South and Southwest (zones 1 to 3): heat pumps are already the norm. Heating loads are small, and the same unit handles cooling.
- Mixed climates (zone 4): a standard ducted heat pump is usually the simplest choice. A gas furnace makes sense mainly where gas is cheap and already at the lot.
- Cold climates (zones 5 to 7): cold-climate heat pumps now keep rated output well below freezing. Some owners pair one with a small gas furnace or electric backup as a dual-fuel system.
- Sizing: insist on a Manual J load calculation. A well-insulated house often needs a smaller unit than the rule of thumb suggests.
- Ducts: keep ducts inside the conditioned space where you can. Ducts in a vented attic in Phoenix or Atlanta waste a lot of energy.
- Tax credits: the federal homeowner credits for heat pumps (25C) and solar (25D) ended after 2025, and the builder credit for energy-efficient new homes (45L) ended for homes acquired after June 30, 2026. Look instead at state programs and your electric utility, and confirm with a tax professional.
Compare operating costs, not just installed price. In 2026 a ducted heat pump system for a new home of around 2,000 sq ft often runs roughly $10,000 to $20,000 installed, depending on region and equipment. A gas furnace plus a central air conditioner can land in a similar range, and you add the cost of a gas line and a monthly meter fee. Ask your HVAC contractor for a yearly cost estimate with your local electricity and gas rates. If you skip gas entirely, an all-electric plan like this 3-bedroom Modern Farmhouse ranch of 1953 sq ft avoids the gas service altogether.
Stage 5: Check the plan's assemblies before you permit
- Wall section: find the typical wall section in the plan set. Does it show the stud size, cavity insulation, sheathing and any continuous insulation?
- Roof and ceiling: check the insulation depth at the eaves and over vaulted areas, and the attic ventilation.
- Foundation: is the plan drawn for slab, crawlspace or basement, and is the insulation shown for your zone?
- Energy notes: many plans are drawn with generic notes. Expect the local drafter or engineer to add a code compliance sheet or a REScheck report.
- Change cost: ask your builder to price the upgrades (foam, windows, test) before you sign, so they are in the contract, not a change order.
A stock plan is a starting point, not a permit-ready document for every county. Adding continuous insulation or a deeper heel is routine work for the person adapting the plan, as long as you ask for it at the start. Simple, rectangular single-story house plans such as this 3-bedroom Country Craftsman of 1972 sq ft with a 2-car garage usually adapt with the fewest changes.
The most common mistakes
- Assuming the plan already meets your code edition and climate zone.
- Treating 2x6 walls with batts as enough in zones 4 and colder, without continuous insulation or a trade-off calculation.
- Choosing windows by price and missing the required U-factor or SHGC.
- Skipping the pre-drywall blower door test and failing the final one.
- Oversizing HVAC without a Manual J, or putting ducts in a hot attic.
- Counting on federal tax credits that have already expired instead of checking state and utility programs.