The drywall is up, the trim is painted, and the closing date is three weeks out. Then the energy rater sets a fan in the front door, depressurizes the house, and reads 4.6 ACH50 against a 3.0 target. The inspector won't sign off, and nobody can reach the leaks anymore without cutting into finished walls. That scene plays out on new homes every year, and most of it can be prevented at the framing stage.
ACH50 means air changes per hour at 50 pascals. The blower door pulls the house to a pressure difference of 50 Pa, measures how many cubic feet per minute of air leak in (CFM50), and divides by the volume of the house. For example, a 2,400 sq ft home with 9-foot ceilings encloses about 21,600 cubic feet. At 3 ACH50, it can leak no more than about 1,080 CFM50. Under the 2015, 2018 and 2021 versions of the IECC, the prescriptive limit is 5 ACH50 in climate zones 0 to 2 (most of the Gulf Coast, Florida and the hot South) and 3 ACH50 in zones 3 to 8. Many states adopt older editions or amend these numbers, so confirm your target with your city or county building department before you finalize the plan.
Stage 1: Read the plan for leaks before you buy it
- Climate zone. Find your county on the IECC climate zone map and write the ACH50 target into the builder contract.
- Floor over garage. A bonus room or bedroom above the garage puts a long, hard-to-seal floor next to unconditioned space.
- Cantilevers. Bump-outs and overhanging second floors carry floor joists past the wall line, and each joist bay is a potential leak.
- Knee walls. Story-and-a-half and Cape Cod layouts have attic space behind short walls, which is one of the leakiest assemblies in American houses.
- Air barrier line. Ask your drafter or engineer to mark one continuous air barrier on the sections when they adapt the stock plan.
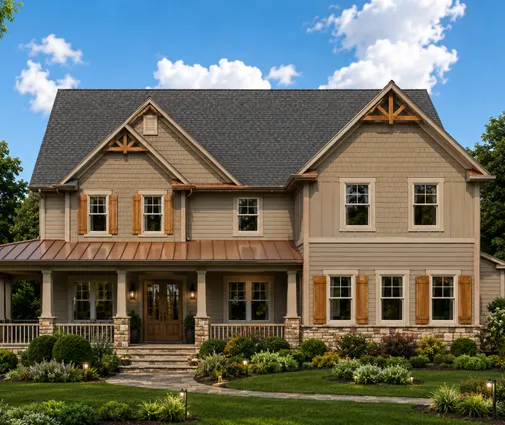
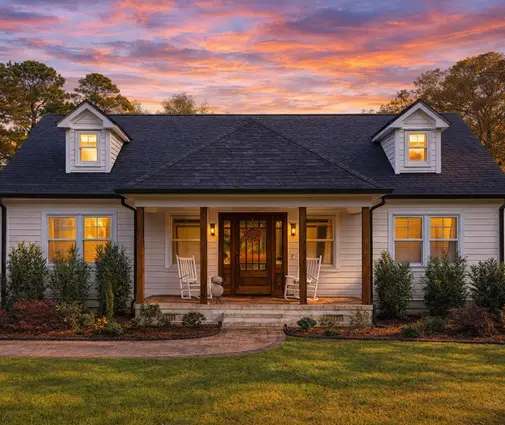
None of these features rule a plan out. You simply budget for them. A plan like the 4-bedroom Cape Cod cottage with 2,410 sq ft on two stories is exactly the kind of house where the knee walls need a detail on paper. The same goes for any plan in the bonus room collection. A plain rectangular two-story box is the easiest shape to seal, and every jog, dormer and overhang adds linear feet of framing joints.


Stage 2: Framing, the stage that decides the test
- Sill and rim joists. Use sill gasket under the plate, then spray foam or caulk and rigid foam at every rim joist. In basement homes, this is often the single largest leak.
- Top plates. Seal where the drywall meets the top plate under the attic, and seal every wire and pipe hole drilled through it.
- Garage-to-house wall. Treat it as an exterior wall. Use sealed sheathing or drywall, seal the bottom plate, and fit a gasketed, self-closing door.
- Floor over garage. Install solid blocking at the garage end of each joist bay, seal the blocking, and keep the insulation tight against the subfloor.
- Cantilevers. Block and seal the joist bays at the wall line, then close the soffit with an air-tight panel.
- Knee walls. Put sheathing or taped rigid foam on the attic side, and block the floor joists under the knee wall so attic air can't run into the floor.
- Tub and shower walls. Air-seal exterior walls behind tubs before the tub goes in. You won't get another chance.
- Chases. Cap flue, plumbing and duct chases at the attic with sheet metal or rigid board and fire-rated sealant.
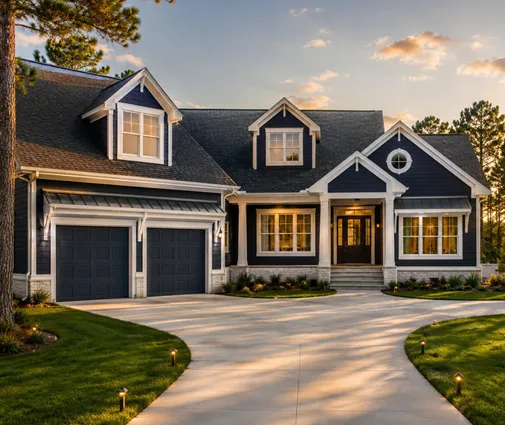
Plans with large garages need the most care here. The 3,590 sq ft Modern Farmhouse with 4 bedrooms, a 3-car garage and a basement has a long rim joist at the foundation and a garage wall shared with the living space. The 2,557 sq ft farmhouse plan with a 3-car garage raises the same question at a smaller size. Walk the frame with your builder before insulation and point to each item on this list. A can of foam at this stage does what a thousand dollars of rework does later.
Stage 3: Rough-ins and the pre-drywall test
- Recessed lights. Specify IC-rated, airtight (ICAT) fixtures or wafer LEDs on sealed boxes. Avoid old-style cans in ceilings under the attic.
- Attic hatch. Use a weatherstripped, latched, insulated hatch or a manufactured stair cover. Pull-down stairs are a classic failure point.
- Electrical boxes. Use airtight boxes or gaskets on exterior walls and ceilings, and seal wire penetrations into the attic.
- Ducts. Seal duct boots to the drywall or subfloor, and mastic the joints of any ductwork outside the conditioned space.
- Exhaust and dryer vents. Use dampered terminations and sealed penetrations through the wall or roof.
- Mid-construction test. Run a blower door before drywall, while the leaks are still visible and cheap to fix.
In 2025, a single blower door test from a certified rater typically costs around $250 to $600, depending on the region and the size of the house. Paying for a second test before drywall is the best insurance on this list. With the fan running, the rater can find leaks with a smoke pencil or an infrared camera, and the crew can seal them the same afternoon.
Stage 4: Plan the ventilation for a tight house
- Code trigger. The IRC requires whole-house mechanical ventilation when a home tests below 5 ACH50, which covers most new homes that meet the energy code.
- Exhaust-only. A continuously running bath fan is the cheapest way to comply. It works, but it pulls makeup air through random leaks.
- ERV or HRV. A balanced system recovers heat, and an ERV also exchanges moisture. ERVs are often chosen in humid Southern climates, and HRVs in cold, dry ones.
- Cost. Installed costs for an ERV or HRV commonly ran from about $2,000 to $6,000 in 2025. Fully ducted systems in large homes can run higher.
- Sizing. Your HVAC contractor should size the airflow from the floor area and the bedroom count, not guess.
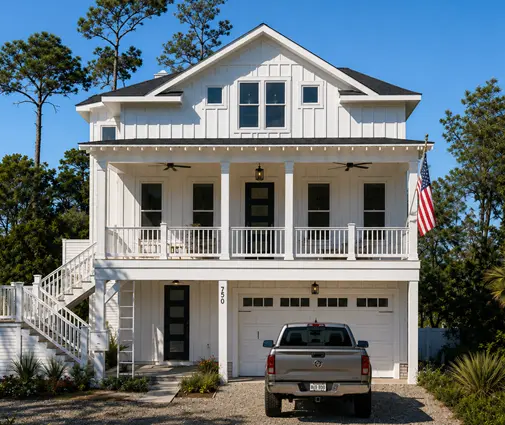
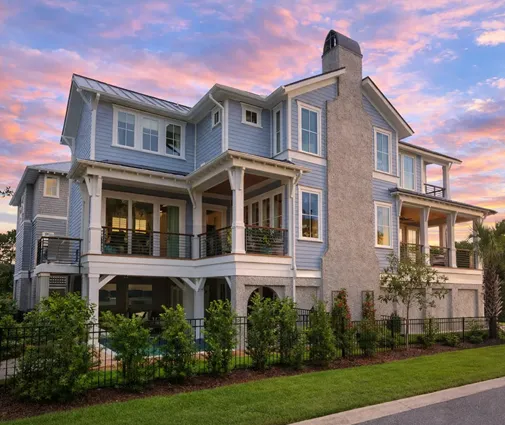
Decide on ventilation before the ductwork is designed, not after the test. Larger homes and tall coastal plans need more airflow. The four-story coastal farmhouse with 2,189 sq ft and a 2-car garage below also sits in hurricane country, where the high humidity makes an ERV worth pricing. A smaller home, like the 1,701 sq ft Low Country cottage with 3 bedrooms, can often use a compact unit.
Stage 5: The final test and the certificate of occupancy
- Timing. Schedule the final test after all penetrations are sealed and before the final inspection, with a few days of buffer before closing.
- Test conditions. Windows should be closed and latched, exterior doors shut, fireplace dampers closed, and plumbing traps filled.
- Report. Get a signed report with the CFM50, the volume used and the resulting ACH50 for the building department and your lender's file.
- Volume check. Make sure the rater counted the conditioned basement and the bonus rooms. A wrong volume can fail a good house.
- Retest plan. Agree in the contract on who pays for sealing work and retesting if the house fails.
A home with a conditioned basement has more volume, which helps the ACH50 number. However, it also has the most rim joist to seal. Ask for the leakage number in writing even if your jurisdiction allows a visual inspection instead. A low ACH50 is something an appraiser or a future buyer can actually see on paper. The 2,243 sq ft Modern Farmhouse with 3 bedrooms is a good example of a mid-size plan where 3 ACH50 is very reachable with careful framing.
The most common mistakes
- Relying on insulation. Fiberglass batts don't stop air. You need a separate air barrier.
- Testing only at the end. One test after drywall leaves no cheap way to fix a failure.
- Ignoring the garage ceiling. The floor over the garage is often leaky, and it can let exhaust fumes into the bedrooms above.
- Unsealed knee walls. Leaving the attic side of knee walls open turns the bonus room into the coldest room in the house.
- Old-style recessed cans. Ordinary can lights in an attic ceiling each act as a small chimney.
- Adding ventilation last. Waiting until the house tests tight leaves no room for clean duct runs.