Yes, solar panels are usually worth it without a battery, as long as your utility credits the power you send back at or near the retail price. A grid-tied array on a new home typically recovers its cost in about 11 to 15 years and keeps producing for 25 or more. The math gets weaker where exports earn only a few cents per kWh, and that is where a battery starts to earn its place. A battery almost never pays for itself on bill savings alone. People buy one for backup, or because their rate plan charges a lot for evening power. The steps below help you decide which case is yours, and they cover the parts that are cheap to settle now but costly to fix after the drywall is up.
Step 1: Read your utility's solar rules before anything else
Your utility, not the panel, sets most of your payback. Call it or download its tariff sheet and find three things. First, does it offer one-for-one net metering, or a net billing scheme that buys your surplus at a wholesale or "avoided cost" rate? Second, is there a mandatory or optional time-of-use plan with a pricey late-afternoon peak? Third, what fixed monthly charges stay on the bill even if you produce every kWh you use? California's move to net billing is the best-known example of low export credits. Several other states and many co-ops have trimmed their credits too, so don't assume the rules a friend got five years ago still apply.
Time: a week or two of reading and one phone call. Cost: nothing.
Step 2: Shrink the load so the array can shrink too
A kilowatt-hour you never use is cheaper than one you have to generate. Your state's energy code, usually based on a recent edition of the IECC, sets the minimum. Going past it pays off on a solar house. Thicker wall and attic insulation slows heat loss. Double- or triple-pane low-e windows cut summer gain. Blower-door-tested air sealing stops the drafts that make a heat pump run longer. Balanced ventilation with heat or energy recovery brings in fresh air without throwing away the warmth. Passive House goes furthest, with very low heating demand and strict airtightness. Even a partial step in that direction can drop yearly use enough to remove two or three panels from the quote.
Shape matters as much as specs. A compact footprint has less exterior wall to lose heat through, and this modest three-bedroom ranch keeps its living space under one simple roof. If a single level suits your lot, the one-story plans are a good place to compare footprints.
Time: part of design, two to four weeks with your designer or energy rater. Cost: often $3,000 to $10,000 above code minimum in 2026, depending on climate zone.
Step 3: Size the array and give it a roof that works
An all-electric new home of around 2,400 sq ft with a heat pump and an efficient envelope often uses 9,000 to 13,000 kWh a year. That typically calls for a 7 to 10 kW array, or roughly 20 to 28 panels. A south- or west-facing slope with few interruptions is the best place for them. Dormers, valleys and vent stacks steal usable area, so ask your drafter to route plumbing vents to the north side.
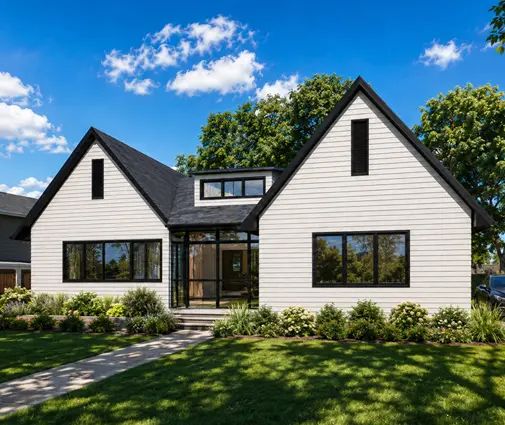
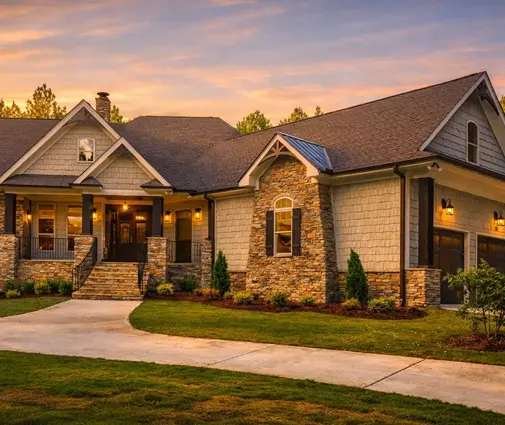
The garage roof is often the easiest place for panels. It is close to the electrical service, rarely broken up by skylights, and easy to reach for maintenance. Browse plans with a garage you can build the array over and check which way it faces on your lot. This clean-lined modern farmhouse on one level has long, uncluttered roof planes. This Craftsman ranch of 3237 sq ft spreads its roof wide enough for a large array without crowding.
Time: a production estimate from an installer takes days. Cost: in 2026 an owned system installed during construction typically runs $2.50 to $3.30 per watt, so about $20,000 to $28,000 for 8 kW.

Step 4: Decide if solar panels are worth it without a battery on your rate plan
Here is the core comparison of solar panels versus solar plus a battery. The table assumes a 2,400 sq ft all-electric house using 11,000 kWh a year, power at $0.18 per kWh, and $180 a year in fixed charges. Prices are 2026 averages. The math uses flat rates, no rising prices and no incentives. With the 30% federal credit for owner-purchased systems ending after 2025, ask your state and utility what rebates remain.
| Setup | Yearly electric bill | Extra cost to build | Savings over 10 years | Savings over 20 years | Simple payback |
|---|---|---|---|---|---|
| No solar | about $2,160 | $0 | — | — | — |
| 8 kW grid-tied, full net metering | $250–450 | $20,000–26,000 | $17,000–19,000 | $34,000–38,000 | 11–15 years |
| 8 kW grid-tied, exports credited near $0.06 | $900–1,100 | $20,000–26,000 | $11,000–13,000 | $22,000–26,000 | 17–23 years |
| 8 kW plus 13.5 kWh battery, low export credit | $400–600 | $33,000–43,000 | $16,000–18,000 | $30,000–34,000* | 19–26 years |
| 8 kW plus battery, steep evening peak rate | $100–400 | $33,000–43,000 | $20,000–24,000 | $38,000–46,000* | 14–19 years |
*Battery warranties usually run about 10 years, so plan on one replacement or capacity loss inside 20 years.
The pattern is clear. With fair net metering, the grid acts as a free battery, and adding a real one stretches your payback. With weak export credits, a battery keeps more of your midday output for evening use, but its own share still pays back slowly. Steep evening peak rates are where storage really pays, because the battery charges from your roof and covers the expensive hours. Rising utility prices, which most regions have seen lately, shorten every payback in the table.
Step 5: Put a price on backup, not only on savings
Standard grid-tied inverters shut down in an outage so they can't send power onto lines a crew is repairing. Without storage, your panels go dark with the neighborhood. A 10 to 15 kWh battery, installed for roughly $11,000 to $17,000 in 2026, will usually carry the refrigerator, lights, internet, a gas furnace blower or a small heat pump, and the well pump through a night. With sun the next day, it can keep those loads running for several days. It won't run central air plus an electric range plus an EV charger for long.
Ask yourself how often the power fails where you're building and what an outage costs you. Spoiled food, a flooded basement when the sump pump stops, or a home office going dark all count. In hurricane country, wildfire shutoff areas or at the end of a long rural line, that answer can justify storage on its own. A partial-home or "essential loads" subpanel keeps the battery size and cost down. Have the electrician draw it into the plans now.
Step 6: Reserve wall space in the garage or mechanical room
A wall-mounted battery is roughly the size of a slim cabinet, about 2 to 4 feet wide and up to 6 feet tall, plus a hybrid inverter, a disconnect and sometimes a transfer switch beside it. Plan a clear stretch of 8 to 10 feet of wall near the main panel, with working clearance in front. The IRC has a section on energy storage systems that limits where batteries can go inside a home and how much capacity is allowed. It also requires protection from vehicle impact in garages, which often means steel bollards or a raised curb. Your inspector and the manufacturer's manual decide the details, so confirm them early.
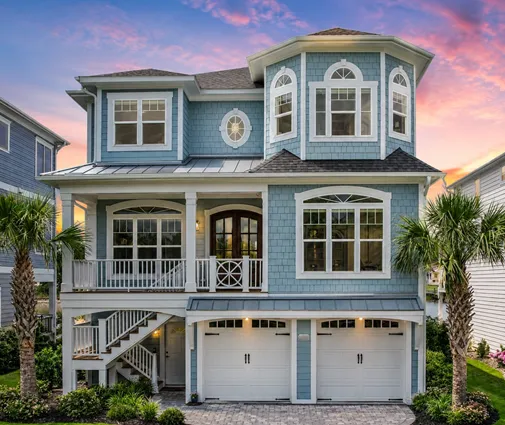
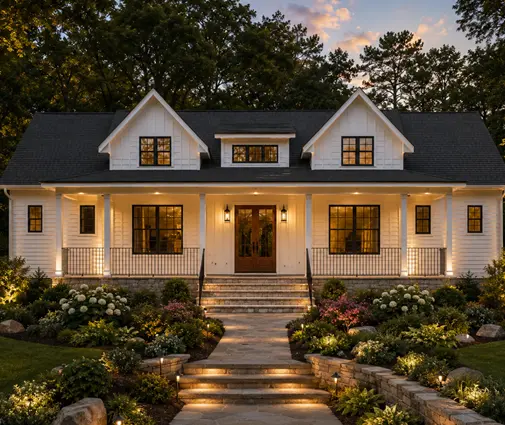
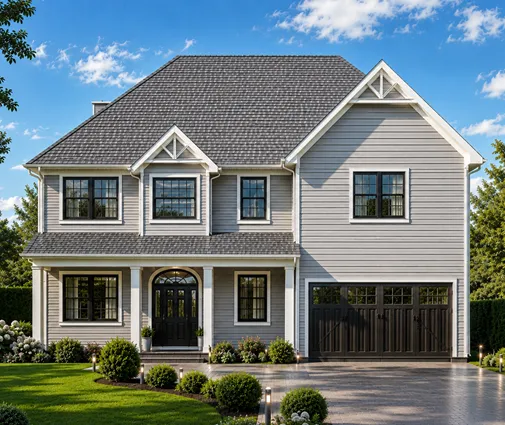
A deep garage makes this easy. The wide side wall in this farmhouse with room for three cars can hold the battery, inverter and an EV charger without crowding the doors. This Southern-style home's three-bay garage offers the same breathing room. If you prefer the gear indoors, the basement mechanical area in this five-bedroom Colonial sits right beside the water heater and air handler. Keep batteries away from bedrooms, out of direct sun, and within the temperature range the maker lists. On a raised coastal house, mount them above the flood elevation, never on the ground-level parking slab.

Time: a few hours of drafting. Cost: near zero on paper; bollards and blocking add a few hundred dollars.
Step 7: Build it solar-ready even if you wait on storage
Plenty of owners install panels now and add a battery in a few years, once prices drop or their utility changes the rules. Make that later step cheap. Specify a 200-amp service with spare breaker spaces. Run empty conduit from the attic to the equipment wall. Add plywood backing where the battery will hang, and leave room for a critical-loads panel. If you're not ready for panels at all, ask for roof blocking and a labeled chase. These items cost $300 to $1,200 during framing, against several thousand to open finished walls later.
Step 8: Clear permits, the HOA and the utility
Solar needs a building or electrical permit from the city or county, plus an interconnection agreement with the utility. You can't switch the system on until the utility gives permission to operate. Many states limit how far an HOA can restrict panels, but associations can often still regulate placement on street-facing roofs. Get written approval before ordering equipment. Tell your lender and appraiser that the system is owned, not leased. An owned array is easier to count toward value and causes fewer problems at resale.
Time: 4 to 10 weeks, often overlapping construction. Cost: permit and interconnection fees typically $300 to $1,500.
Step 9: Commission the system and choose the battery mode
At startup, the installer sets the battery's behavior. Self-consumption mode pushes most stored energy into evening use. Time-of-use mode saves it for peak hours. Backup mode holds a reserve, often 20 to 40%, for outages. Watch your monitoring app for the first few months, compare it with your utility bill, and adjust. In storm season, many owners raise the reserve and lower it again in spring.
Timeline at a glance
| Stage | When it happens | Typical duration | Typical cost (2026) |
|---|---|---|---|
| Study utility tariff and rate plans | Before choosing a plan | 1–2 weeks | $0 |
| Envelope and load reduction design | Design phase | 2–4 weeks | $3,000–10,000 above code |
| Array sizing and roof layout | Design phase | Under 1 week | $20,000–28,000 for 8 kW |
| Battery decision and essential loads panel | Before permit drawings | 1 week | $11,000–17,000 if added |
| Equipment wall in garage or mechanical room | Permit drawings | Hours | A few hundred dollars |
| Solar-ready conduit and backing | Framing and rough electrical | 1–2 days | $300–1,200 |
| Permits, HOA approval, interconnection | During construction | 4–10 weeks | $300–1,500 |
| Installation, inspection, permission to operate | Near move-in | 2–6 weeks | Included in system price |
The equipment wall is the decision to settle first, because it shapes the drawings. Choose a home whose garage or utility room leaves space for it, then look through these house plans with garages and mark the wall where your inverter and battery will go.