Many first-time builders make the same mistake: they assume the county building inspector works for them. The inspector works for the public. Their job is to confirm the house meets the minimum standard of the code, not that your builder did good work. In the US, the gap between "passes code" and "built well" is yours to watch.
Other countries handle this gap differently. Some require the owner to hire a licensed site supervisor. Others give buyers a warranty backed by the government. Looking at four of them, Canada, Germany, Poland and Romania, shows where the American system protects you and where it leaves you on your own. The steps below follow a build from permit to keys. The costs are typical 2025 figures. Check the current rules with your building department, because inspection lists and fees vary by city and county.
Step 1: Learn who is actually responsible for quality
Before you sign a construction contract, find out who has a legal duty to check the work in each system:
| Country | Who checks the work | Who hires and pays | Builder's warranty |
|---|---|---|---|
| United States | City or county inspectors at set stages | Covered by permit fees; a private inspector is optional | Depends on the contract and state law; 1-2-10 plans are common |
| Canada | Municipal inspectors, plus provincial warranty programs | Permit fees; warranty enrollment is paid by the builder | Ontario: 1, 2 and 7 years; BC: 2, 5 and 10 years |
| Germany | A Bauleiter (site manager); an independent Bausachverständiger is optional | The owner | Usually 5 years under civil law |
| Poland | A kierownik budowy (site manager) is mandatory | The owner | 5 years of statutory liability for buildings |
| Romania | A licensed diriginte de șantier, plus an acceptance commission | The owner | Guarantee period up to final acceptance, plus longer liability for hidden defects |
Time: an evening of reading. Cost: nothing. The main point is that in the US no one is required to check quality on your behalf. In Poland and Romania, someone is.
Step 2: Read the permit and the inspection schedule
Once your plan is approved, the building department issues the permit, often with an inspection card that must stay on site. Under the IRC and local amendments, a typical house goes through footing, foundation, under-slab plumbing (on slab houses), framing, rough mechanical, electrical and plumbing, insulation (in many jurisdictions) and final inspections. The builder schedules them. If an inspection fails, the work stops until it is fixed, and many places charge a reinspection fee.
Canadian municipalities follow a very similar sequence. In Germany the authority usually checks less on site; the burden falls on the people the owner appoints. In Poland the kierownik budowy records every stage in the dziennik budowy, the official construction log, which now also exists in an electronic version. Time: permits take from a few weeks to several months. Cost: permit fees for a single-family home often run from about $1,500 to $6,000 in 2025, depending on the jurisdiction and the value of the house.
Step 3: Decide whether to hire your own inspector
This is the American version of the German Bausachverständiger. These are independent experts that many German owners hire to check the work at key stages and to attend the formal acceptance. In the US, a licensed home inspector can do phase inspections: pre-pour, pre-drywall and final. Expect roughly $300 to $600 per visit in 2025, or $1,000 to $2,000 for a three-visit package. Some production builders limit outside inspections in the contract, so ask before you sign.
Poland has an optional equivalent too, the inspektor nadzoru inwestorskiego. Owners who don't live near the lot often hire one. The idea is the same in every country: someone who is paid by you and not by the builder.
Step 4: Be on site for the footing and foundation
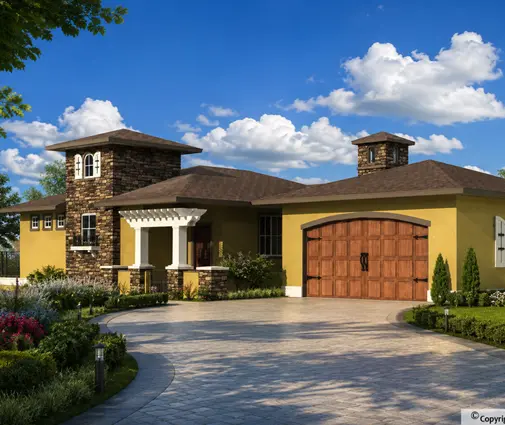
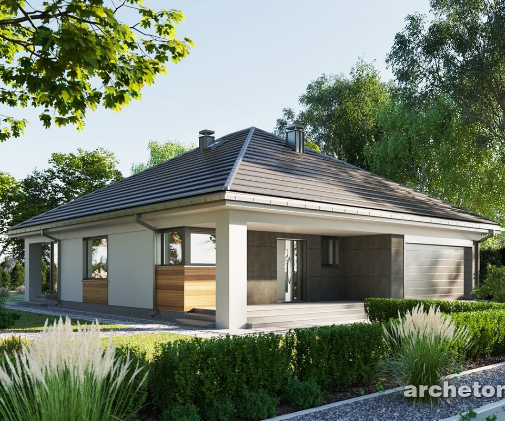
This is the cheapest moment to catch an error and the most expensive one to miss. Before the pour, check the forms, the rebar, the depth below the frost line, the drainage, and the anchor bolts or hold-downs in seismic and hurricane zones. A basement adds waterproofing and the drain tile. A plan like this 3-bedroom single-story home with a full basement and a 2-car garage puts more at stake here than a slab house. Browse more house plans with a basement if you build in the North or Midwest.
In Romania, the foundation is one of the "faze determinante", the decisive stages. The diriginte, the designer and sometimes the state inspectorate must sign off on them before work continues. Time: 2 to 4 weeks. Your cost: one private inspection visit.
Step 5: Walk the framing and rough-ins
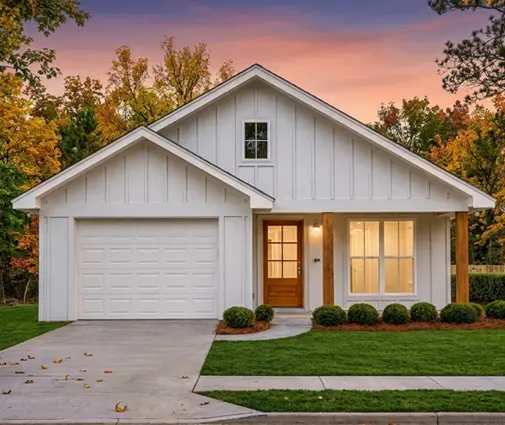
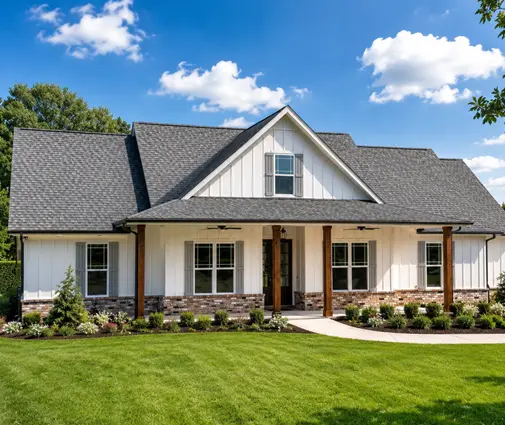
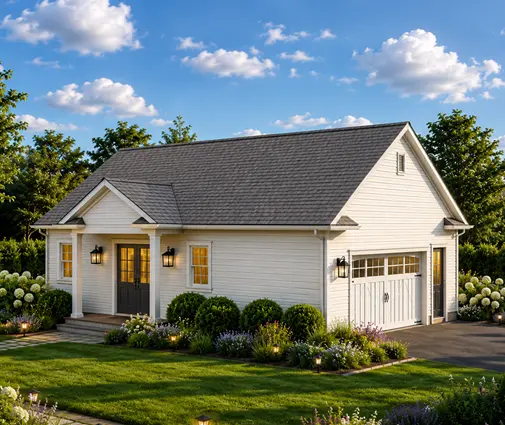
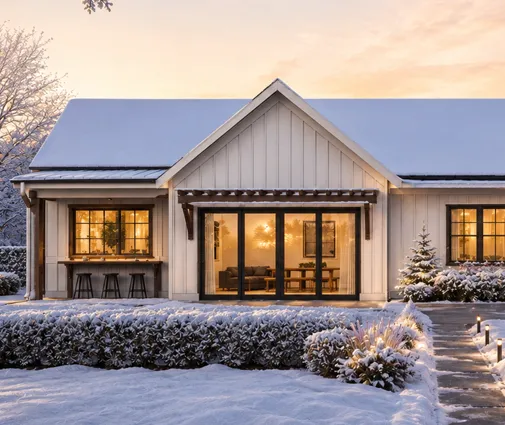
In a 2x6 wood-frame house, the framing walk is where you see the whole structure: headers, shear walls, nailing, window flashing, the roof sheathing, and the rough wiring, plumbing and ductwork. The city inspector checks code. Your inspector should also look at workmanship: crooked walls, missing blocking for cabinets, a poorly sealed house wrap. A compact house like this 982 sq ft Modern Farmhouse ranch with one bedroom takes a day to walk. A larger home with an attached 2-car garage, such as this 3-bedroom, 2-bath plan of 1252 sq ft, also needs the firewall between the garage and the house checked.
In Germany and Poland, the site manager checks this stage by law. In the US, your own visit is the only quality check. Time: 6 to 10 weeks of construction. Cost: one inspection visit, about $400 to $600.
Step 6: Check the insulation before the drywall goes up
After drywall, every gap in the insulation and every missing air seal is hidden. Many jurisdictions require an insulation or energy inspection at this stage, and some also require a blower door test at the end. Take photos of every wall: they cost nothing and help a lot if you need a warranty claim later. Simple footprints, such as this 750 sq ft 2-bedroom cabin cottage, are easier to seal than many-cornered ones. Time: 1 to 2 weeks. Cost: a pre-drywall inspection, often bundled with the framing visit.
Step 7: Final inspection, punch list and occupancy
When the county's final inspection passes, the building department issues a certificate of occupancy (CO). Your lender usually needs it before closing. Before that, walk the house with the builder and write a punch list. Don't take the keys until it is signed.
The other systems make this step more formal. In Germany, the Abnahme is a legal act. After it, the warranty clock starts, and the owner usually has to prove that a defect exists. This is why German owners often bring their Sachverständiger to it. In Poland, the owner files a notice of completion with the local building inspectorate, which has a short period to object. Some cases need a formal occupancy permit. In Romania, a reception commission appointed by the owner, with a representative of the town hall, signs the acceptance at completion. A final acceptance follows when the guarantee period ends. Time: 1 to 4 weeks. Cost: a final private inspection, about $400 to $600.

Step 8: Register the warranty and use it
US builders often offer a 1-2-10 warranty: 1 year for workmanship, 2 years for mechanical systems and 10 years for major structural defects, sometimes backed by a third-party company. It is a contract, not a federal law. Some states add implied warranties or "right to repair" procedures, so read your contract and ask an attorney if it matters.
Canada goes further. In Ontario, Tarion warranty coverage comes with the new home: 1 year for workmanship, 2 years for items such as water penetration and the mechanical systems, and 7 years for major structural defects. In BC, the 2-5-10 structure covers materials and labor, the building envelope and the structure. Germany's civil code gives 5 years for building work. Poland also has 5 years of statutory liability. Romania has a guarantee period followed by liability for hidden defects that lasts much longer.
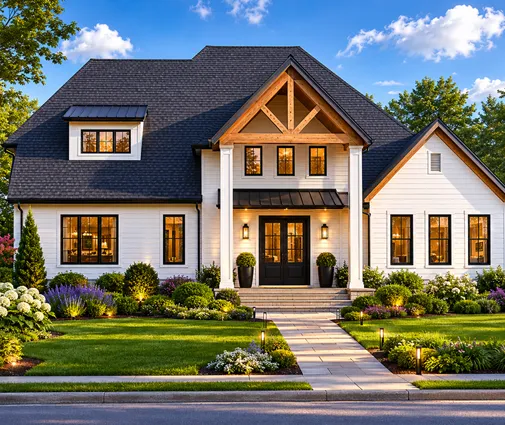
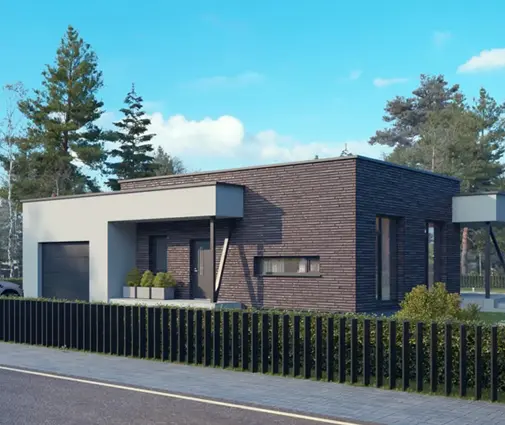
Whatever plan you build, for example this 4-bedroom modern single-story home of 1188 sq ft or this minimalist 2-bedroom of 1042 sq ft from our single-story house plans, book an inspection around month 11. Cracks, nail pops and drainage problems show up after the first seasons, and you can still claim them under the 1-year coverage. Cost: about $350 to $500 for the visit.
Timeline: when to be on site
| Stage | Typical timing | Who checks in the US | Owner on site? |
|---|---|---|---|
| Permit and contract review | Weeks 0 to 12 | Building department, plan review | Read the inspection list |
| Footing and foundation | Weeks 1 to 4 | County inspector, plus your inspector | Yes, before the pour |
| Framing and rough-ins | Weeks 5 to 14 | County inspector, plus your inspector | Yes |
| Insulation, pre-drywall | Weeks 14 to 16 | County (in many places), plus your inspector | Yes, take photos |
| Final, punch list, CO | Weeks 24 to 36 | County inspector | Yes, with a written list |
| Warranty walk | Month 11 after closing | Your inspector | Yes |
The lesson from Poland, Germany and Romania is that someone should be accountable for quality from the first footing to the last coat of paint. In the US, the law doesn't require it. For about $1,500 to $2,500 in private inspections, you can get similar protection for your own house.