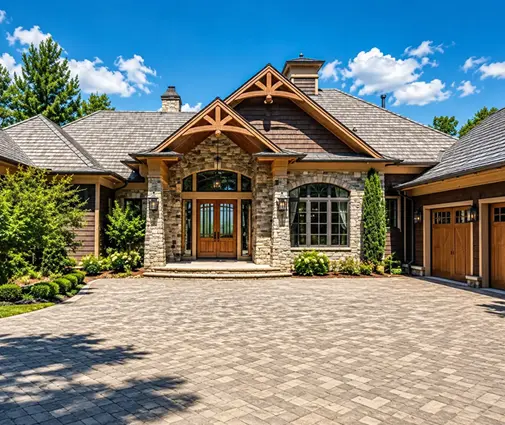
Two ranch plans can have the same 2,000 square feet, the same three bedrooms and the same kitchen, and still differ by $10,000 or more at the roof alone. On a one-story house the roof covers the entire footprint plus the garage and porches, so it is often a bigger share of the shell budget than it is on a two-story home of the same size. The shape you pick on the elevation sheet decides how many trusses you buy, how many squares of shingles go up, how much flashing the roofer bends and how long the crew stays on site.
Work through the stages below with the roof plan sheet of any design you are considering. Prices are rough 2025 ranges for asphalt architectural shingles on wood trusses. They vary a lot by region, so confirm them with local builders and suppliers.
Stage 1: Read the roof plan before you fall for the elevation
- Roof type. A simple gable has two planes and one ridge. A hip has four or more planes that slope down to every wall. A complex roof combines gables, hips, valleys and crossing ridges.
- Number of valleys. Count every place where two roof planes meet in an inside corner. Each valley adds labor, waste, underlayment and a potential leak point.
- Footprint shape. A rectangle takes the simplest roof. L-shaped, T-shaped and U-shaped footprints almost always need valleys where the wings meet.
- Pitch callouts. Look for notes like 6/12 or 10/12, and check whether the main roof, the porch and the garage use different pitches.
- Roof area in squares. One roofing square is 100 sq ft of roof surface. Ask the drafter or the truss supplier for the real number, not the floor area.
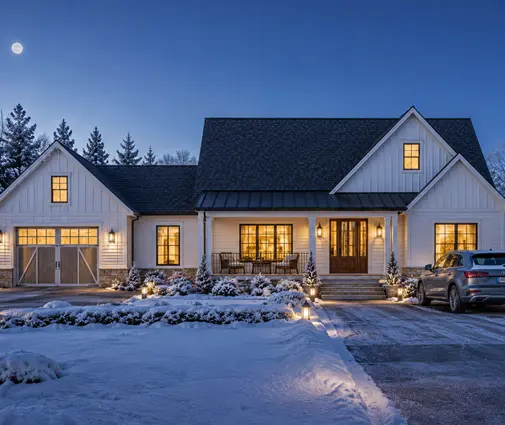
Advice: a busy roof often hides behind a pretty front rendering. Plans like this 3-bedroom Modern Farmhouse ranch of 1707 sq ft with a 2-car garage are a good starting point for comparison, because a compact footprint usually means a compact roof. Still, the roof plan sheet decides the cost, not the style name. If a plan has no roof plan sheet, ask for one before you price it.
Stage 2: Compare trusses, squares and pitch
- Pitch multiplier. Roof area grows with slope. Multiply the flat roof footprint (including overhangs) by about 1.05 at 4/12, 1.12 at 6/12, 1.20 at 8/12, 1.30 at 10/12 and 1.41 at 12/12.
- Common vs. special trusses. A gable roof is mostly identical common trusses. Hips need girder trusses, step-down hip trusses and jack trusses. Valleys need valley sets laid on top. Ask the truss company for a quote per layout, not per house size.
- Waste factor. Roofers typically order around 10% extra for a simple gable, about 15% for a hip and 15 to 20% or more for a cut-up roof with many valleys.
- Installed cost per square. In 2025 architectural shingles typically ran roughly $450 to $700 per square installed in many markets, with higher figures on steep or complex work. Metal roofing usually costs well above that.
- Steep-slope premium. Above roughly 7/12 to 8/12, many crews need roof jacks and harnesses and charge more per square.
Advice: run the math on a real example. A ranch with a 2,400 sq ft roof footprint at 6/12 needs about 27 squares before waste. Raise the main roof to 10/12 for a Modern Farmhouse look and you are near 31 squares, with a steep-slope labor premium on top. The gap between a plain gable and a hip on the same footprint is usually modest. The big jumps come from pitch and from valleys.

Stage 3: Price the flashing and the details
- Valley flashing. Check whether the plan calls for open metal valleys or woven or closed-cut shingle valleys. Metal looks sharp on farmhouse elevations but costs more.
- Wall-to-roof joints. Every spot where a lower roof meets a wall needs step flashing and a kick-out flashing at the bottom. Porch roofs tucked under gables are the usual culprits.
- Pitch transitions. Craftsman plans often pair a steep main roof with a low porch roof. Each transition needs careful flashing and sometimes a different underlayment.
- Crickets and chimneys. A wide chimney or a wall on the uphill side of a roof needs a cricket to divert water. That adds framing and flashing.
- Gable end area. Gable roofs add triangles of wall that need siding, trim and paint. Board and batten or stone on a tall gable adds real money.
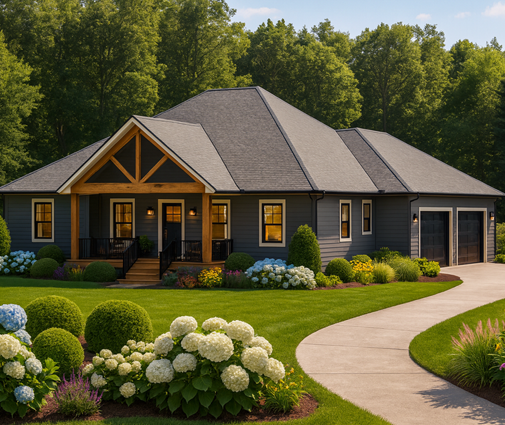
Advice: a gable roof saves on roofing but adds wall finish. A hip roof costs a bit more on top but leaves you with lower, simpler walls. On a Craftsman design such as this 3-bedroom Modern Craftsman ranch of 2250 sq ft, check how the porch roof ties into the main roof, because that joint is where both cost and leaks tend to show up.
Stage 4: Match the roof to wind, snow and insurance
- Design wind speed. Your county sets the design wind speed under its version of the IRC. Coastal and hurricane-prone areas call for stronger connections, sheathing nailing and uplift ties.
- Hip roof advantage. Hip roofs generally hold up better in high winds than gables because they have no tall, flat gable ends to catch the wind and every plane is braced by its neighbors.
- Gable end bracing. If you keep a gable in a high-wind zone, expect extra bracing at the gable ends and sometimes a smaller overhang at the rakes.
- Snow and valleys. In the North and the Mountain West, valleys collect snow and ice. Ice barrier membrane along eaves and valleys is typically required in cold climates.
- Insurance credits. In some coastal states a wind mitigation inspection can lower premiums for hip roofs and strong roof-to-wall connections. Ask your insurance agent what applies in your state.
Advice: in Florida, along the Gulf Coast or in the Carolinas, a hip roof often pays for itself over time. Coastal designs like this 4-bedroom one-story plan of 3061 sq ft with a 3-car garage and the Low Country 3-bedroom Acadian ranch of 1879 sq ft follow regional traditions that grew up around storms and heat. Browse hip roof house plans if you are building in a high-wind zone, and have the local engineer confirm the uplift details.


Stage 5: Edit the plan without losing curb appeal
- Simplify the rear. Keep the decorative gables on the street side and straighten the back roofline, where nobody sees the valleys.
- Unify the pitch. Use one pitch for the main roof and the garage. Save the steep accent pitch for one front gable.
- Square off bump-outs. A small angled bay or a 2-foot jog in a bedroom wall can add a whole set of hips and valleys. Pulling it into the main rectangle is often cheap.
- Bring the garage under the main ridge. A side-load garage tucked under the house roof is usually cheaper than a separate front-facing gable roof.
- Use the porch wisely. A full-width front porch under an extension of the main roof creates strong curb appeal with few joints.
Advice: ask the drafter who adapts the stock plan to price two roof versions before the truss order. A long, simple rectangle with a single main ridge, as on this 3-bedroom traditional ranch of 2565 sq ft, is about as efficient as a one-story roof gets. Compare it with a larger rambling layout like this 3-bedroom Modern Farmhouse ranch of 2951 sq ft with a 3-car garage to see where the extra roof lines appear. For more budget-friendly shapes, look through gable roof house plans and the full range of one-story house plans.
Most common mistakes
- Pricing by floor area. Roof cost follows roof squares, pitch and complexity, not the square footage of the living space.
- Ignoring the pitch change. Going from 6/12 to 10/12 for a farmhouse look adds both area and labor.
- Counting only the front. Valleys on the back and sides cost the same as the ones on the street side.
- Skipping the wind check. A gable chosen for price can need costly bracing in a hurricane zone.
- Forgetting the gable walls. Tall gables add siding, trim and paint that never shows up in the roofing quote.