Many new homes still get open foundation vents in the stem wall because that is how crawl spaces have always been built. In much of the Southeast, those vents let in humid summer air. When that air touches cooler ductwork and floor framing, it condenses, and the result can be damp insulation, mold on the subfloor and cupped hardwood. The fix costs far less when you decide on it at the drawing stage instead of after closing.
A crawl space foundation is still a strong choice for a one-story house. It costs less than a full basement, handles sloped or expansive soils better than a slab, and keeps plumbing and ducts within reach for repairs. Use the stages below to plan one that stays dry.
Stage 1: Footings and stem walls
- Frost depth. Footings must sit below the local frost line. That can be about 12 inches in the Gulf states and 4 feet or more in the upper Midwest. Your county building department publishes the number.
- Soil report. On clay, fill or a slope, ask a local engineer to size the footings. Don't rely on the default IRC table.
- Wall type. Concrete block (CMU) stem walls are common in the South and are easy to adjust on site. Poured concrete walls are tighter and easier to seal later.
- Height. Plan enough clearance to crawl and work. The IRC ties wood decay protection to ground clearance, commonly 18 inches under joists and 12 inches under girders. Many builders go higher for easier service.
- Drainage. Grade the inside floor toward a low point. Add a perimeter drain where the water table or soil calls for it.
- Termite details. In heavy termite areas, confirm the required soil treatment and leave an inspection gap if you plan to insulate the walls.
Advice: if you might seal the crawl space, choose poured walls or fully grouted top courses of block. Hollow block cores carry moisture and soil gas into the space, and every gap is one more thing to seal later.
Stage 2: Girders and floor framing
- Sill plate. Pressure-treated sill on a sill sealer gasket, anchored at the spacing the plans and local amendments require.
- Girders and piers. Built-up or engineered beams on piers. Check the span tables against your actual lumber grade.
- Joists. I-joists or open-web trusses make long spans and duct runs easier than 2x10s.
- Access. An access opening at least 18 by 24 inches, located where a technician can reach the HVAC and water heater lines.
- Hurricane and seismic zones. Check the hold-downs, straps and pier connections the engineer specifies for coastal or seismic wind and load conditions.
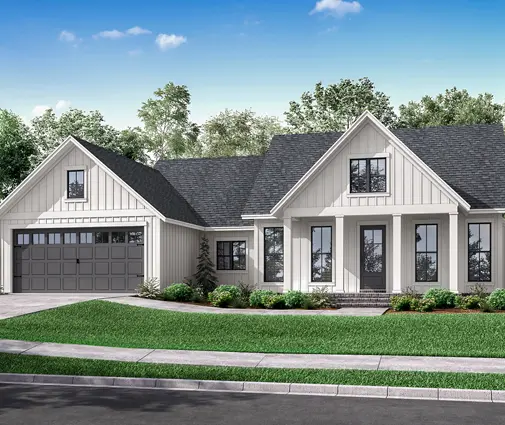
Advice: stock plans usually show a crawl space option. Your local engineer or drafter adapts the pier layout, footing size and anchorage to your lot. The 3-bedroom Acadian Low Country plan with 1,879 sq ft is a good example of a raised, porch-front house where a crawl space fits both the style and Southern ground conditions.


Stage 3: Vented or sealed, deciding by climate
- Vented crawl space. The IRC baseline is 1 sq ft of net vent area per 150 sq ft of floor. That can drop sharply when the ground is covered with a vapor retarder. Insulation goes between the floor joists.
- Unvented (sealed) crawl space. Allowed under IRC Section R408. It needs a continuous Class I vapor retarder over the ground, seams overlapped and taped, run up the walls and sealed. It also needs one way to control air: supply air from the HVAC system, an exhaust fan or, in recent code editions, a dehumidifier.
- Humid Southeast. Sealed usually wins. Outdoor air in July carries more moisture than the crawl space can safely handle, and ducts down there run cold.
- Cold regions. Sealing the space and insulating the walls keeps pipes above freezing and floors warmer. Vented crawls with floor insulation can work, but pipes need protection.
- Dry West. Vented crawl spaces have a longer track record in arid climates. Still put a ground vapor retarder down.
- Radon. In higher-risk counties, add a passive vent pipe under the ground liner. A fan can be added later if testing shows it is needed.
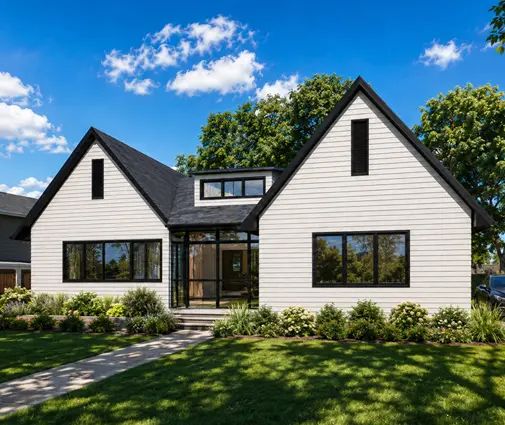
Advice: if the ducts or air handler sit under the floor, plan to seal the crawl space. Running conditioned ductwork through an unconditioned, humid space wastes energy and invites condensation. A plan like the 1,706 sq ft Modern Farmhouse with 3 bedrooms and a 2-car garage keeps its living space on one level, which makes a short, central duct trunk under the floor easy to lay out.
Stage 4: Sealing and insulating
- Liner thickness. 6-mil polyethylene meets the code minimum. Many installers use 10 to 20-mil reinforced liners that hold up to foot traffic.
- Wall insulation. Rigid foam or closed-cell spray foam on the stem walls and rim joist, with the R-value set by your climate zone in the energy code.
- Air sealing. Seal plumbing, wire and duct penetrations, the rim joist and the access door.
- Fire rating. Exposed foam often needs a thermal or ignition barrier. Check the product listing with your inspector.
- Moisture control. Size the supply air or dehumidifier to the crawl space volume. Add a condensate drain and a hygrometer you can read.
- Plumbing. Add a sump or floor drain if a water heater or supply line failure could flood the liner.
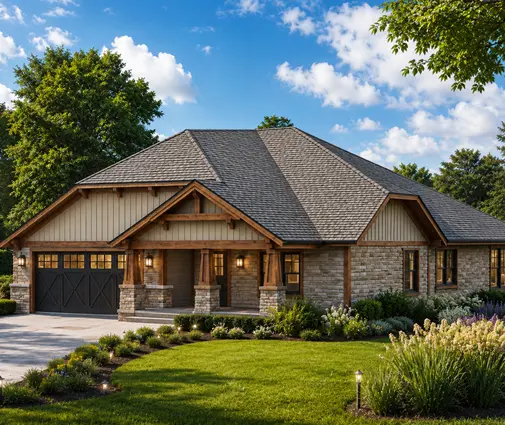
Advice: on larger footprints, sealing adds up but so do the savings. On the 2,508 sq ft Modern Craftsman ranch with 4 bedrooms and a 3-car garage, the garage sits on a slab, so only the living area needs encapsulation. Ask your drafter to mark that boundary clearly on the foundation sheet.


Stage 5: Budget, now versus later
- During construction. In 2025, adding a sealed crawl space to a new 1,500 to 2,500 sq ft house typically ran a few thousand dollars over a vented one, roughly $2,000 to $6,000 depending on liner, insulation and equipment.
- Retrofit. Encapsulating an existing crawl space commonly cost $5,000 to $15,000 or more. Mold cleanup, vent closure or drainage work push it higher.
- Running cost. A dehumidifier adds to the power bill, while supply air shares the main HVAC load. Ask your HVAC contractor for a load calculation that includes the crawl space.
- Appraisal and inspection. Keep photos, the liner spec and the equipment model numbers. Buyers' inspectors look under the floor first.
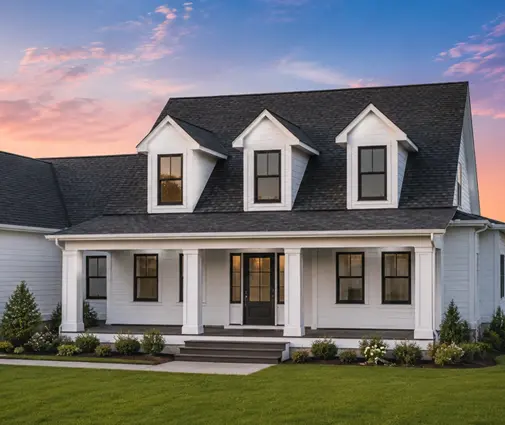
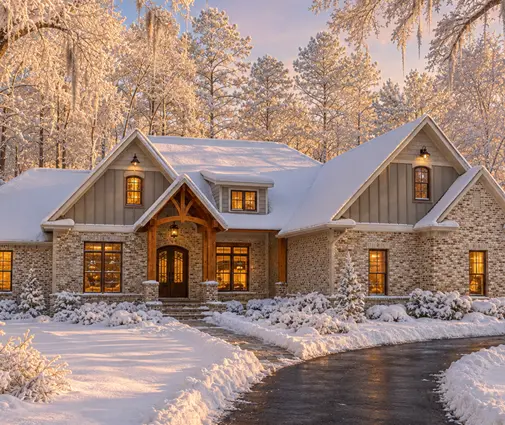
Advice: smaller homes give the best return on sealing because the liner and insulation area stay modest. The 1,292 sq ft three-bedroom cottage ranch with a 1-car garage is easy to encapsulate well on a tight budget. The 2,007 sq ft Craftsman with 3 bedrooms and a 2-car garage and the 1,953 sq ft Scandinavian-style farmhouse land in the size range most families ask for. More options are in the ranch house plans and 1,500 to 2,000 sq ft collections. Prices vary widely by region, so get at least two local quotes.
The most common mistakes
- Half-sealing. Putting a liner down but leaving the vents open, so the space gets the drawbacks of both systems.
- Floor insulation in a sealed space. Insulating the joists instead of the walls, which keeps the crawl space cold and damp.
- Bad grading outside. Gutters dumping water at the foundation. No liner can handle a crawl space that floods.
- No air plan. Sealing the space without supply air or a dehumidifier.
- Skipping the local check. Assuming the stock plan's foundation sheet already matches your county's frost depth, termite rules and energy code. Confirm with your building department or an engineer before you pour.