A two-story house is not a ranch with a second floor set on top. Building a 2-story house step by step follows the same order as any wood-frame home: layout and footings, foundation, first-floor deck, 2x6 walls, second-floor system, upper walls, roof trusses and sheathing, dry-in, rough-ins, insulation, drywall and finishes, with an inspection at each key stage. What changes is where the effort goes. You pour less concrete and build less roof, but the loads travel through two floors, the stair opening has to be framed correctly, and every upper-level task needs scaffolding. This article compares each stage with a one-story build, so you know what to expect and what to check.
If you are still choosing a design, browse the two-story house plans with these stages in mind. A plan that keeps its upper walls directly above the lower ones is simpler and cheaper to build than one where they don't line up.
Building a 2-story house step by step: the comparison table
| Stage | One-story house | Two-story house | What the inspector looks at |
|---|---|---|---|
| Layout and footings | Larger footprint, standard footings | Smaller footprint, wider footings or pads under point loads | Setbacks, footing size and depth, rebar, soil bearing |
| Foundation | More slab or wall per square foot of house | Less concrete per square foot of living space | Anchor bolts or straps, under-slab plumbing, waterproofing |
| First-floor deck and walls | Walls carry only the roof | Walls carry a floor plus the roof; bigger headers | Headers, stud spacing, sheathing nailing |
| Second-floor system | None | Joists or floor trusses, stair opening, beams | Joist sizing, hangers, blocking, beam bearing |
| Upper walls and roof | Roof built from ladders and the deck | Scaffolding or lifts, crane for trusses on many sites | Truss bracing, uplift connectors, roof sheathing |
| Dry-in | Lower walls, easier access | More wall area per roof area; tall elevations to flash | Water-resistive barrier, window flashing (where inspected) |
| Rough-ins | One attic serves most ducts | Second-floor HVAC, chases, stacked plumbing | Framing, electrical, plumbing and mechanical rough |
| Insulation, drywall, finishes | Simpler stairs-free layout | Stair, guards, fireblocking between floors | Insulation levels, fireblocking, stair and guard rules, final |
Layout, footings and foundation
Verdict: two stories win, as long as the point loads are planned.
The surveyor stakes the corners, the crew sets batter boards or offsets, and the footings are dug. On a two-story house the footprint is often 40 to 50 percent of the living area instead of the whole of it, which saves concrete, excavation and, in the North and Midwest, basement wall. The catch: posts under beams and girder trusses deliver concentrated loads that need larger pads, and your engineer or drafter has to show them on the foundation plan.
The footing inspection happens before the pour: depth below frost line, width, rebar, clean bottom. In the South, a slab on grade with under-slab plumbing usually gets its own plumbing inspection before concrete. In basement country, expect waterproofing and drain tile checks. A plan built over a full lower level, like this French Country home designed for a basement, makes the most of a small footprint; more options are in the basement house plans.
First-floor deck and 2x6 walls
Verdict: more demanding on two stories.
On a basement or crawlspace, the sill plate, rim and floor joists go down first; on a slab the walls go straight up. Exterior walls in most of the country are 2x6 at 16 or 24 inches on center, partly for insulation depth. On a two-story house, the lower walls carry a floor as well as the roof, so headers over windows and doors are bigger, and some bearing walls may need studs doubled or tripled where a beam lands above.
Inspectors check header sizes against the plans, sheathing nailing (some jurisdictions have a separate shear wall or sheathing inspection, especially in seismic and high-wind zones), and hold-downs if they are specified.
Second-floor system and stair opening
Verdict: the stage that defines a two-story build.
The second floor is built with dimensional joists, I-joists or open-web floor trusses. Floor trusses cost more but span farther and leave room for ducts. Two things decide whether this goes smoothly:
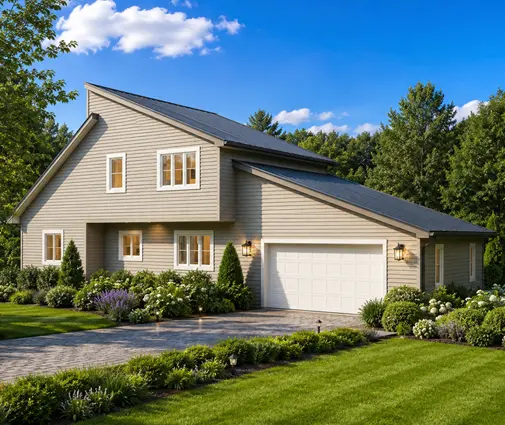
- Stacked bearing walls. Upper bearing walls should sit over lower ones or over a beam. When they don't, the load has to be carried to the foundation by a beam and posts, and that path must be continuous. Simple, stacked designs like this compact contemporary with a straight-up box shape are the easiest to frame.
- The stair opening. It is framed with doubled headers and trimmers and hangers. The IRC sets minimum headroom (6 ft 8 in), maximum riser height and minimum tread depth; check local amendments before the floor is framed, because a wrong opening is expensive to fix.
Check that hangers, blocking and beam bearing match the plans. Most inspectors look at this during the framing inspection, after the whole frame is up.
Upper walls, trusses and roof sheathing
Verdict: one story is easier and safer to build here.
Upper walls are framed flat on the new subfloor and raised, then the roof trusses arrive. On a one-story house crews can often set trusses by hand; on a two-story, a crane or a boom truck is common, and scaffolding or lifts run around the house for the rest of the exterior work. Budget for this equipment as a real line item, rented by the week or month.
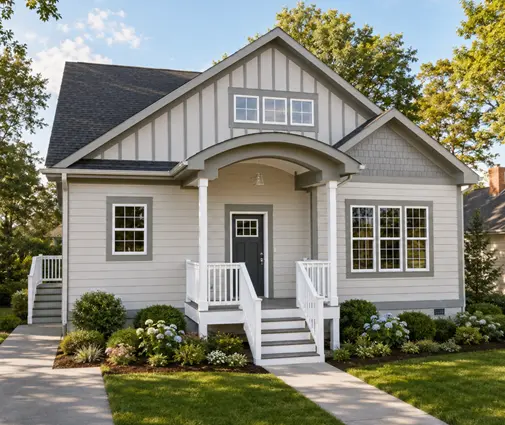
Inspectors check truss bracing per the truss manufacturer's drawings, uplift connectors (straps or clips) and roof sheathing nailing. In hurricane zones, those connections get extra attention; a coastal design like this Low Country home with a modest footprint keeps the walls tall but the roof simple.
Dry-in: roofing, wrap and windows
Verdict: roughly even, with more wall to protect on two stories.
Underlayment and roofing go on, then the house wrap, windows and exterior doors. A two-story house has more wall per square foot of roof, so flashing of windows and the joint between the two floors matters more. Belly bands and trim at the floor line, typical of Craftsman and Shingle styles, need careful flashing. Some jurisdictions inspect the water-resistive barrier; many do not, which makes your own photos at this stage more important.
Rough-ins: plumbing, electrical and HVAC
Verdict: more complex on two stories.
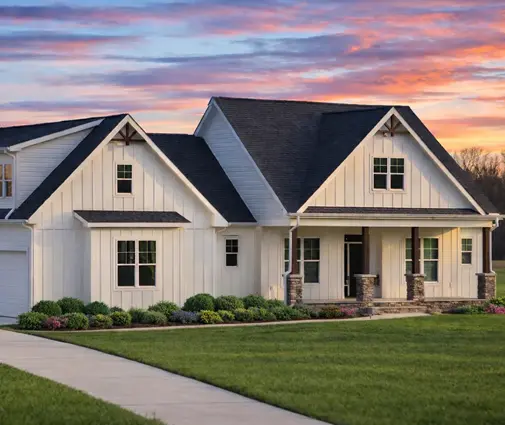
The trades run pipes, wires and ducts inside the open frame. Two stories add three issues. Upper bathrooms should stack above lower bathrooms or the kitchen, so drains run straight down. Ducts to the second floor need a chase or room in the floor system. Most important, the second floor usually needs its own HVAC system or a zoned system, because heat rises and one thermostat downstairs cannot control temperatures upstairs. A plan with upper baths stacked over lower wet rooms, such as this Craftsman farmhouse with four bedrooms, keeps runs short.
The inspector typically checks the framing and all rough-ins before insulation: plumbing pressure or water test, wiring and boxes, duct sizing, smoke alarms on each level and in bedrooms.
Insulation, drywall, finishes and final inspection
Verdict: similar work, with a few two-story checks.
Insulation goes into walls and attic; many areas require an insulation inspection and, under newer energy codes, a blower-door test before the final. Fireblocking at the floor line and around chases must be in place before drywall. Then drywall, trim, cabinets, flooring, paint and fixtures. On two stories, the final inspection also covers the stair, the handrail and guards (generally 36 inches, with openings small enough that a 4-inch sphere cannot pass), and bedroom escape windows upstairs.
For scale: in 2025, total construction costs commonly ranged from about $150 to $300 or more per square foot, depending on region and finishes. Check current costs with local builders.
Checklist for owners following their own build
Few owners frame a house themselves, and many states and counties restrict who can do electrical, plumbing and gas work. But you can follow the build step by step and document it. Take dated photos at each stage, especially before walls are closed: that is the "with pictures" part that helps later, when you need to find a pipe or a wire.
- Confirm setbacks, easements and HOA approval before staking.
- Photograph footings and rebar before the pour; keep the inspection card.
- Check point-load pads and anchor bolts against the foundation plan.
- Walk the first-floor walls: headers, window sizes, hold-downs.
- Measure the stair opening and check that upper bearing walls sit over lower ones or a beam.
- Confirm truss bracing and uplift straps before sheathing hides them.
- Photograph window flashing and wrap at the floor line.
- Photograph every wall and ceiling after rough-ins, room by room.
- Check the second-floor HVAC zone and thermostat location.
- Verify insulation and fireblocking before drywall.
- At the final, test stairs, guards, escape windows and smoke alarms.
Who should choose what
- Narrow or small lot: two stories. The smaller footprint leaves room for the yard and setbacks; see the narrow lot plans or a compact Craftsman cottage that stacks three bedrooms upstairs.
- Basement region: two stories give the most living space for each foot of foundation wall.
- Hurricane or seismic zone: either works, but choose a simple, stacked two-story plan and budget for engineering and extra connectors.
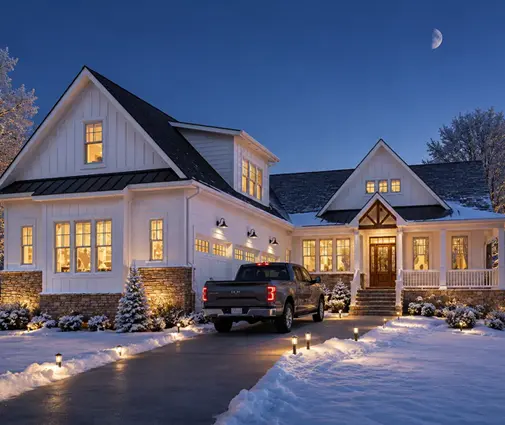
- Owners who want to age in place: look for a main-level primary suite, as in this Modern Farmhouse with a large, family-sized layout.
- Tight budget and simple construction: a plain rectangle with stacked walls and wet rooms is cheaper to build than an elaborate design.
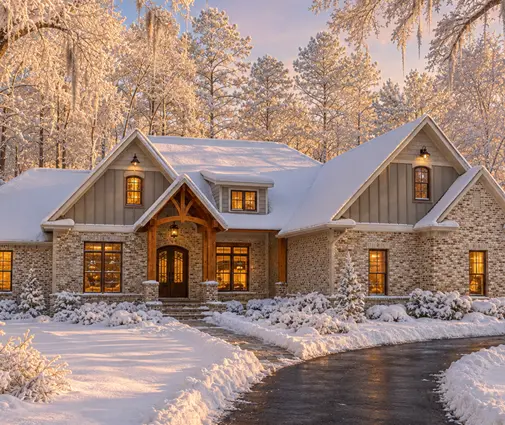

When you are ready to compare layouts, start with the 2-story house plans and ask your drafter or engineer to check the load path and stair before you buy.