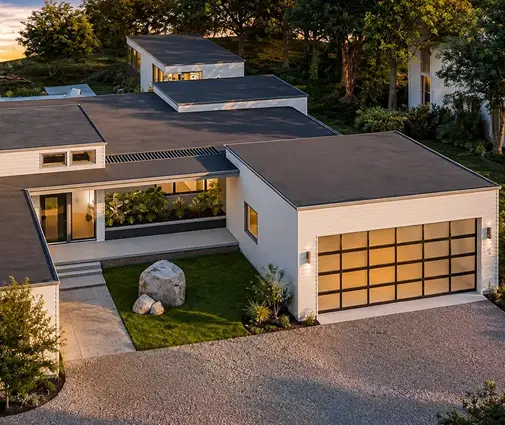
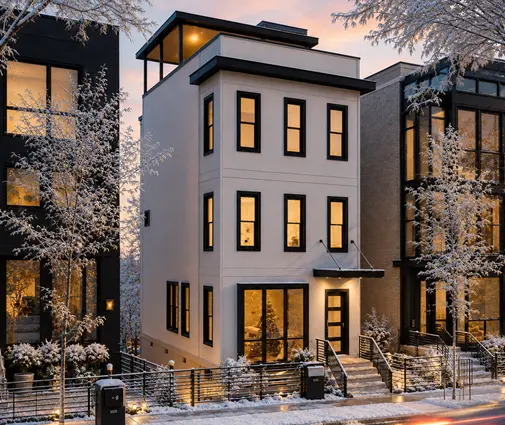
The lot looked perfect in August: two acres of pine and birch at the edge of a small town in northern Wisconsin, a gravel road, a view of a frozen-in-winter lake. The couple who bought it, with two kids in grade school and a dog, had spent years in a suburban two-story with a roof that grew icicles as thick as a forearm every February. This time they wanted a house built for the winter they actually live in. Here is how their project went, from the first call to the county to the first snowstorm in the new home.
Chapter 1: The number on the permit application
Their first surprise came before they had picked a plan. The county building department's checklist asked for the design ground snow load, and the clerk gave them the figure the county uses. In much of the Upper Midwest that figure falls somewhere in the 40 to 70 pounds per square foot range; in parts of northern New England and the mountain states it climbs well above that, and some high-elevation sites are assigned a value only after a site-specific study. The IRC has a snow load map, but many counties and states publish their own values, so the local number is the one that counts.
The ground snow load is not the same as the load on the roof. An engineer or truss designer converts it into a roof snow load using factors for exposure, heat loss through the roof, roof slope and the shape of the roofline. A flat, sheltered roof keeps most of its snow; a steep, slippery roof keeps less. Drifts then add load in specific spots.
Lesson: Ask the building department for the ground snow load, frost depth and wind speed before you buy a plan. Those three numbers decide how much of the plan has to be checked or redesigned.
Chapter 2: Falling for a roofline, then reading it again
Their first favorite was a Modern Farmhouse: a 2,170 sq ft two-story with 4 bedrooms and a basement, the look they kept saving on their phones. They also looked at a larger 3,590 sq ft Modern Farmhouse with a 3-car garage and a taller, compact option, a 2,082 sq ft three-level farmhouse with 4 bedrooms.
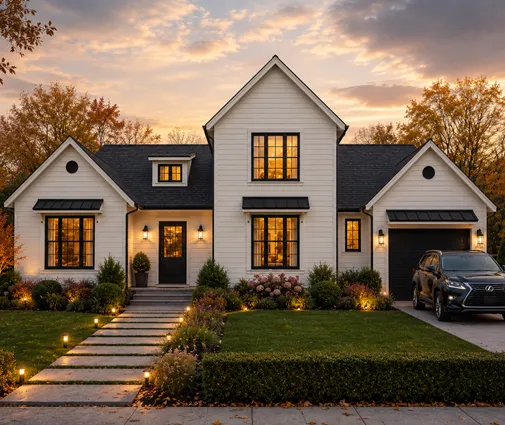
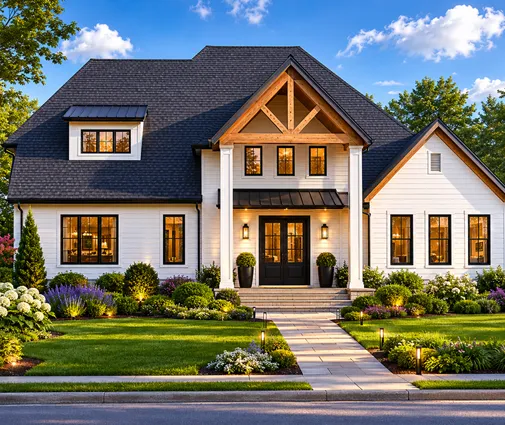
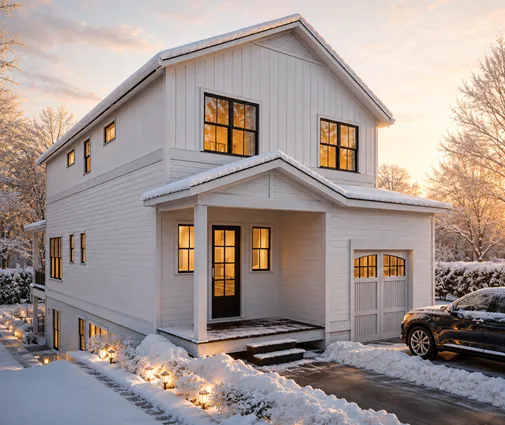
A local builder walked them through the elevations with a pencil. Every place where a lower roof meets a taller wall, such as a porch roof tucked under a second-story wall or a garage roof against the main house, collects drifting snow blown off the higher roof. Every valley, where two roof planes meet, gathers snow and meltwater. Dormers and bump-outs multiply both. None of this rules a plan out; it means those spots need heavier framing, more careful flashing and an engineer's attention. But the more intersections a roof has, the more of them there are to get right, and the more the framing costs.
Lesson: When you compare plans for snow country, count the valleys and the places where a low roof meets a high wall. Fewer of them usually means simpler trusses, fewer leaks and lower cost.
Chapter 3: Choosing a simple roof and the right door placement
The family moved their search toward single-story homes with long, plain gables, and the gable roof plans became their main filter. They narrowed it down to three: a 1,764 sq ft Craftsman ranch with 3 bedrooms, a 2-car garage and a basement, a 2,109 sq ft single-story with 4 bedrooms and a 2-car garage in a Cape Cod and Shingle spirit, and a 1,777 sq ft farmhouse ranch with 3 bedrooms.


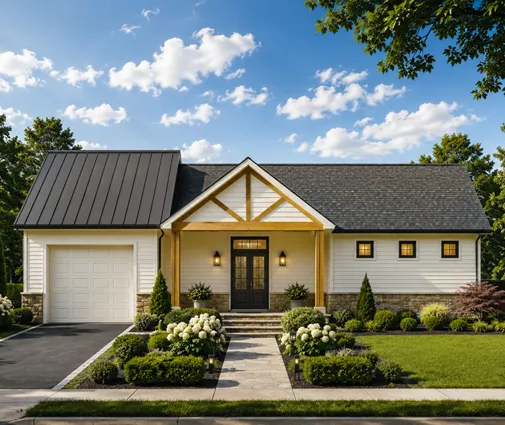
Pitch came next. Their builder liked something in the range of 6/12 to 8/12 for this area: steep enough that snow moves and water drains, deep enough over the walls for a thick layer of insulation, and still walkable for roofers. Steeper roofs let snow slide more readily, which is good for the roof and bad for anything below the eave. That changed how they looked at the entries.
- Front door: they preferred an entry under a gable end or a covered porch with its own roof, not a door directly under a long eave where a slab of snow can drop onto the steps.
- Garage door: ideally on a gable end, so sliding snow does not pile up in front of the door and refreeze into a ridge the plow cannot reach.
- Mudroom: straight from the garage into a mudroom with a bench, hooks and a floor drain or durable tile, so boots and wet gear stop there.
- Driveway: laid out with room on both sides to pile snow, and not on the north side of the house where ice lingers.
They chose the 1,764 sq ft Craftsman ranch. Its plain roof, attached 2-car garage and full basement matched what they needed, and the builder suggested flipping the garage so the doors faced the gable end on their lot.
Lesson: In heavy-snow areas, a simple gable over a compact footprint is hard to beat. Look at where snow will land, not just where the sun comes in, before you settle the entry and garage door locations.
Chapter 4: What the engineer added to the stock plan
A stock plan is drawn to work across many regions; it cannot know the snow load of one county. Their builder sent the plan to a local engineer and to the truss supplier. Here is what came back:
- Truss design for the local load. The supplier's engineer designed each truss for the county's snow load, including unbalanced loading where wind strips one side of the roof and leaves the other loaded. The truss drawings came stamped and went into the permit set.
- Raised-heel trusses. The heel was raised so that full-depth attic insulation could run all the way to the outside of the wall, the spot where ice dams start.
- Drift areas and the porch. The small front porch roof sits below the main eave, so the engineer checked it for drifting and sliding snow and sized its beam and posts accordingly.
- Headers and load path. The wide garage door opening got a larger header, and the engineer confirmed the load path from the roof down to the footings.
- Foundation. Footings went below the local frost depth, which in their area is around four feet and deeper in some northern counties. With the footings that deep anyway, a full basement added living and storage space for a modest extra cost.
In 2025 the engineering review and local adaptation for a house of this size typically ran from several hundred dollars to a few thousand, depending on how much had to change. Heavier trusses add cost too, but it is small next to the price of repairing a roof that sagged or leaked. Requirements vary by county, so the family confirmed every item with the building department before submitting.
Lesson: Budget time and money for a local engineer and stamped truss drawings. The plan gives you the layout; the engineer makes it stand up to your county's winter.
Chapter 5: Stopping ice dams before they form
Their old house had taught them how ice dams work. Heat leaks into the attic, warms the roof deck, snow melts, water runs down to the cold eave over the overhang and refreezes. The ice builds a ridge, water backs up behind it and finds its way under the shingles. This time they attacked every step of that chain.
- Air sealing first. Before insulation, the crew sealed the top plates, wire and pipe holes, the attic hatch and every ceiling penetration. They avoided recessed lights in the top-floor ceiling and used fixtures rated for insulation contact where needed.
- Deep insulation. Blown insulation went in to the depth the local energy code asks for, carried right to the eaves thanks to the raised heels.
- Ventilation. Continuous soffit vents, baffles at every rafter bay to keep the air channel open, and a ridge vent at the top. The goal is a cold roof deck that stays close to outdoor temperature.
- Ice barrier. Self-adhering ice-and-water membrane along the eaves, extending at least 24 inches inside the exterior wall line as the IRC requires where ice dams are common, plus in every valley and around the chimney.
- Exhaust to the outside. Bath fans and the range hood vent through the roof or wall, never into the attic.
Lesson: Ice dams are an air leakage problem before they are a roofing problem. Seal the ceiling, insulate deeply to the eaves, ventilate the roof deck, and treat the membrane as the backup, not the cure.
Chapter 6: The first real snowstorm
They moved in at the end of October. In January a storm dropped well over a foot of snow in a day, followed by a week of sunny days and nights below zero. The roof held an even blanket of snow; the eaves stayed clean, without the icicle curtains they used to knock down with a broom. Snow slid off the gable-end garage roof away from the doors, the driveway had room on both sides for the plow, and wet boots stayed in the mudroom.
Looking back, the family says the choices that mattered most were made on paper: a compact plan with a simple roof, doors placed away from the eaves, and an engineer who knew the county's snow. Families in the mountains with a larger budget follow the same logic at a bigger scale; a 4,571 sq ft single-story Mountain Craftsman with 4 bedrooms shows how a rustic home can stay on one level under a strong, readable roofline.
Lesson: In snow country the best winter performance comes from decisions you make before construction starts. Choose the roof as carefully as the floor plan, and let local professionals check it against your county's numbers.