The drywall is up, the paint is drying, and you walk into the bedroom at night only to find the light switch behind the open door. It's a small thing, but it happens every night, and fixing it now means cutting drywall, patching and repainting. Most stock house plans include only a basic electrical layout: a few outlets, a light in each room, and a fan box or two. That gives your electrician a starting point, not a finished design.
The good news is that changes cost little while they are still pencil marks on paper. Before your plan becomes a permit set, walk through it room by room with a red pen. The checklist below follows the order you move through a house. It assumes the National Electrical Code (NEC) as adopted by your city or county. Jurisdictions adopt different editions and add their own amendments, so confirm the details with your electrician or the local building department.
Stage 1: Entries, hallways and stairs
- Door swing: check every door on the plan and make sure the switch sits on the latch side, not behind the door when it opens.
- Three-way switches: any room or hall with two entrances needs a switch at each one. NEC requires stair lighting to be switchable at each floor level when the stairway has six or more risers.
- Hallway outlets: hallways 10 feet or longer need at least one receptacle, which is useful for a vacuum or a night light.
- Front entry: put the porch light, the foyer light and any landscape lighting on switches grouped right inside the door.
- Mudroom: add an outlet at the bench or drop zone for charging phones and running boot dryers.
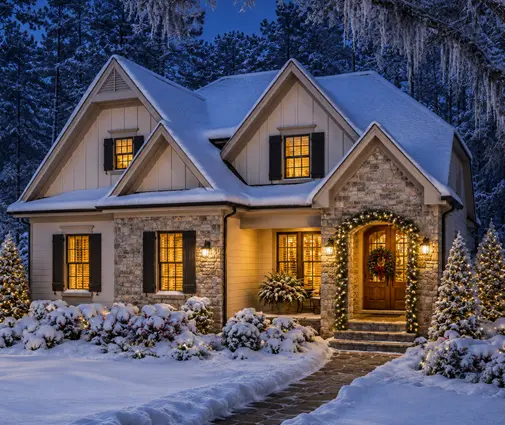
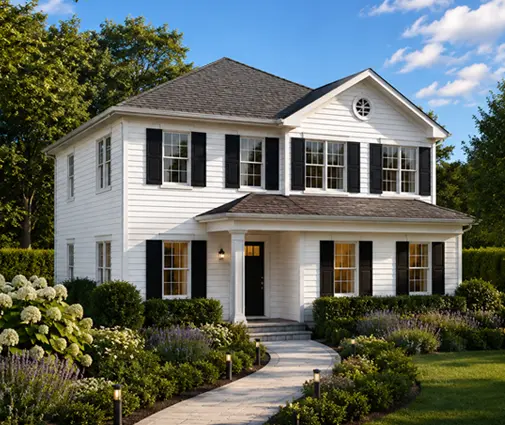
On a multi-level home the stairs deserve the most attention. On a plan like this three-story Colonial with 3 bedrooms and 2261 sq ft, trace the path you would take at night from the bedrooms down to the kitchen. You should be able to turn on the next light before you reach it and turn off the one behind you. Where three lights share a hall, a four-way switch in the middle is cheap to add at rough-in.
Stage 2: Kitchen, island and dining
- Countertop spacing: NEC requires a receptacle so that no point along the counter wall is more than 24 inches from one. In practice that means outlets about every 4 feet, plus one in any counter section 12 inches or wider.
- Dedicated circuits: the code calls for at least two 20-amp small-appliance circuits. Your refrigerator, dishwasher, disposal, microwave and range (gas or electric) usually get their own circuits as well.
- Island outlets: island rules changed in the 2020 and 2023 NEC editions. Ask which edition your jurisdiction uses and where outlets may go: on the island end panels, under the overhang, or in a pop-up unit.
- Under-cabinet lighting: mark a switched box or low-voltage feed now, even if you install the fixtures later.
- Pendants and dining: center the island pendants on the island as drawn, not on the room, and center the dining fixture on the table rather than the floor area.
- GFCI: all kitchen countertop receptacles must have GFCI protection.
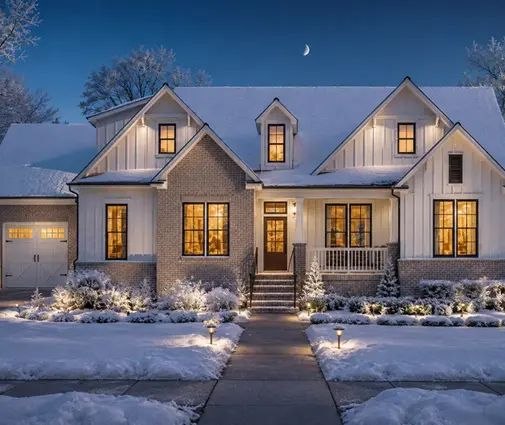
Open layouts make this harder because the kitchen, dining and living lights are seen from the same spot. On a plan like this two-story Modern Farmhouse with 4 bedrooms, 3198 sq ft and a 3-car garage, group the lights by zone and put the switch bank where you enter the great room, not hidden by the refrigerator. Browse open concept house plans with this in mind: the bigger the open space, the more a dimmer on each zone matters.
Stage 3: Living room, bedrooms and baths
- Recessed light spacing: a common rule of thumb is to divide the ceiling height by two. With 8-foot ceilings, space cans about 4 feet apart and roughly 2 to 3 feet from the walls. Higher or vaulted ceilings need different fixtures, not just more of them.
- TV wall: mark the TV height and put a recessed outlet and a low-voltage box behind it. Add a conduit down to the media console so cables can be pulled later.
- Floor outlets: if the sofa floats in the middle of the room, ask for a floor box beneath it for lamps and charging. Wall outlets alone can't reach it.
- Wall outlets: NEC requires that no point along the floor line be more than 6 feet from an outlet. Add extras on both sides of each bed and at desk locations.
- Ceiling fan boxes: use fan-rated boxes in bedrooms and the living room, with separate switching for the fan and the light.
- Bathrooms: plan a GFCI outlet within 3 feet of each sink, an exhaust fan that is switched or on a timer, and vanity lights at face level, not only overhead.
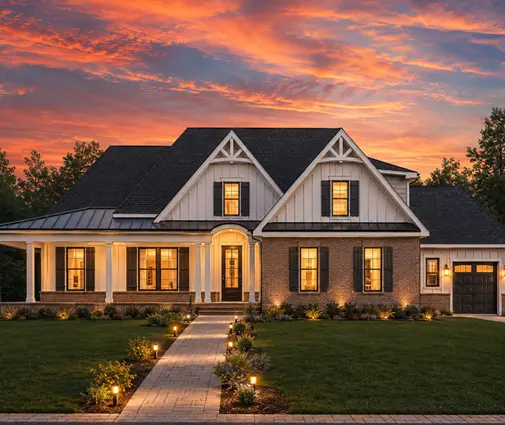
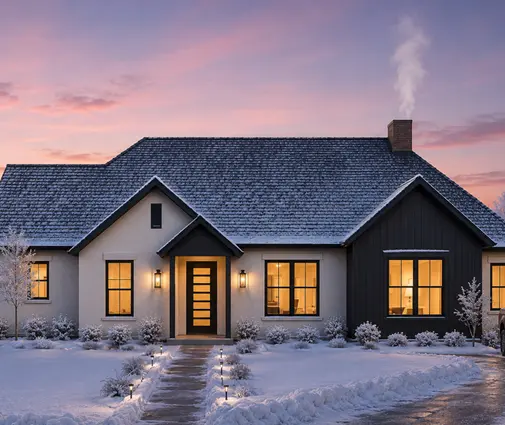
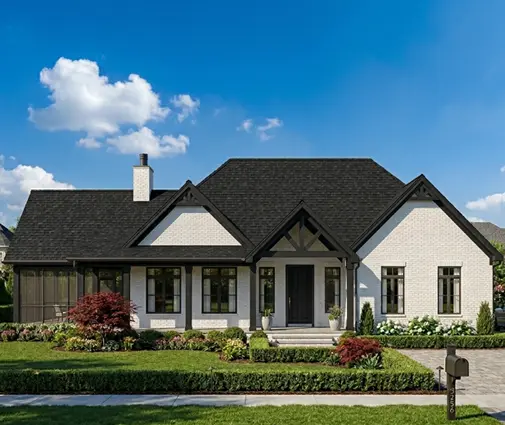
Single-story homes spread their bedrooms far apart, which makes long hallways easy to underlight. In a one-story Craftsman with 3 bedrooms and 3607 sq ft, or a more compact Modern Craftsman ranch with 3 bedrooms and 2250 sq ft, check that every bedroom wing has a hall light switchable from both ends. In the primary bedroom, a switch for the main lights beside the bed costs a few dollars at rough-in and is worth it every night.
Stage 4: Garage, exterior and utility spaces
- Garage outlets: plan at least one GFCI receptacle per car bay, plus outlets on the workbench wall and at the ceiling for the door openers.
- EV charging: a 240-volt circuit run now, often 40 to 50 amps, is far cheaper than retrofitting it later. Check your panel capacity before you commit.
- Exterior receptacles: the code requires at least one GFCI outlet at the front and one at the back, accessible from grade. Add more at the porch, the deck and anywhere you'll put holiday lighting.
- Exterior lights: put lights at every door, at the garage, and on a photocell or timer for the driveway.
- Utility spaces: plan lights and outlets in the attic, the crawlspace or basement, the mechanical room and the laundry (a 240-volt dryer circuit if you don't use gas).
- Bonus room: wire it as a full bedroom or office, not as storage.
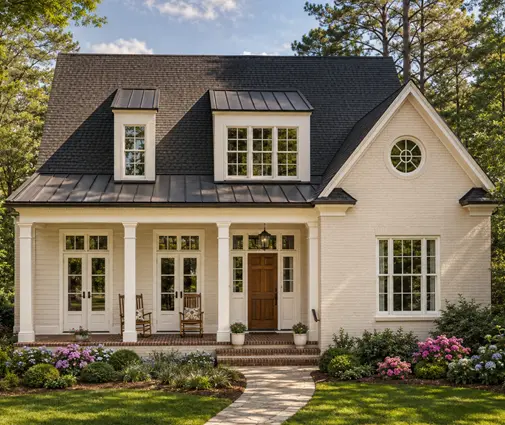
Garages and porches are where stock plans are thinnest. On a Southern-style home with 4 bedrooms, 3175 sq ft and a basement, the basement alone needs its own lighting plan, including three-way switches at the stair. If you are looking at 3-car garage plans, budget for lighting across the whole width of the garage. A single bulb over each opener won't light the space. In 2025, adding an outlet or recessed light during new construction typically ran from about $100 to $250 per point, depending on the region. Moving one after drywall usually costs more.
Stage 5: The markup before the permit set is final
- Furniture first: sketch the beds, sofas, TV and desk onto the plan before you place a single outlet.
- Color code: use one color for switches, one for outlets and one for lights, and add a legend to the sheet.
- Heights: note any non-standard heights, such as outlets above counters, at a wall-mounted TV or in a window seat.
- Dimmers and smart switches: mark which lights get dimmers. Smart switches usually need a neutral wire in the box, so ask for neutrals everywhere.
- Low voltage: plan network drops in the office and at the TV, a spot for the router, and wiring for a doorbell camera and alarm.
- Walkthrough: after rough-in and before insulation, walk the house with the electrician and check every box against your markup.
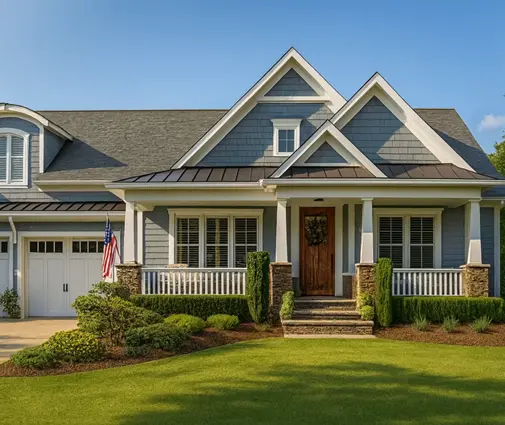
Bring the marked-up plan to your builder or electrician, and to the drafter adapting the stock plan, before the drawings go to the city or county for review. Changes made at that stage cost almost nothing. Changes made after framing inspection cost real money. If you are still comparing designs, such as this two-story Modern Craftsman with 3 bedrooms and 2663 sq ft, keep the electrical checklist next to the floor plan. Furniture placement and door swings will tell you more than square footage will.
The most common mistakes
- A switch on the hinge side of the door, where it ends up behind the open door.
- A single switch at a hall or stair with two ends.
- Too few countertop outlets, or no plan for outlets on the island.
- Recessed lights laid out on a grid that ignores the cabinets, the beds or the art walls.
- No outlet or conduit behind the TV, leaving cords hanging down the wall.
- One weak light in the garage and no outlets at the front or back of the house.
- Skipping the rough-in walkthrough before insulation and drywall.