Today, moving an outlet means an electrician, a drill and maybe twenty minutes of work. Two weeks from now, it means cutting drywall, patching, retexturing and repainting. The pre-drywall walkthrough is the only time you can see the skeleton of your house: the studs, the boxes, the wire runs and the supply lines. Many owners go in without a plan, look around, say "looks great," and only find the missing island outlet when the countertop installer asks where it is.
Ask your builder for this visit in writing when the contract is signed, and ask again when framing is done. The best timing is after the rough-in inspections by the city or county have passed and before insulation goes in. If insulation is already in, you can still check most items, and you can check the insulation itself. Bring the stamped plan set, your electrical and lighting selections, a tape measure, painter's tape, a marker and a fully charged phone. The ideas below follow the order most people walk a house, from the busiest rooms to the quiet corners.
1. The kitchen: where most surprises start
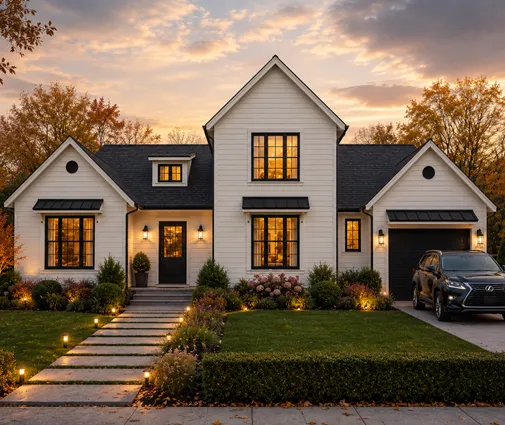
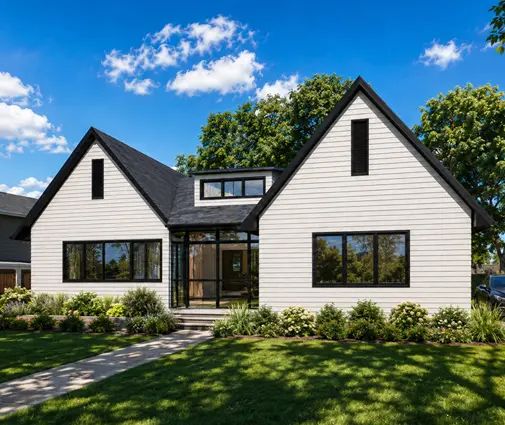
In an open layout like this 3,062 sq ft two-story Modern Farmhouse with four bedrooms, the kitchen is visible from the family room. That makes every misplaced box obvious later. Stand where each cabinet will go and check:
- Countertop outlets along the backsplash. The electrical code generally limits how far any point on the counter can be from a receptacle, but think about use as well as code: coffee maker, toaster, charging spot.
- Island outlets. Islands need power, and the location affects cabinet doors and end panels.
- Boxes for under-cabinet lighting, pendants centered on the island (measure from the actual cabinet layout, not the wall), and the range hood.
- Dedicated circuits for the refrigerator, dishwasher, disposal, microwave and range, matched to the appliances you picked.
- Blocking behind upper cabinets and open shelves, especially heavy wood or floating shelves.
If you want to see how plans handle open kitchens, the open concept house plans show different island and pantry placements to compare with your own.


2. The living room: TV blocking and the lighting grid
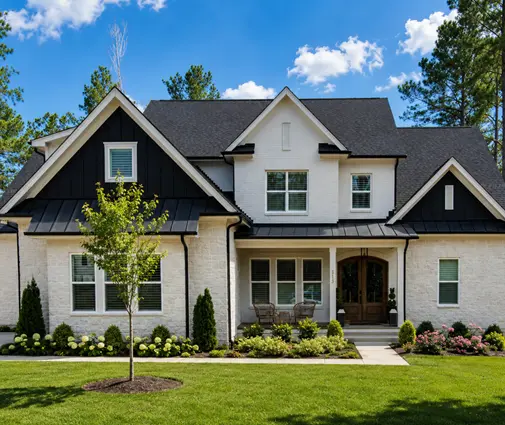
Large great rooms, like the one in this 3,783 sq ft Modern Craftsman with three bedrooms on two stories, often get a wall-mounted TV above a fireplace or on a long wall. Before drywall, confirm:
- Horizontal 2x blocking between studs at the mount height, wide enough for the bracket you plan to buy.
- A recessed power box and a low-voltage box behind the TV, with a conduit or pass-through to the media cabinet so cables never hang on the wall.
- Recessed lights laid out in even rows and lined up with the room, not with the joists. Use painter's tape on the subfloor to mark furniture and see whether lights land over the sofa or in the middle of nowhere.
- Speaker wire, Ethernet (Cat6) and coax runs where you will actually need them. Wi-Fi is good, but a wired access point in the ceiling is cheap to add now.
3. Bathrooms: valve heights and grab bar blocking
A plan with many bathrooms, such as this 3,175 sq ft Southern cottage with four bedrooms, 5.5 baths and a basement, multiplies the chances of a mistake. In each bath, measure:
- The shower valve height. A common height is about 48 inches above the finished floor, with the showerhead around 80 inches, but tall owners often want it higher. Check also that the valve is on the side you can reach without stepping into the cold spray.
- Niche locations and sizes, and that they do not land on a plumbing wall or an exterior wall without insulation behind them.
- Blocking for grab bars in the shower and beside the toilet, even if you do not plan to install them yet. It costs very little now and makes the house ready for aging in place.
- Blocking for heavy vanity mirrors, towel bars and wall-hung vanities.
- The exhaust fan location and duct run to the exterior, not just into the attic.
4. Bedrooms: outlets where the bed really goes
In a compact plan like this 2,058 sq ft Craftsman with three bedrooms on two stories, every wall counts. Decide where the bed goes and make sure the outlets land beside the nightstands, not behind the headboard. Check that ceiling boxes meant for fans are fan-rated and centered on the room or the bed. Look at switch locations by each door: do they fall behind an open door swing? Wherever a pipe or wire passes through a stud close to its face, you should see a steel nail plate. These plates protect the line from drywall screws and future picture nails, and they are required by code in most cases, so a missing one is the builder's item to fix.
5. Mudroom, laundry and garage: the workhorse zones
Houses with large garages, like this 3,170 sq ft farmhouse with four bedrooms and a 3-car garage, usually have a mudroom and laundry right at the garage entry. Check the washer box height and the dryer vent run (short and straight is better). Look for a floor drain or pan if the laundry is upstairs. In the mudroom, plan outlets for a charging station and blocking for hooks and benches. In the garage, confirm a circuit for an EV charger, outlets for a freezer and a workbench, and the location of the opener outlets on the ceiling. Owners comparing plans can browse 3-car garage house plans for mudroom layouts.
6. Upper floors and bonus rooms: insulation and air sealing
Three-story homes and rooms under the roof are where insulation fails most often. In a plan like this 3,744 sq ft three-story Craftsman farmhouse with four bedrooms, look at kneewalls, sloped ceilings, and the floor over the garage. Batts should fill the cavity fully, without gaps, folds or compression around wires and boxes. Check that the kneewalls have an air barrier on the attic side, and that penetrations for wires and pipes are sealed with foam or caulk. If your house has a bonus room, confirm it got its own heating and cooling supply and a return, not just a single register.

7. Photograph everything, then raise issues the right way
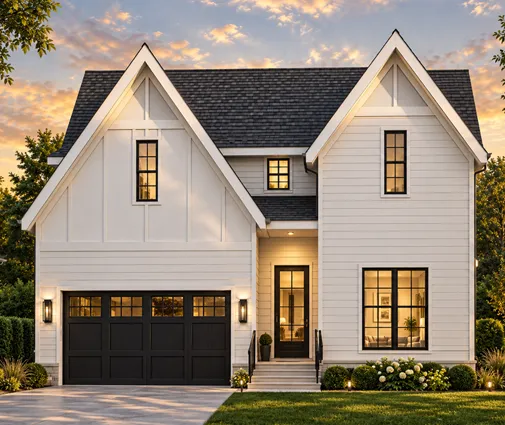
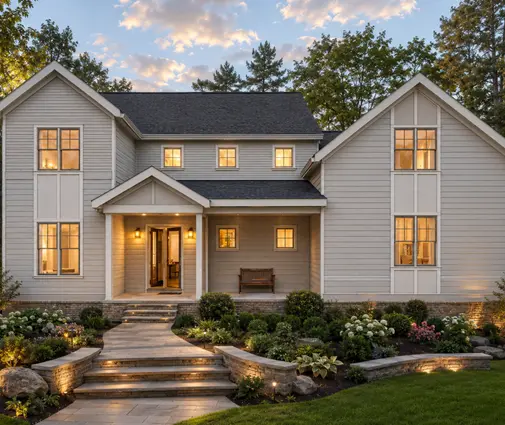
Even in a small house like this 1,616 sq ft Craftsman with three bedrooms, a full photo set runs to a few hundred pictures. Shoot every wall, corner to corner, with a tape measure stretched from a known point, such as a window edge or a corner. Take a wide shot first, then close-ups of plumbing walls, the electrical panel area and any blocking. Name the folders by room. Years from now, these photos will tell you exactly where you can drill safely.
When you find a problem, sort it into two lists. The first covers items that differ from the signed plans, selections or code: these are the builder's to correct, at no cost to you. The second covers things you want to change: an extra outlet, a moved light. Those are true changes, and the builder may charge for them, but at this stage most are small. Put both lists in one email after the walk, with photos and plan references, and ask for a written reply. Stay specific and calm: "outlet on the island is missing per E-2" is easy to act on, while "the electrical looks off" is not. Some owners hire an independent inspector for a pre-drywall inspection, which often costs a few hundred dollars in 2025 and catches structural and code items a homeowner cannot judge.
The walkthrough takes two or three hours. It is the cheapest time in the whole build to fix a mistake or add a detail you will appreciate every day. Go in with the plans and a list, tape and mark what you want, document it, and keep the tone cooperative. When the drywall goes up, you will know exactly what is behind it.