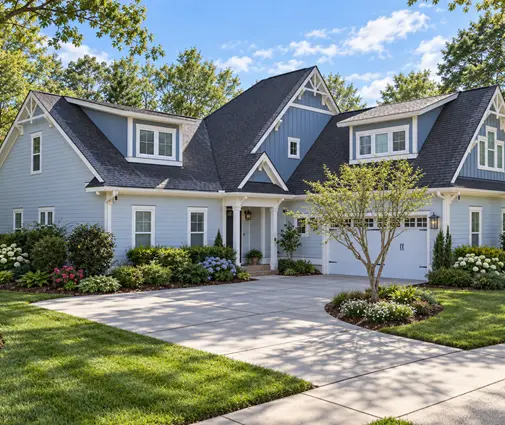
The drywall crew shows up on a Monday, and by Friday every wire, duct, strap and nail in your walls is hidden for the next forty years. If a hurricane tie was skipped or a bath fan was never connected to its duct, that was the last week anyone could see it cheaply. This is why more people building a new home in the U.S. hire their own inspector during construction, not just at the end.
Your city or county building department will inspect the house several times. But a municipal inspector is checking for minimum code compliance, often in 10 to 20 minutes, with a full day of other sites on the schedule. They are not checking workmanship, the manufacturer's installation instructions for every product, or whether the builder followed your plans and specs. An independent inspector works for you. The steps below walk through when to bring one in, what it costs in 2025–2026 and how to keep the relationship with your builder productive.
Step 1: Understand What the City Inspection Covers
What to do: Call or check the website of your building department and get the list of required inspections for a new single-family home. Most jurisdictions that follow the IRC (with local amendments) require some version of footing/foundation, under-slab plumbing, framing, rough-in mechanical, electrical and plumbing, insulation or energy, and final. Some add a sheathing or nailing inspection, especially in hurricane and seismic zones.
Why it matters: Your independent inspections should land right before or right after the city's visits, while the work is still open. Knowing the official sequence also tells you where the gaps are. Many departments do not look closely at roof flashing, window installation, grading or the quality of insulation work beyond the basic energy checklist.
Time and cost: An hour of research, no cost.
Step 2: Choose an Inspector Who Knows New Construction
What to do: Look for an inspector who specifically offers new construction or phase inspections, not just resale home inspections. Ask whether they hold ICC certifications (the International Code Council certifies residential building inspectors), how many phase inspections they do each year, and to see a sample report. A good report has photos, the location of each issue and a reference to the code section or manufacturer instruction behind it. Confirm they carry general liability and errors and omissions insurance, because many builders require proof of insurance before anyone walks onto the site.
Time and cost: One to two weeks of calls before you sign the builder contract. Many inspectors sell a package of three or four visits, typically around $1,200 to $2,500 for an average-size home in 2025, more for large or complex houses.
Step 3: Write Inspector Access into the Builder Contract
What to do: Do this before you sign, not after the slab is poured. Some production builders limit outside inspections, require an escort or only allow certain visits, and that is much easier to negotiate up front. Ask your attorney or agent to add language covering:
- Your right to have a licensed or certified third-party inspector on site at the foundation, framing, pre-drywall and final stages.
- Written notice from the builder at least 48 to 72 hours before concrete is poured and before insulation and drywall go up.
- A commitment that drywall will not be hung until your inspection is done or the notice window has passed.
- Permission for the inspector to take photos.
- A process and time frame for the builder to respond to written findings.
Time and cost: Part of normal contract review. If you use a real estate attorney, expect a few hundred dollars to review the whole agreement, depending on your market.
Step 4: Foundation and Pre-Pour Inspection
What to do: Schedule the visit after the forms, rebar, vapor retarder and under-slab plumbing are in place, but before the concrete truck arrives. Timing is tight here, which is why the notice clause in Step 3 matters.
Common findings: rebar sitting on the ground instead of on chairs, torn or unsealed vapor retarder, plumbing stub-outs in the wrong place compared to the plans, missing anchor bolts or hold-down straps, and poor drainage around the excavation. On homes with a full basement, the inspector also looks at footing drains, waterproofing on the walls and backfill. If you are building a basement design such as this three-story Modern Farmhouse with a basement and 4452 sq ft or a compact one-story 1906 sq ft plan with three bedrooms over a basement, this is the visit that protects you from decades of damp walls. Browse more house plans with a basement if that is your foundation type. On slab-on-grade homes common in the South, like this 3-bedroom Ranch plan with 2836 sq ft, the focus is slab prep and under-slab lines.
Time and cost: One to two hours on site, typically $250 to $500.
Step 5: Framing Inspection
What to do: Inspect once the structure is framed, sheathed, the roof is dried in and windows are installed, ideally before or right after the city's framing inspection.
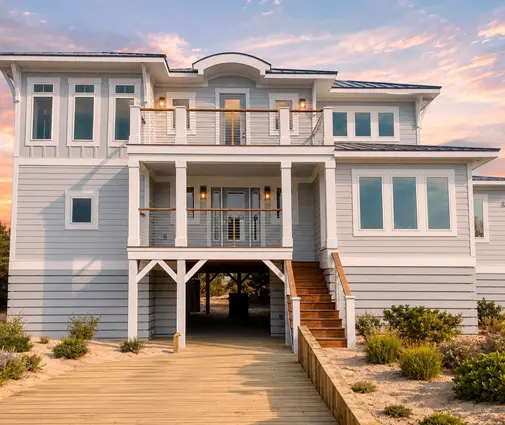
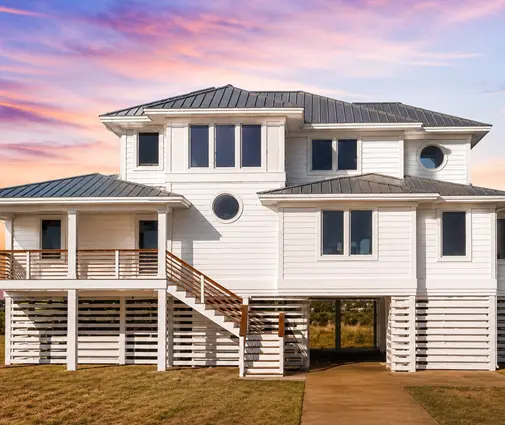
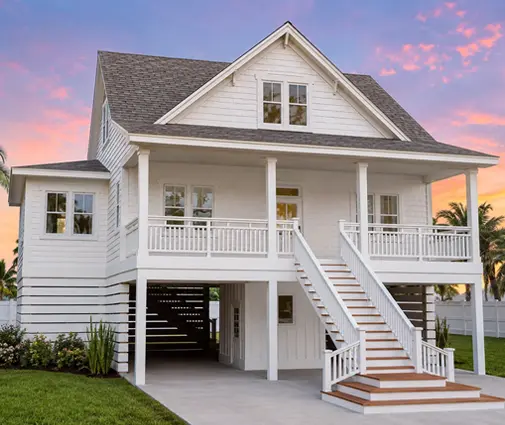
Common findings: joists or studs notched or bored beyond code limits by plumbers and electricians, cut or field-modified engineered trusses, missing hangers and hurricane ties, undersized or missing headers, shear wall nailing that does not match the engineer's schedule, missing fireblocking, and window flashing that ignores the manufacturer's instructions. Water-resistive barrier laps installed backwards are a classic. In coastal wind zones, connection hardware is critical, especially on raised homes like this four-story Coastal plan with four bedrooms and 3067 sq ft.
Time and cost: Two to three hours, typically $300 to $600. Larger homes cost more because there is simply more framing to check.
Step 6: Pre-Drywall Inspection
What to do: This is the most valuable visit. Schedule it after mechanical, electrical and plumbing rough-ins and insulation, but before drywall. Some inspectors combine it with framing if the schedule is compressed.
Common findings: disconnected or crushed ducts, bath fans venting into the attic instead of outside, missing nail plates where pipes and wires pass close to the face of studs, gaps and compressed batts in the insulation, missing air sealing at top plates and penetrations, and plumbing that was never pressure-tested. In a two-story house with a long duct run to a bonus room, such as this 4-bedroom Modern Farmhouse with 3062 sq ft, poor duct work is the usual reason one room is always too hot or too cold.


Time and cost: Two to four hours, usually $350 to $700. This is also when the builder is most sensitive to delays, so get the report the same day if possible.
Step 7: Raise Findings Without Stalling the Schedule
What to do: How you deliver the report matters as much as what it says. A few habits keep the job moving:
- Send the report to the site superintendent the same day, in writing, with the photos.
- Sort items into structural or safety, water and energy, and cosmetic. Ask for the first two before drywall; cosmetic items can wait for the punch list.
- Point to the code section, the engineer's drawings or the manufacturer's instructions rather than opinions. Builders respond to references.
- Ask for a photo of each correction instead of demanding another full visit.
- Stay polite. The superintendent who feels respected tends to fix things faster.
Time and cost: Most corrections take a few days. If you need a reinspection, expect around $150 to $300.
Step 8: Final Inspection Before Closing
What to do: Schedule it a few days before your builder walkthrough and before closing, once the city has issued or is about to issue the certificate of occupancy. Bring the report to the walkthrough so it becomes your punch list.
Common findings: grading that slopes toward the house, missing downspout extensions, GFCI and AFCI protection issues, attic insulation that falls short of the depth on the certificate, roof and siding flashing problems, HVAC that does not cool evenly, and unsealed exterior penetrations. On a large home like this 4808 sq ft Craftsman farmhouse with four bedrooms and a basement, a final inspection can easily take half a day.
Time and cost: Three to five hours, typically $400 to $900 depending on size.
Step 9: The 11-Month Warranty Inspection
What to do: Most builder warranties cover workmanship for the first year. About a month before it ends, have the house inspected again. Settling, drywall cracks, nail pops, door adjustments, minor leaks and HVAC balancing problems typically show up by then. Submit the list to the builder in writing before the warranty date.
Time and cost: Two to four hours, usually $300 to $600.
Timeline and Budget at a Glance
| Step | When | Time on site | Typical cost (2025–2026) |
|---|---|---|---|
| Research city inspections | Before contract | About 1 hour | Free |
| Hire inspector | 1–2 weeks before contract | Calls and references | Package $1,200–$2,500 |
| Contract access clause | At contract signing | Part of review | Attorney review varies |
| Foundation / pre-pour | Before concrete | 1–2 hours | $250–$500 |
| Framing | After dry-in | 2–3 hours | $300–$600 |
| Pre-drywall | After rough-ins and insulation | 2–4 hours | $350–$700 |
| Corrections and reinspection | Within days of each report | Varies | $150–$300 per revisit |
| Final | Before walkthrough and closing | 3–5 hours | $400–$900 |
| 11-month warranty | About a month before warranty ends | 2–4 hours | $300–$600 |
Prices vary by region and house size, so get two or three quotes, and confirm the required inspections with your local building department. On a home that may cost several hundred thousand dollars to build, a few thousand dollars spent while the walls are still open is one of the cheapest ways to protect it.