The storm rolled through overnight, and in the morning you drive to the lot. Water stands on the subfloor, the plates are dark, and the edges of the OSB look puffy. Your builder shrugs and says it happens on every job. Usually that is true. Framing lumber and OSB are made to handle some weather during construction. Sometimes it is not true, and the difference shows up later as squeaky floors, popped drywall screws, buckled hardwood or mold behind finished walls. This article walks through what rain does to an open frame, which numbers to check, and what each fix tends to cost in 2025 and 2026.
The cost items at a glance
Most rain events during framing cost nothing beyond a few days of drying. When something does need fixing, these are the usual line items. The ranges are rough national figures for 2025 and 2026. Local labor rates, the size of the house and how long the frame stayed wet move them a lot, so ask for written quotes.
| Item | Typical range (USD) | When it applies |
|---|---|---|
| Pin-type moisture meter (owner purchase) | $30 – $150 | Spot checks on your own visits |
| Third-party moisture inspection with written report | $300 – $700 | Before insulation, or when you dispute a reading |
| Dehumidifier and fan rental | $50 – $150 per unit per day | Long rainy stretches, humid climates, after dry-in |
| Sanding swollen OSB seams | $300 – $1,500 per floor | Edge swelling that fails a flatness check |
| Replacing subfloor panels | $60 – $150 per 4x8 sheet installed | Delamination, soft spots, severe cupping |
| Localized mold cleaning on framing | $500 – $3,000+ | Visible growth on studs or sheathing |
| Temporary protection (tarps, seam tape, drain holes) | $200 – $1,000 | Prevention before and during the dry-in |
| Schedule delay | Construction loan interest, rent, storage | Every week the drywall start slips |
The pattern is clear: prevention and measurement are cheap, and replacement and mold work are not. The sections below cover the items that cost the most.
Moisture content: the number that decides everything
Lumber stamped "KD" or "KD-19" left the mill at or below 19 percent moisture content. Rain wets the surface quickly, but a soaked stud usually dries back to that range within days to a couple of weeks if air can move around it. The surface dries first, so a stud that looks dry can still read high inside.
Before insulation and drywall go in, a common target is 19 percent or lower for framing. Many builders and drywall contractors aim lower, around 15 percent, because wet studs shrink as they dry, and shrinking pulls screws, cracks corners and causes nail pops. Flooring is stricter. Wood flooring manufacturers usually require the subfloor to be within a few percentage points of the flooring itself, so check the installation instructions for the product you chose.
A basic pin meter is enough to follow the trend. Push the pins in along the grain, read several studs per wall, the bottom plates and the subfloor near exterior walls, and write the numbers down with the date. If readings stay above about 19 percent a week after the roof is on, ask for dehumidification before the insulation inspection. Your local code official or a building scientist can confirm the threshold that applies to your materials and climate.
Swollen OSB edges and cupping: sand, dry or replace?
Subfloor and wall sheathing panels rated "Exposure 1" are made to survive normal construction delays. They are not made to sit under standing water for weeks. Water gets in mostly through the cut edges, so the first sign is edge swelling: a raised ridge along the seams. Cupping means the panel edges rise above the middle, often because the top got wet and the bottom stayed dry, or the other way around.
Here is how the usual decision goes:
- Dry and wait: slight swelling often settles partly as the panel dries. Give it time before judging.
- Sand the seams: once the panel reads dry, swollen edges are ground flat with a floor sander. This is routine and cheap, and it matters most under tile, vinyl plank and thin flooring, which show every ridge.
- Replace: panels that are soft underfoot, delaminating, crumbling at the edges or that stay out of flat after drying should come out. Fastener withdrawal and squeaks follow if they stay.
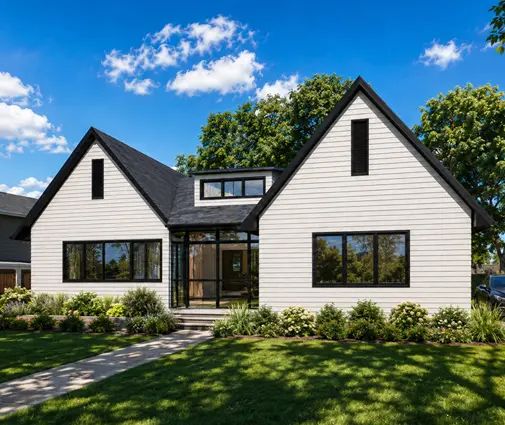
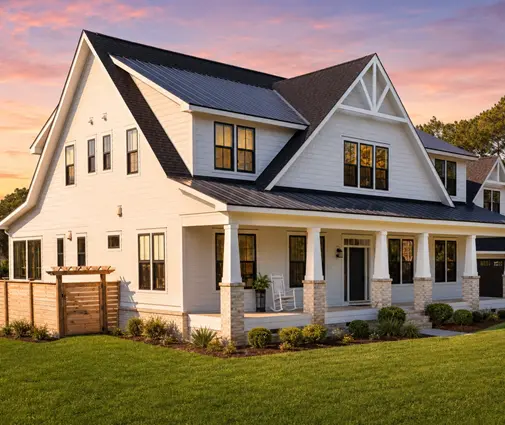
The size of the house sets the stakes. A 4x8 sheet covers 32 sq ft, so a 2,000 sq ft wood floor takes roughly 65 to 70 sheets plus waste. A compact plan like this 765 sq ft one-bedroom bungalow with a 2-car garage has little subfloor at risk. A one-story home such as the 1879 sq ft three-bedroom Acadian ranch built on a slab has no wood subfloor on the ground floor at all, while the same plan over a crawlspace does. A 2250 sq ft Modern Craftsman ranch on a crawlspace exposes its whole floor deck to the sky until the roof is on.


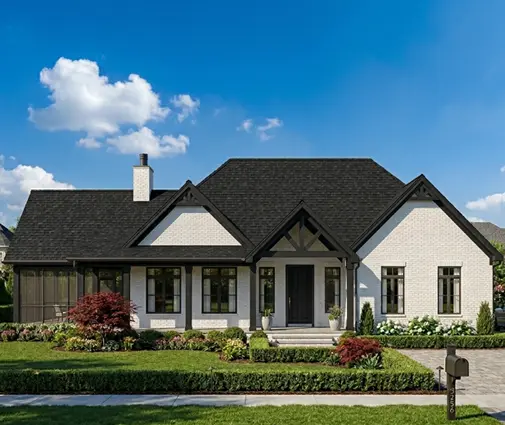
Two-story and three-story homes add a second risk: water on the upper deck runs through seams and soaks the floor below. A 3198 sq ft four-bedroom Modern Farmhouse with a 3-car garage or a 2633 sq ft three-story Modern Farmhouse has more deck area, more seams and a longer framing period before the roof closes it in. If you are comparing two-story plans, plan the schedule around that.
Drying time and the schedule
Drying is cheap until it delays the drywall. In dry Western climates, an open frame can dry out in a few days of sun and wind. In the humid South or during a wet Northern fall, it may need a week or more after dry-in with fans and dehumidifiers running. Heaters alone can help, but unvented combustion heaters add moisture to the air, so dehumidifiers usually do more good.
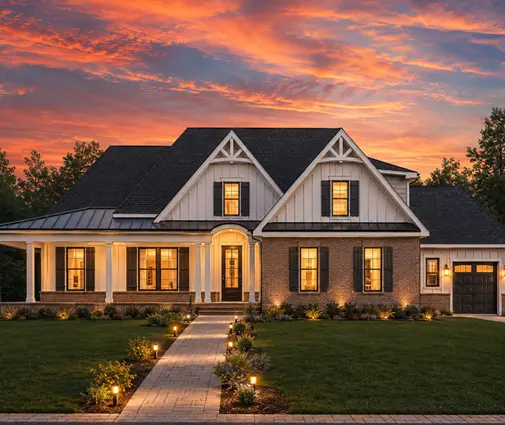
A home over a basement has its own issue. The basement under the first floor stays cool and damp, and water that runs down through the deck collects on the slab. A 2109 sq ft four-bedroom Craftsman with a basement is a good example: pump out standing water fast and keep air moving below the floor. See more plans with basements if you build in the North or Midwest, where they are common.


Mold: the cost you most want to avoid
Mold needs moisture, food and time. In warm, humid weather, wet wood that cannot dry can show growth within days. A few dark spots on a stud that dries quickly are usually cleaned and treated. Growth closed inside a wall is where costs jump, because walls must be opened again. This is why the moisture reading before insulation matters more than how the frame looked during the storm. If you see fuzzy or spreading growth, ask for it to be cleaned and documented before the walls close, and check your local and state guidance on remediation.
How builders protect the frame, and where you can save
The cheapest fix is a good sequence. Good framing crews do some of the following on every job, and it is fair to ask about them in the contract:
- Drill drain holes in the subfloor at low spots so water does not pond. A few small holes do no harm and save the panels.
- Sweep or squeegee standing water off the deck after every storm, the same day.
- Buy panels for wet conditions: premium subfloor panels with better edge sealing cost more per sheet, often a few hundred dollars more per house, and resist swelling much better.
- Tape the seams or cover the deck with tarps when a long rainy stretch is forecast.
- Dry in fast: roof sheathing, underlayment, house wrap and windows in the shortest possible window. Dry-in is the real deadline, not the framing finish date.
- Plan the start date around the rainy season in your region when you can.
Simple roof shapes and compact footprints dry in faster than complex ones. If you are still choosing a design, one-story plans with a straightforward gable roof go from deck to dry-in quickly, though they have more roof per square foot of living space.
What to ask your builder to document
Documentation protects you if problems appear after closing, and it helps the builder too. Ask for:
- Dated photos of the deck and walls after every significant rain.
- Moisture readings of framing and subfloor before the insulation inspection, with locations noted.
- A written note of any panels sanded or replaced, and where.
- Confirmation that the subfloor meets the flooring manufacturer's moisture and flatness rules before flooring goes down.
- Any mold found, how it was treated, and photos after treatment.
Most builders welcome a calm, specific request. If readings or photos are refused, a third-party inspection before drywall costs far less than opening finished walls.
Summary
- Rain on an open frame is normal; standing water and closing walls too early are the real problems.
- Check framing at about 19 percent or lower before insulation, and the subfloor against your flooring instructions.
- Swollen OSB edges are usually sanded flat after drying; soft or delaminated panels get replaced at roughly $60 to $150 per sheet.
- Drying equipment and inspections cost hundreds of dollars; mold behind drywall can cost thousands.
- Drain holes, fast dry-in and better panels are the cheapest protection.
- Ask for dated photos and moisture readings, and confirm local rules with your building department.