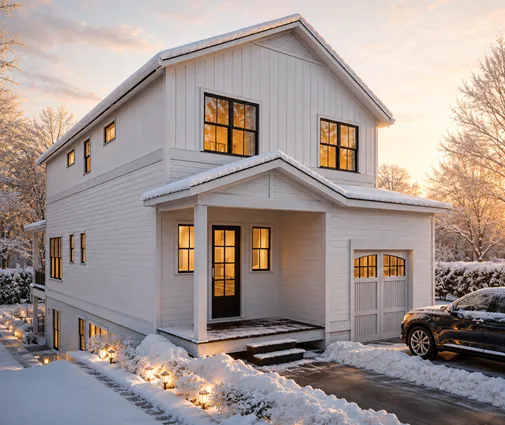
The framing is up, the second floor deck is on, and the framer is standing in the middle of your future great room next to a 6x6 post that was never in the rendering. It holds up the bedroom wall above, and the engineer will not let it go. This happens on new builds every week, and it is almost always avoidable. An open kitchen, dining and great room is a structural decision, not a decorating one. It is cheapest to settle on paper, before the plan is bought and the drafter starts adapting it to your lot.
Use this checklist to read an open-concept plan like a builder would, especially when a second story sits on top of the big room.
Stage 1: Read the plan for what sits above the open space
- Stacked walls. Lay the second floor plan over the first. Every upstairs wall that crosses the great room without a wall below it needs a beam to carry it.
- Clear span. Measure the longest uninterrupted run across the kitchen, dining and living area. Spans under about 14 ft are routine. Spans of 18 to 24 ft with a bearing wall above are where costs climb.
- Roof loads. Check whether roof framing bears on those upstairs walls. A girder truss or ridge load landing mid-span is far heavier than a partition wall.
- Bath and laundry overhead. Tile, tubs and wet walls above the open room add dead load. They also limit how deep a beam can be without colliding with drain lines.
- Ceiling heights. Note the first floor ceiling height. A 9 ft ceiling leaves little room for a beam that hangs down 14 to 18 in.
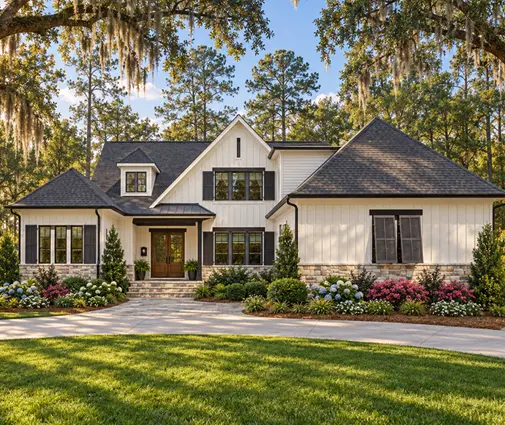
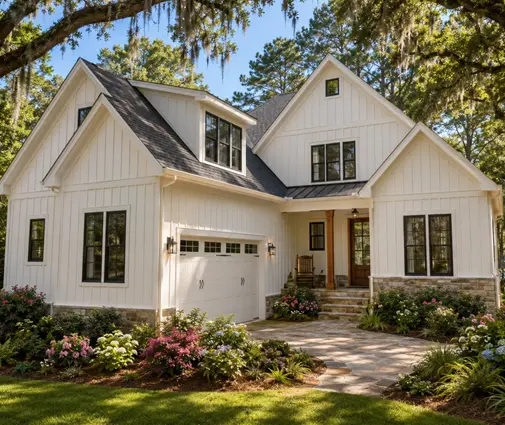
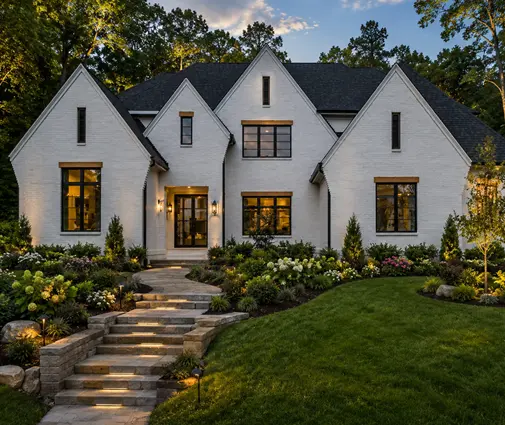
The easiest open plans are the ones where the designer stacked the upstairs walls over something solid downstairs. In a plan like this 2,505 sq ft Low Country farmhouse with 4 bedrooms on 2 stories, look at how the upstairs bedrooms line up with the first floor before you fall for the great room. A taller, larger plan such as the 4,295 sq ft Modern Farmhouse with 5 bedrooms will almost certainly carry engineered beams over its main living space. That is fine, as long as you know it going in. Browsing the open concept house plans with the second floor sheet open next to the first is the fastest way to compare.

Stage 2: Choose the beam: flush or dropped, LVL or steel
- Dropped beam. The beam hangs below the ceiling and the joists sit on top. It is the cheapest and simplest option. You will see a soffit across the room, which many Craftsman and farmhouse interiors wrap in trim on purpose.
- Flush beam. The beam sits inside the floor depth and the joists hang from it on metal hangers. You get a flat ceiling. It costs more labor and hardware, and the beam is limited to the joist depth, often 11-7/8 or 14 in.
- LVL. Laminated veneer lumber is the default in wood frame houses. It is built up from 2 to 4 plies, is easy for framers to install and runs roughly $600 to $2,500 in material for a typical 16 to 20 ft great room beam (2025 to 2026 pricing).
- Steel. A wide-flange steel beam carries more load in less depth. It is the usual answer for long flush spans. Installed, expect roughly $2,000 to $6,000 or more once you count fabrication, delivery, a lift or crane and the wood nailers.
- Flitch beam. A steel plate bolted between LVL plies is a middle option. Some engineers use it when a flush LVL comes up a little short.
Decide early whether you can live with a dropped beam, because that one choice often settles everything else. A flush ceiling across a 20 ft span with a bedroom wall above frequently pushes the engineer to steel. That adds a few thousand dollars and blocks any ductwork you hoped to run through that floor. If a flat ceiling matters, say so to the drafter before the framing plan is drawn, so the HVAC layout and beam size are designed together.
Stage 3: Trace every point load down to the foundation
- Beam bearing. Each end of a beam needs posts or built-up studs sized by the engineer. A heavy beam can call for 3 to 5 studs or a steel column at each end.
- Continuous load path. Below each bearing point, squash blocks or solid blocking must carry the load through every floor system to the foundation. Hollow floor cavities cannot do this.
- Footings on slab. On a slab on grade, common in the South, each point load usually needs a thickened footing pad poured with the slab. That typically adds a few hundred dollars per pad if it is planned, and much more if someone has to cut and repour later.
- Footings in a basement. In the North and Midwest, the load lands on a steel column and spread footing in the basement. That is one more post, but down where it rarely bothers anyone.
- Bracing. Removing walls also removes braced wall panels under the IRC. In hurricane and seismic zones, the engineer may add portal frames, hold-downs or structural sheathing elsewhere to make up for it.
Builders rarely miss the beam itself. What gets missed is the column under it and the footing under that column. A plan with a basement, such as this 2,082 sq ft Modern Farmhouse with 4 bedrooms and a basement, gives you an easy place to land loads. On a slab, make sure the foundation plan shows every pad before concrete day. If you want that flexibility, start in the house plans with a basement.
Stage 4: Get the engineering done before you finalize finishes
- Who stamps it. Find out whether your city or county requires an engineer's stamp for beams outside the IRC tables. Most long spans need one. A beam letter or framing review often runs roughly $500 to $2,000.
- Post locations. Ask for every post on the framing plan to be marked. Then check each one against the kitchen island, the dining table and the sightline to the fireplace.
- Alternatives. If a post lands mid-room, ask what it would take to remove it: a deeper dropped beam, steel or a re-routed upstairs wall. Get a price for each option.
- Hide what stays. A post that cannot move can often disappear into a pantry wall, the end of an island, a column at a cased opening or the fireplace surround.
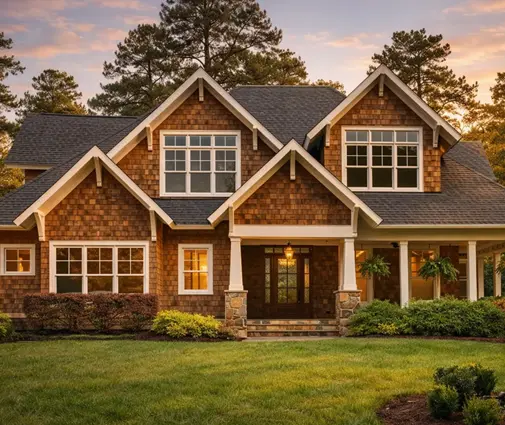
The engineer's job is to make the house stand, not to protect your sightlines. Posts get added because nobody told them the open view mattered. A smaller plan like this 1,980 sq ft Modern Craftsman with 3 bedrooms usually needs only modest beams. A more traditional layout such as the 2,261 sq ft Colonial with 3 bedrooms keeps more interior walls and fewer surprises. That tradeoff is worth weighing honestly. Once the engineering is done, add a contingency of roughly $3,000 to $10,000 for open-concept structure on a typical 2-story house plan. Treat it as a planning range only and get your builder's numbers.
The most common mistakes
- Judging the plan by the first floor sheet alone and never checking which upstairs walls float over the great room.
- Assuming a flat ceiling is free. Flush beams on long spans often mean steel, a lift and lost duct routes.
- Forgetting the footing pads on a slab foundation until the concrete is poured.
- Locking in the island and cabinet layout before the post locations are known.
- Ignoring bracing in hurricane or seismic zones, where removing walls can trigger extra hardware and sheathing.
- Budgeting nothing for structure because the original plan showed an open room. Your lot, loads and local code decide the final beam, not the rendering.