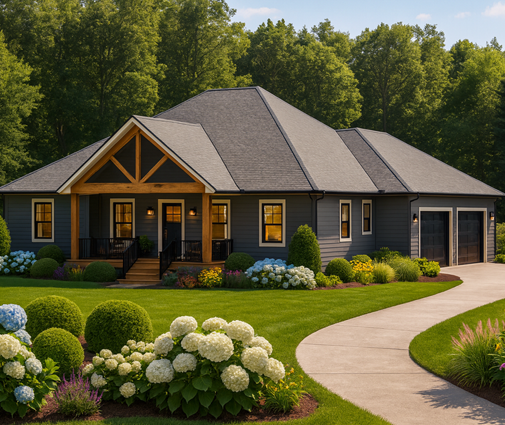
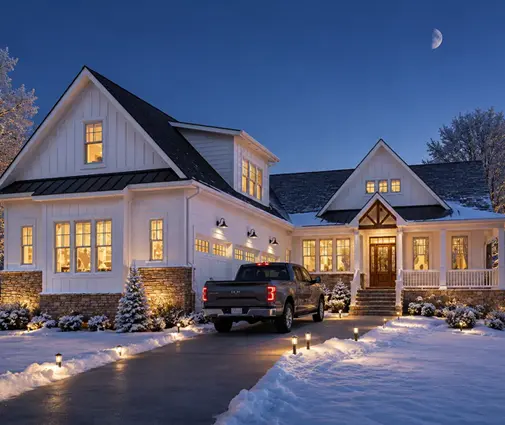
A common mistake on new builds goes like this. The building permit is approved, the slab is poured, the framing goes up, and then the owner learns that the driveway they drew can't connect to the street where they planned it. It may be too close to the corner, too wide at the curb, or missing the culvert the county requires. The garage is already built, and now the driveway has to bend around it.
In most US jurisdictions the residential building permit covers the house and the work on your lot. It usually does not cover the strip between your property line and the pavement: the driveway apron, the curb cut, the sidewalk crossing, or the culvert under a rural road ditch. That strip is public right-of-way, and the agency that maintains the road controls it. The steps below go in the order that avoids surprises, and most of them should happen before you finalize your house plan.
Step 1: Find out who owns the road in front of your lot
Three kinds of agencies can control the right-of-way, and each one has its own permit:
- City or town streets: usually the public works or engineering department issues a right-of-way, driveway or "curb cut" permit. This is often separate from the building department, even in the same building.
- County roads: the county road department or county engineer issues a driveway or access permit, usually through a separate application.
- State highways: if your lot fronts a state route, even a quiet two-lane road, you need an access or driveway permit from the state DOT district office. These reviews are the strictest and the slowest.
In a subdivision with private streets, the HOA or the developer may control access instead, and the HOA's architectural review may also limit driveway materials and width.
Time: one or two phone calls, or a few minutes on the county GIS map. Cost: free.
Step 2: Get the access rules in writing
Ask the agency for its driveway standards or standard detail drawings. The numbers vary a lot by jurisdiction, so treat the ranges below as typical, not guaranteed:
- Width at the property line: single-family driveways are often limited to roughly 10 to 24 feet at the curb, with flared wings on each side of the apron. Some cities cap the curb cut as a share of lot frontage, which matters on narrow lots.
- Number of driveways: one per lot is the usual default. A second curb cut or a circular drive often needs a minimum frontage or a separate approval.
- Distance from intersections: many local codes keep residential driveways somewhere around 20 to 50 feet or more from the corner, measured from the curb return or the property line. State highways usually require more.
- Sight lines: a clear sight triangle where nothing taller than about 2.5 to 3 feet is allowed, including fences, hedges or retaining walls. On faster roads the agency may ask for a sight-distance check.
- Grade and material: a maximum slope over the first few feet, and a required apron material (often concrete) with a set thickness, and in many cases a sidewalk section that meets ADA cross-slope rules.
Time: a few days. Cost: free.
Step 3: Place the garage around the access point, not the other way around
Once you know where the curb cut can go, you know where the garage door has to face. On a corner lot, the allowed curb cut is often on the side street, as far from the intersection as possible. That can turn a front-load garage into the wrong choice. On a 50-foot city lot, a narrow apron limit may rule out a wide three-car front.
A few patterns that solve common access problems:
- Side-load and angled garages let a single, narrow curb cut serve a wider garage, because the driveway widens on your lot, where the width limit no longer applies. The angled garage house plans are worth browsing if your frontage is tight.
- Small footprints with a compact garage work on lots where the curb cut eats much of the frontage. The 765 sq ft one-bedroom Ranch with a 2-car garage shows how little width a home with a full garage can take.
- Single-story homes on standard suburban lots like the 1764 sq ft three-bedroom Craftsman with a basement leave room to shift the driveway sideways if the agency moves your access point.
Coastal homes raised on piles often park under the living floors, which keeps the driveway short and the apron simple:
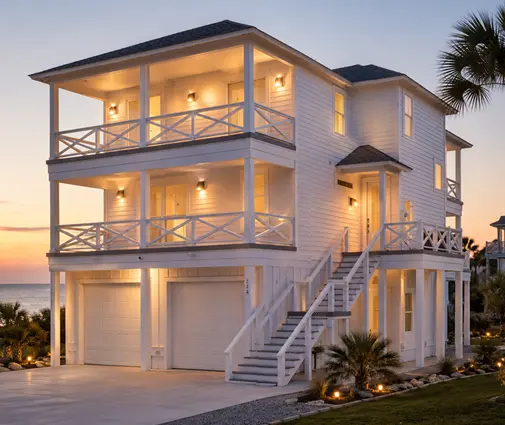
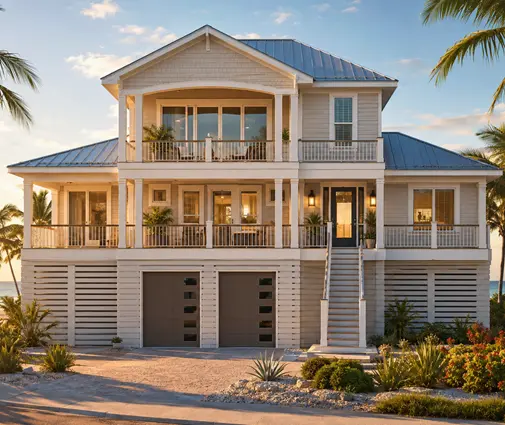
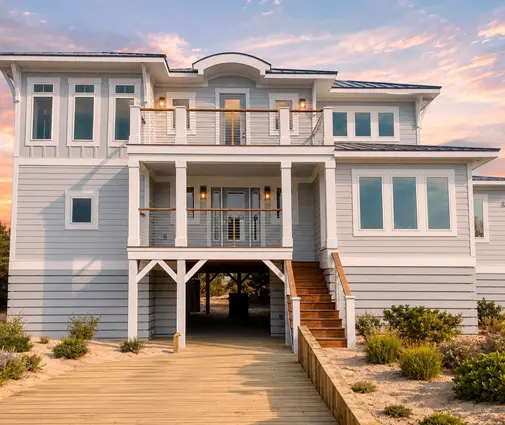
The 2342 sq ft four-story coastal plan is a good example of a home designed around a single, short driveway on a tight beach lot.
Time: part of plan selection and site planning. Cost: included in your drafter's or engineer's site plan fee.
Step 4: Check whether you need a culvert
On rural and many county roads there is no curb, just a roadside ditch. A driveway across that ditch almost always needs a culvert pipe so the water keeps flowing. The road department typically sets:
- the minimum pipe diameter, often 12 to 18 inches for a residential drive, and sometimes larger where the ditch carries a lot of water;
- the pipe material (corrugated metal, HDPE or concrete) and its minimum length, so it reaches past the driveway edges;
- end treatments, such as sloped end sections or headwalls, and the minimum cover over the pipe.
Some counties set the elevation themselves, and a few install the culvert and bill the owner. Where the ditch is a regulated drainage way or the lot sits in a mapped flood zone, extra review is likely. Ask early, because an undersized pipe that floods the road is the owner's problem.
Cost (2025–2026 ranges): roughly $1,500 to $5,000 for a typical residential culvert installed, more for large diameters, headwalls or long runs.
Step 5: Coordinate with your building permit and the HOA
Your site plan for the building permit should show the driveway, the apron, and the culvert if there is one, even though a different office approves them. Many building departments won't issue a permit, or later a certificate of occupancy, until the right-of-way permit is approved and the work is finished. If you are in an HOA, submit the driveway with your architectural review package. HOAs often limit the number of garage doors facing the street or require side-load garages, which ties back to Step 3.
Larger homes with three-car garages need the most planning here. Compare how these layouts turn the garage doors:


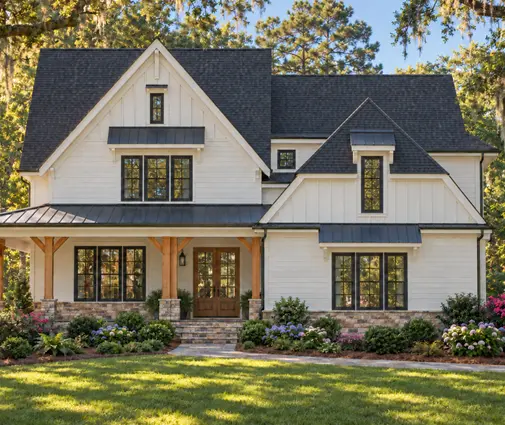
The 3908 sq ft Modern Farmhouse with a 3-car garage and the 3669 sq ft Low Country home with a 3-car garage both need a wide parking court on the lot. With a side-load garage, though, the curb cut itself can stay at a normal single-driveway width. More options are in the 3-car garage collection.
Time: runs alongside plan review. Cost: HOA review fees vary.
Step 6: Apply for the right-of-way permit
A typical application includes a site plan with dimensions to the property lines and the nearest intersection, the driveway width and material, the culvert details, and the name of the contractor. Many cities require that work in the right-of-way be done by a licensed contractor who is registered with the city, carries liability insurance naming the city, and sometimes posts a bond or deposit. If the work closes a lane or the sidewalk, a simple traffic control plan may be required.
Time: often 1 to 4 weeks for a city or county. A state DOT access permit can take 4 to 12 weeks or more. Cost: permit fees commonly run from about $50 to $500. Bonds, deposits and inspection fees can add a few hundred dollars. Check the current fee schedule with your agency.
Step 7: Build the apron, curb cut and sidewalk
In a curbed street the contractor saw-cuts and removes the curb (or lowers it to a drive-over curb), forms the apron to the city detail, and replaces the sidewalk panels across the driveway. Most agencies want a form inspection before the pour, so schedule it and don't pour early. Expect a call-ahead requirement before digging (811) and possible utility conflicts such as water meters, valves or streetlights in the path.
Cost (2025–2026 ranges): a new residential curb cut with a concrete apron often lands around $2,000 to $6,000. Replacing a sidewalk section adds roughly $1,000 to $3,000. Prices are higher in large metros and where the city requires thick concrete or special curb sections. The driveway on your own lot is separate: plain concrete commonly runs about $8 to $15 per sq ft installed.
Step 8: Final inspection and sign-off
After the pour, or once the culvert is set and backfilled, request the final right-of-way inspection. Keep the approval, because your building department may ask for it before the certificate of occupancy, and your lender may need it before the final draw. If a bond or deposit was posted, ask how and when it is released. Some agencies hold it through a warranty period.
Time: a few days to schedule. Cost: usually covered by the permit fee.
Timeline at a glance
| Step | When | Typical duration | Typical cost (2025–2026) |
|---|---|---|---|
| 1. Identify road owner | Before buying the lot or plan | 1–3 days | Free |
| 2. Get access rules | Before buying the lot or plan | Several days | Free |
| 3. Place garage and driveway | Plan selection and site plan | 1–3 weeks | Part of site plan fee |
| 4. Culvert check | During site planning | 1–2 weeks | $1,500–$5,000 if required |
| 5. Building permit and HOA | Plan review | Varies by jurisdiction | Varies |
| 6. Right-of-way permit | Before site work on the frontage | 1–4 weeks (state DOT 4–12+) | $50–$500 plus bond or deposit |
| 7. Apron, curb cut, sidewalk | Late in construction | 1–2 weeks | $2,000–$6,000, plus sidewalk |
| 8. Final inspection | Before certificate of occupancy | A few days | Usually included |
The order matters more than any single number. Find out where the street will let you connect, then choose a plan whose garage fits that spot. If your lot is tight, start with the narrow lot house plans, and confirm the current rules with your city, county or state DOT before you commit.